Installing Picture Frame Hanging Hardware
January 04, 2021Here at Custom Picture Frames, we ship your handcrafted picture frames, shadow boxes and canvas frames right to your door with everything you need to put them on display. Installing your hanging hardware can be tricky, so we've put together some easy-to-follow instructions to help our customers!
Follow along with the steps below to install the hanging hardware onto your custom frames. Or download our Hanging Hardware PDF here.
If you're hanging a canvas frame, see how to properly install your canvas using canvas clips or offset clips first!
Sawtooth Hangers Hanging Instructions
A sawtooth hanger is the perfect hanging hardware for small, lightweight frames. Easy to install, these hangers get attached directly to the back of the frame, and from there you can easily hang your frame on a nail in your wall.
When you select "sawtooth hanger" while customizing your custom frame, here's what you'll receive in your hanging hardware packet:
- Sawtooth Hangers

To install a sawtooth hanger on your custom frame, you'll need:
- A hammer
- Measuring tape or ruler
- Pen or pencil
Installing Your Sawtooth Hangers
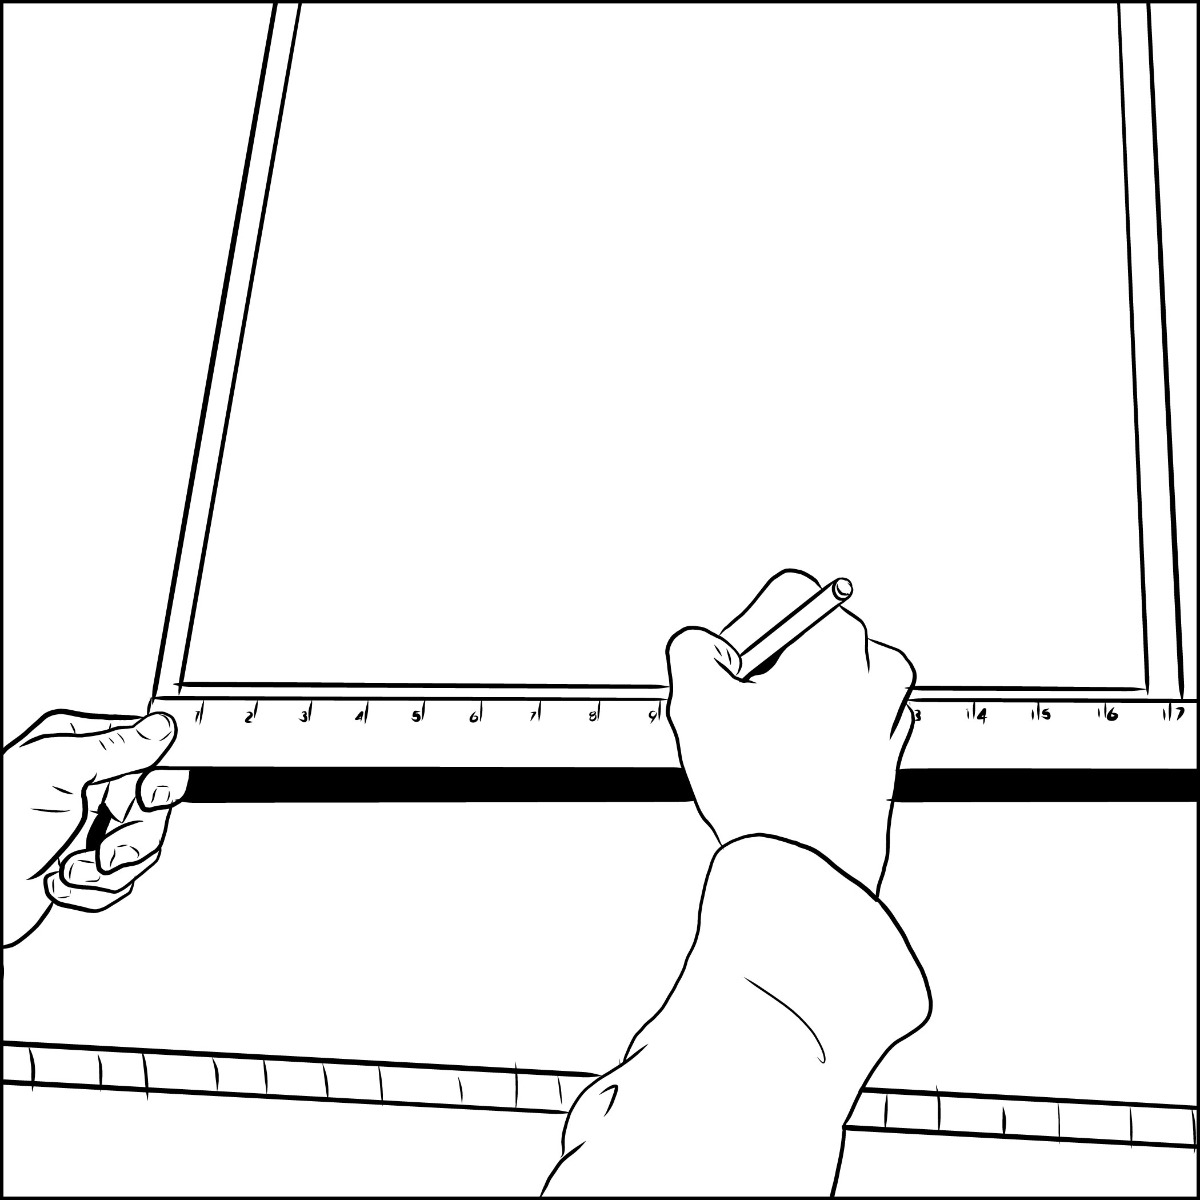
Measure the top of your frame to determine the center point.
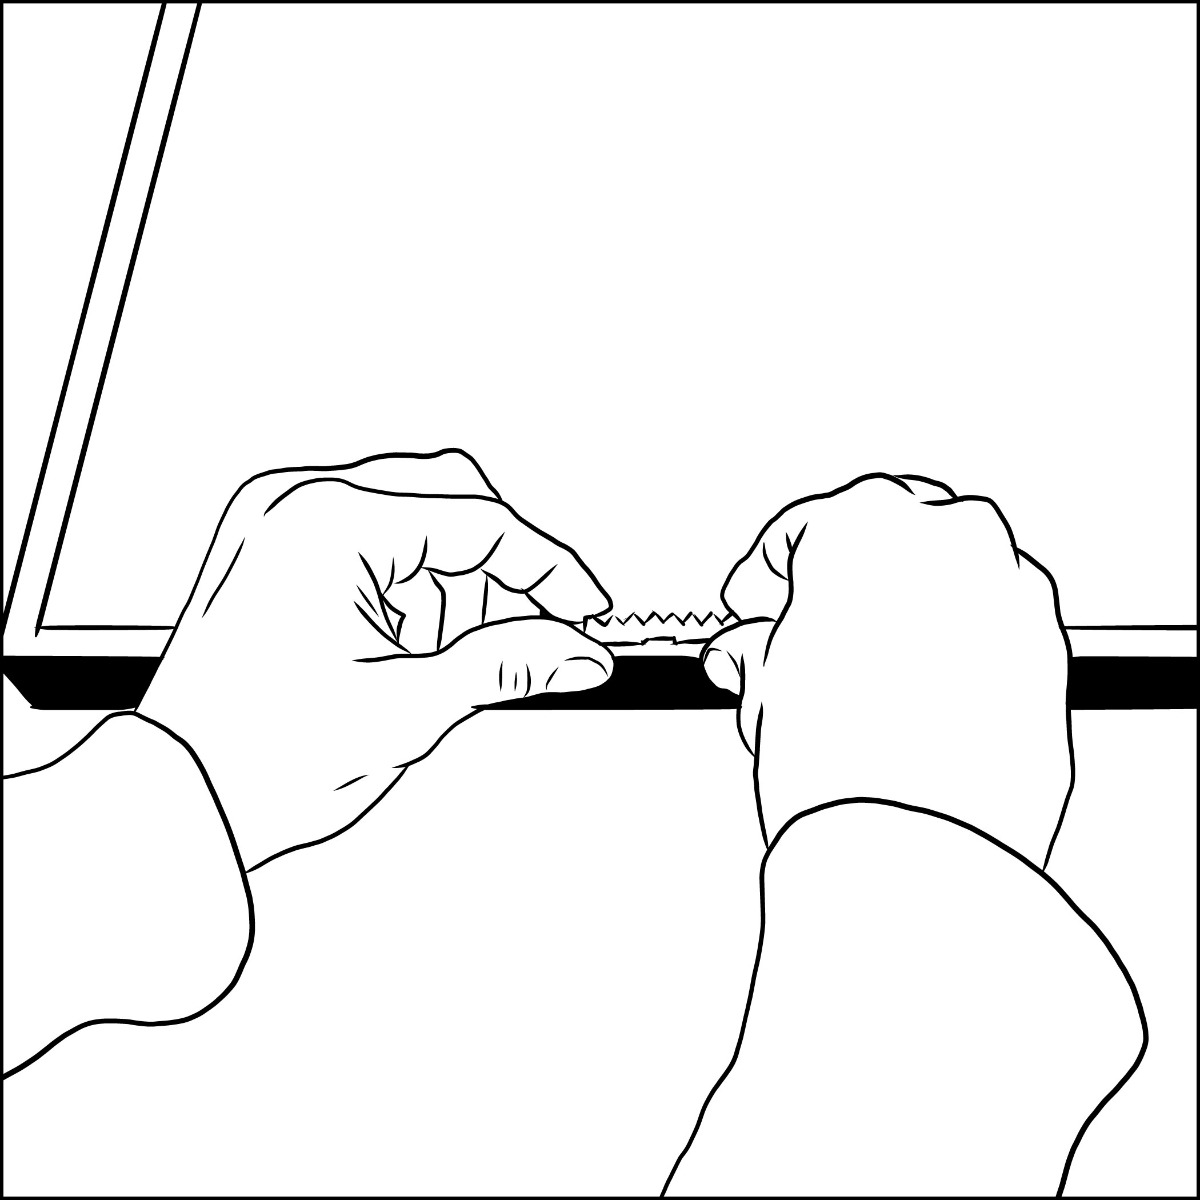
Mark the center point and line up the sawtooth hanger with the teeth facing the bottom of the frame.
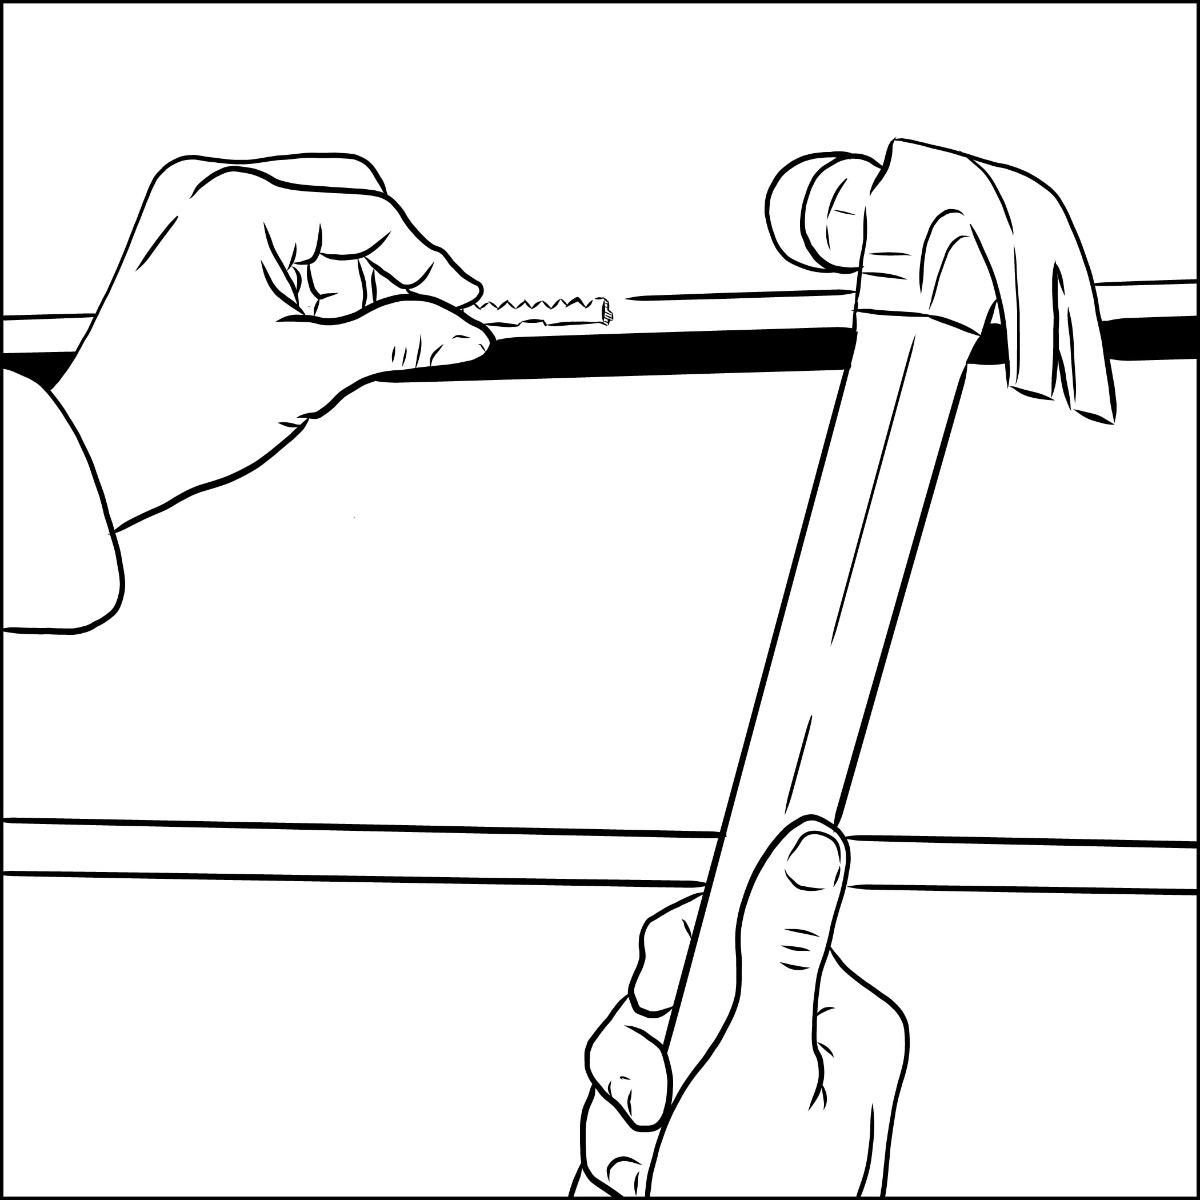
Lightly hammer the ends of the sawtooth hanger to attach it to the frame.
Place a nail in the wall and hang the picture from the sawtooth hanger.
D-Ring Hanging Instructions
D-Ring hardware, also known as wood frame hangers, strap hangers or mirror hangers, is the perfect hanging solution for frames big and small. This hanging option, with or without the wire, is a great way to secure and display your picture frames. Our D-ring hangers have Multiple screw holes to reduce the possibility of hanger failure due to screw tear-out.
Here is what's included in your D-ring hanging hardware packet:
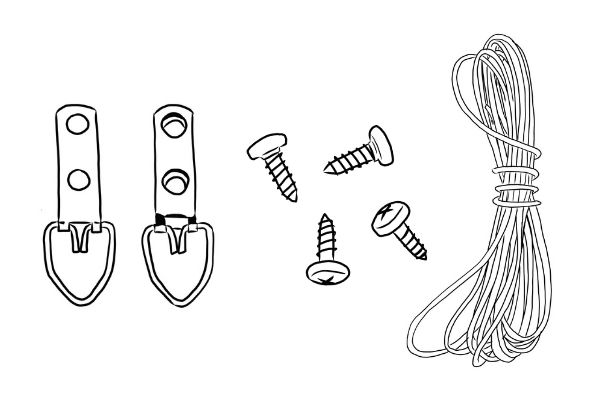
- D-rings
- Screws
- Wire
Other supplies you'll need to install your D-ring hangers:
- Screwdriver
- Wirecutters
- Measuring tape or ruler
- Pen or pencil
Installing Your D-Ring Hangers
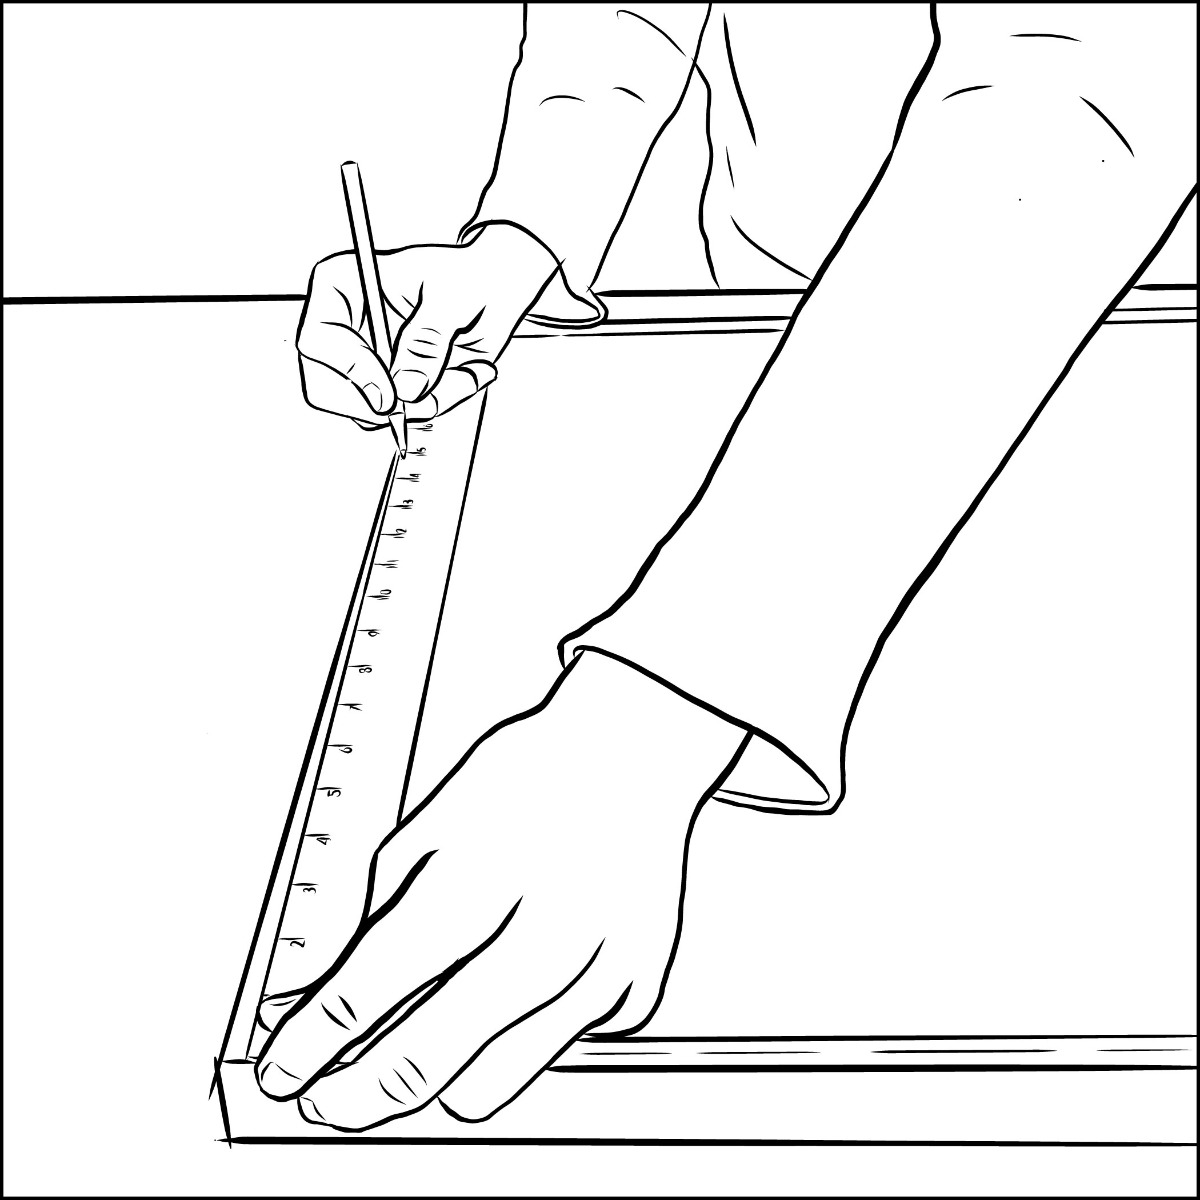
Measure the sides of your frame and make a mark 1/3 of the way down from the top on both sides.
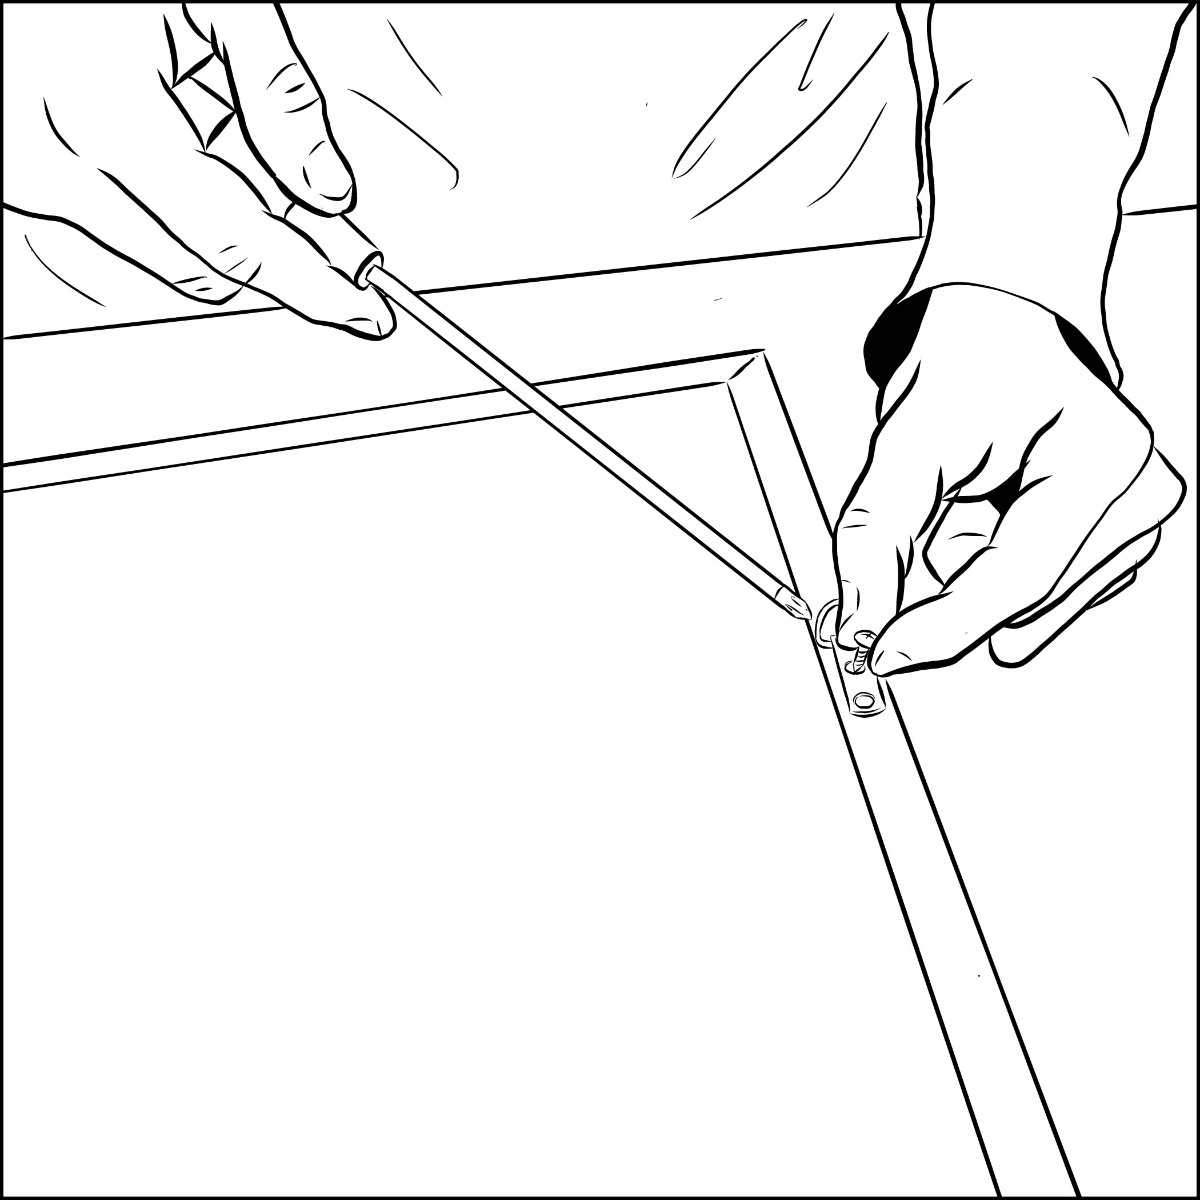
Attach a D-ring using the provided screws to each side with the ring facing up.
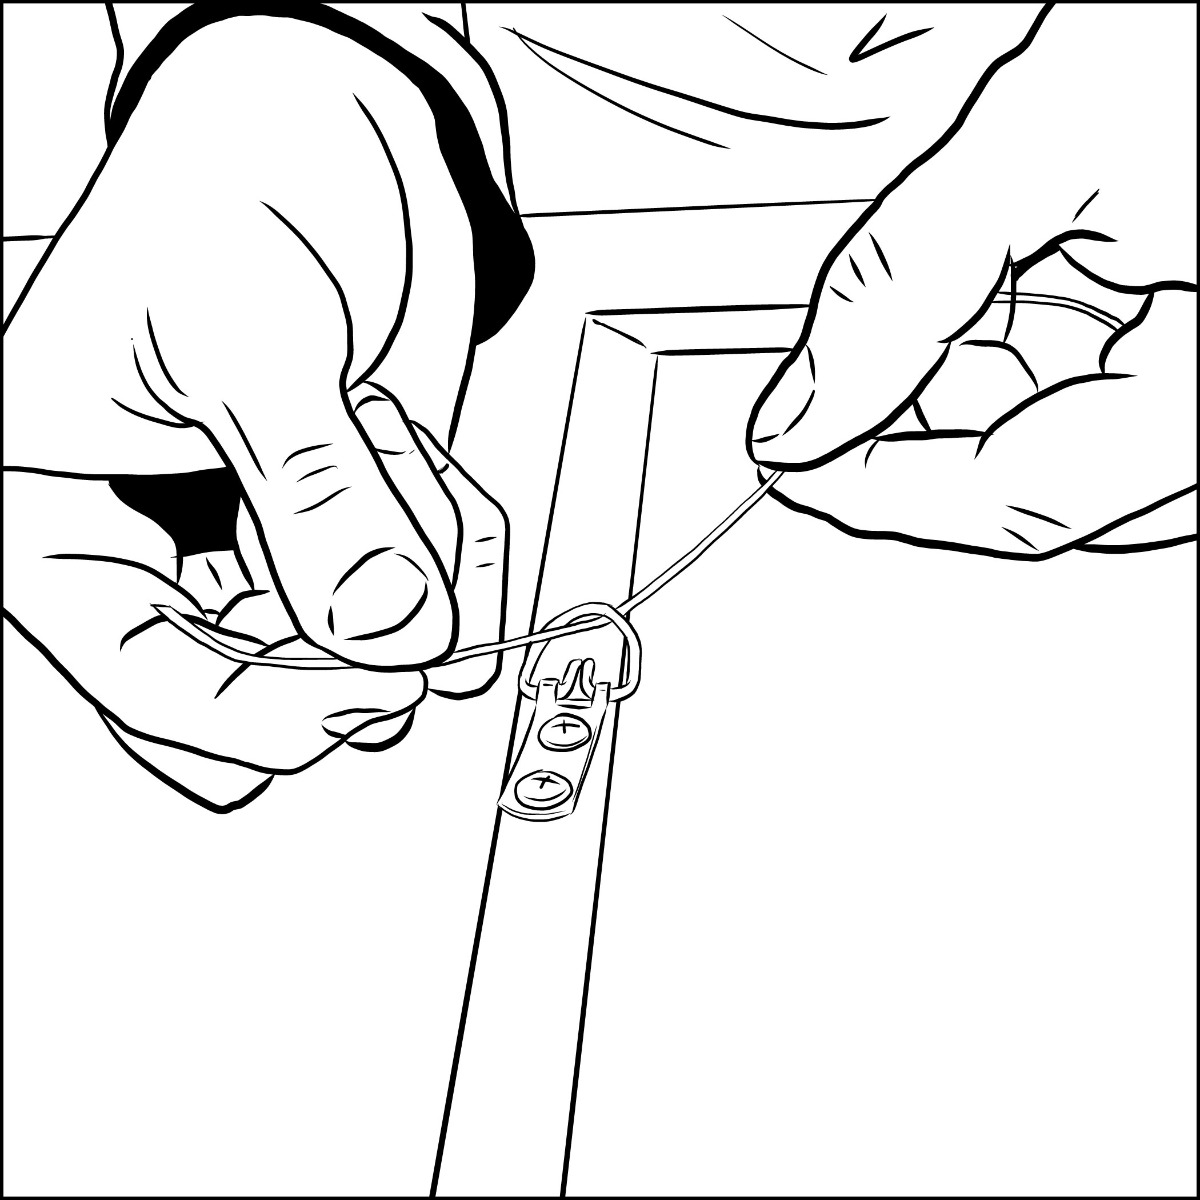
String the wire through the first D-ring, leaving approximately 2 inches of slack.
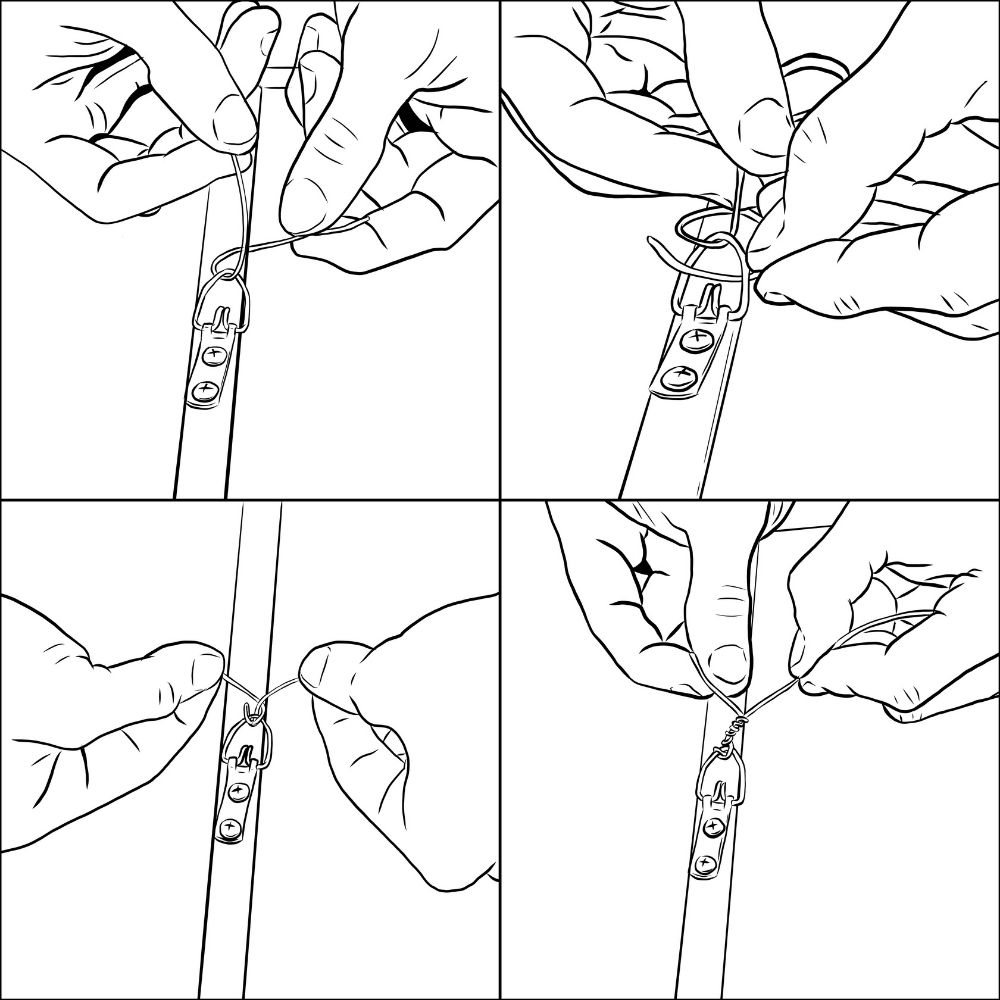
Loop the wire a second time and wrap it around itself to secure it.
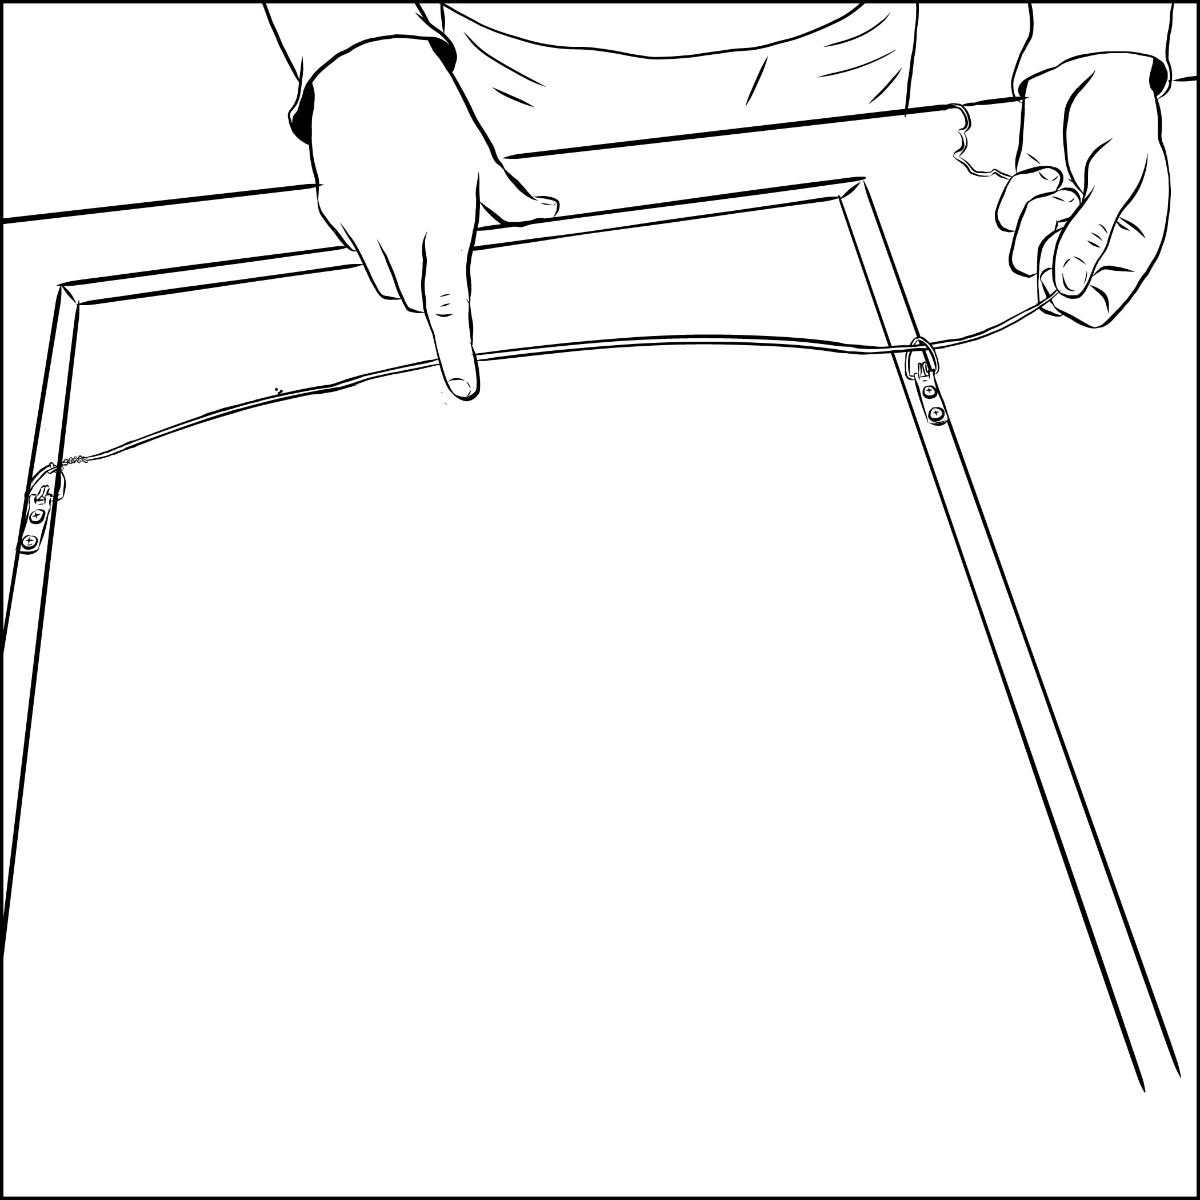
Extend the wire across the back of the frame to the other D-ring, leaving some slack in the wire.
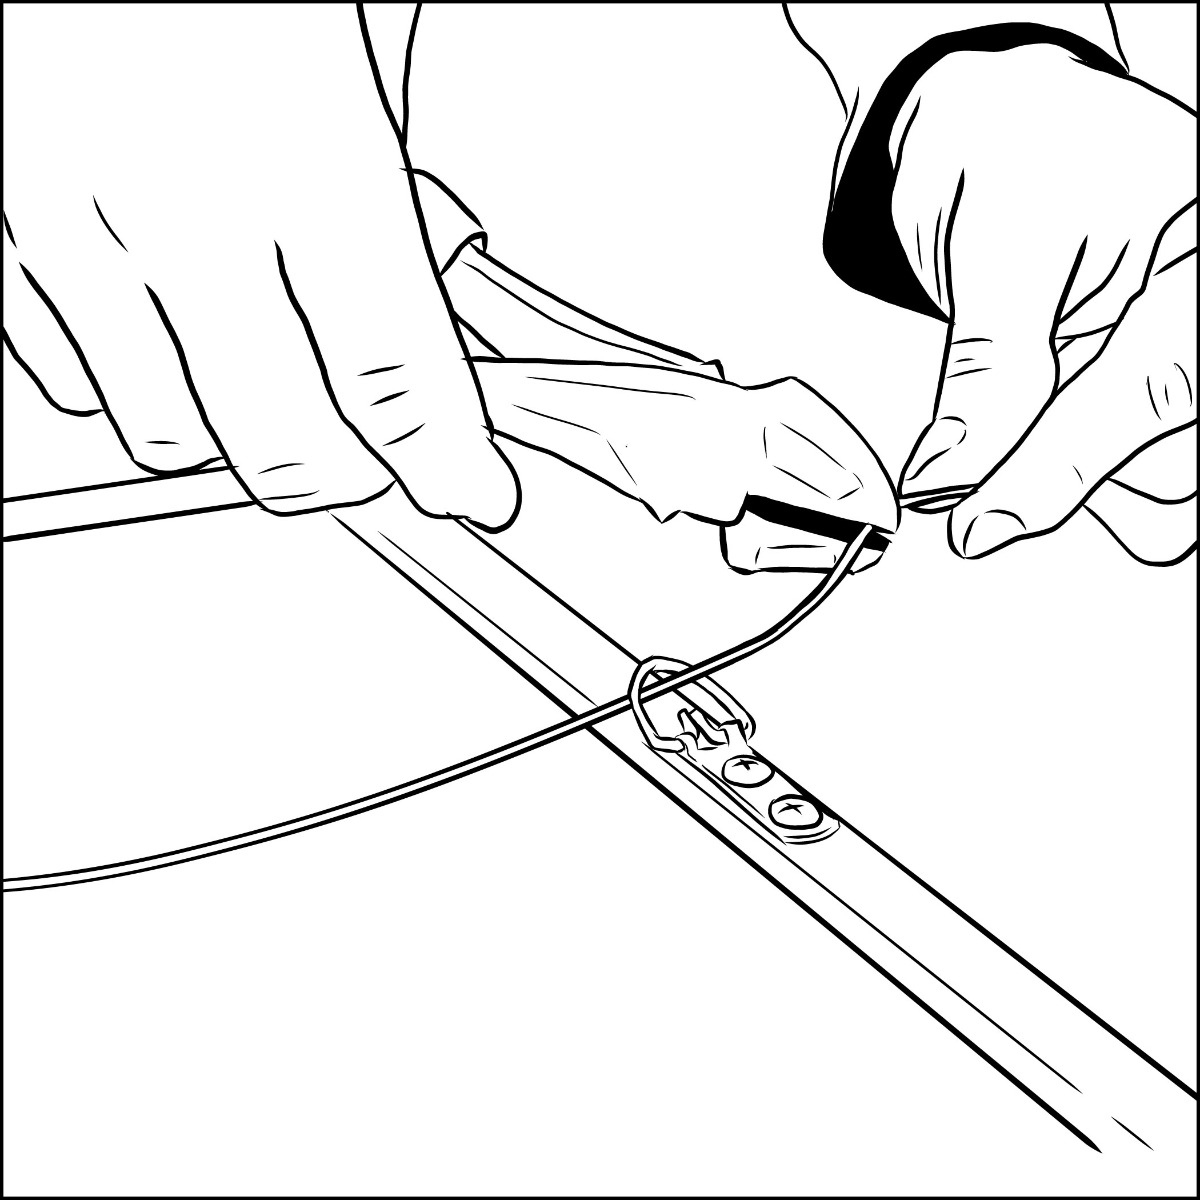
Thread the wire through the 2nd D-ring and trim, giving yourself 2 inches to secure.
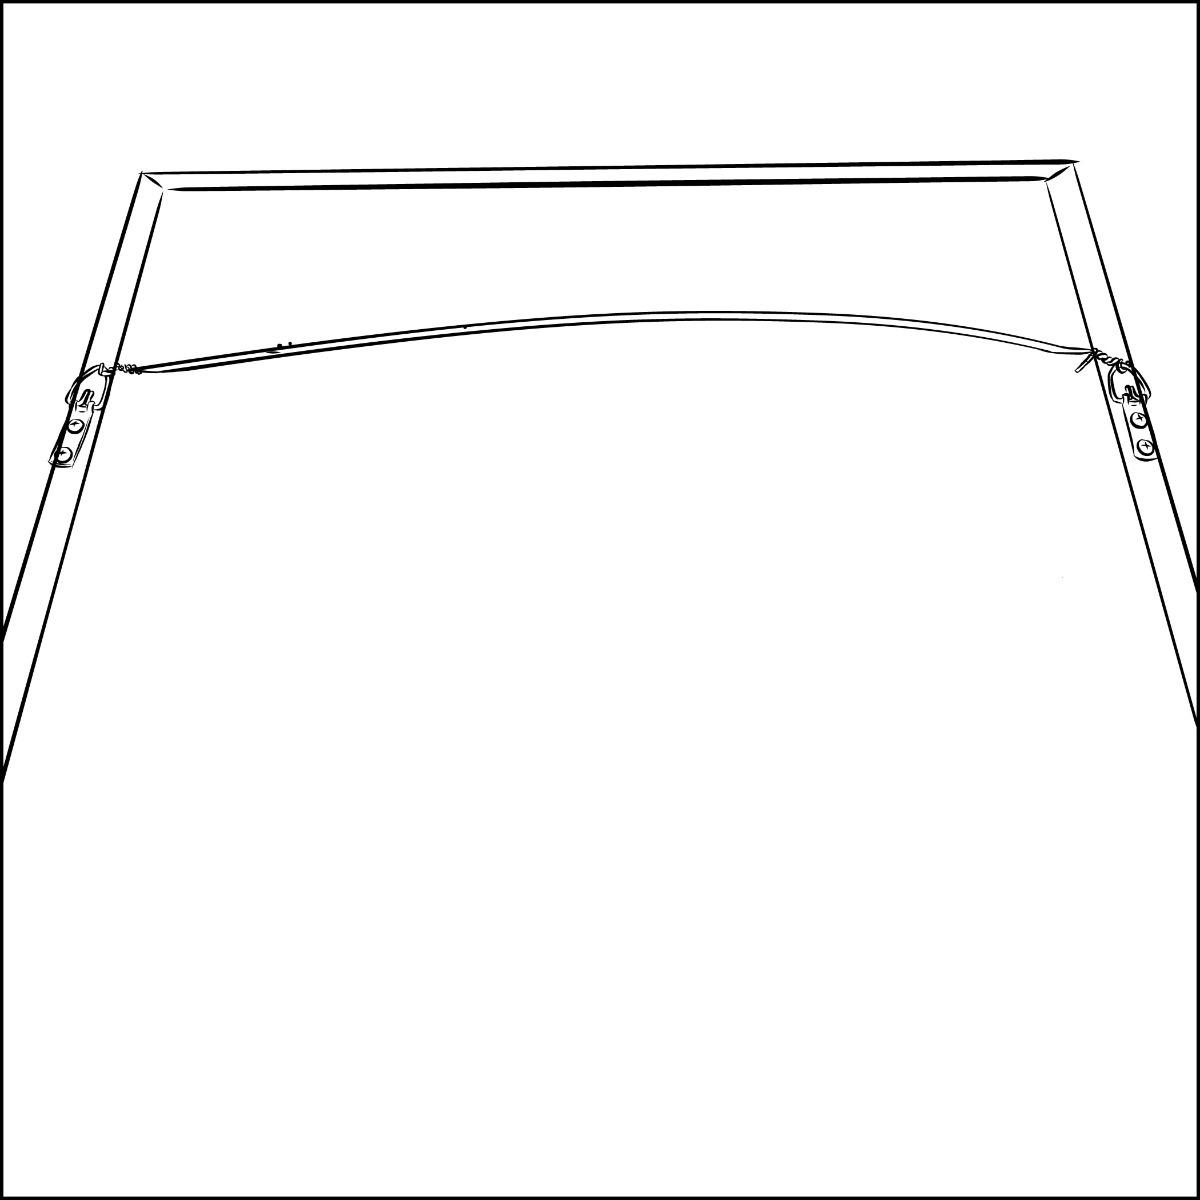
Repeat the steps to secure the wire to the 2nd D-ring by looping the wire a second time and wrapping it around itself.
For further assistance, please contact customer service.
If you have any additional questions about installing hardware and/or hanging your custom frames, don't hesitate to reach out to the team! Our framing experts can be reached at hello@custompictureframes.com.

