How to Create and Hang a Gallery Wall
January 13, 2021Gallery walls have a way of demanding attention. They inject pattern and color to a home and showcase who you are and what you love. It’s easy to see why so many love them. But, they can seem intimidating to create. Where do I start? How do I hang it? And, oh, all the nail holes!! It doesn’t have to be scary. I’m going to take you through my three favorite layouts and give you some helpful tips on how to hang a gallery wall of your very own.
Styles of Gallery Walls
There are several different styles of gallery walls. From the layout to the frames and artwork you choose, your options really are endless. That’s what makes them so appealing. There truly is a gallery wall for everyone!
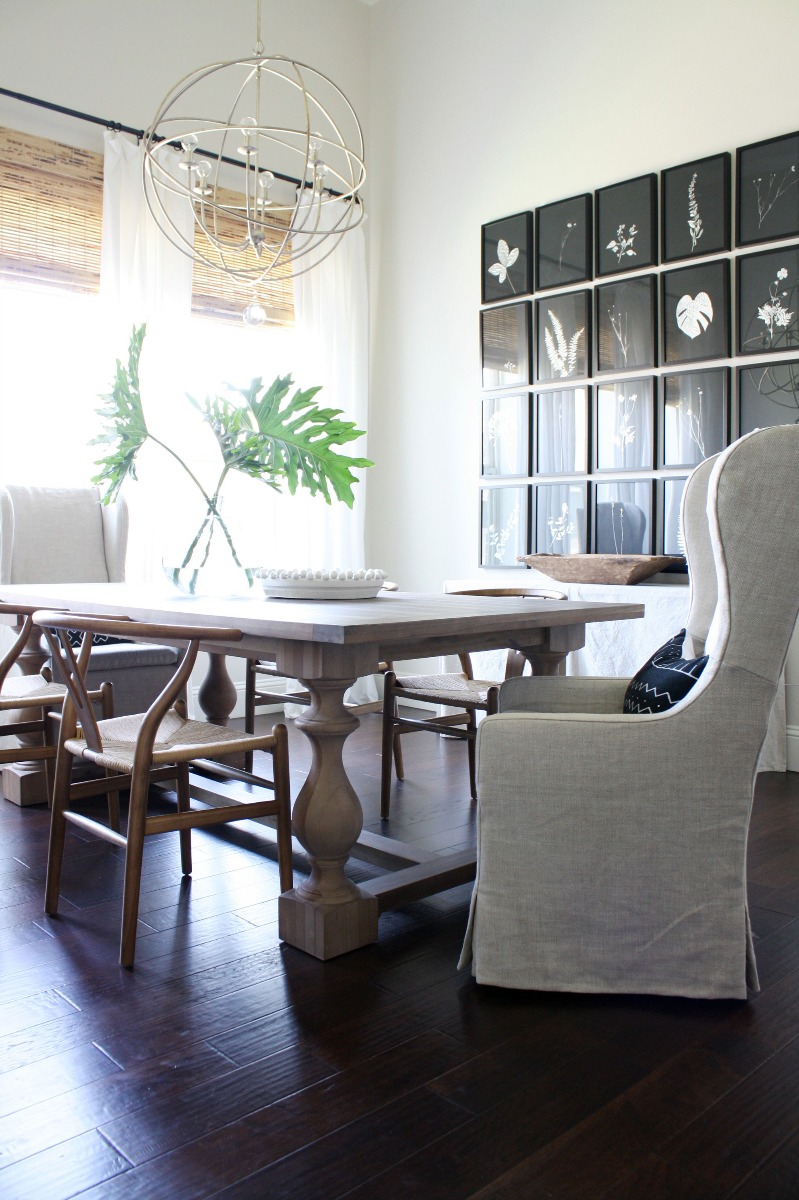
Grid
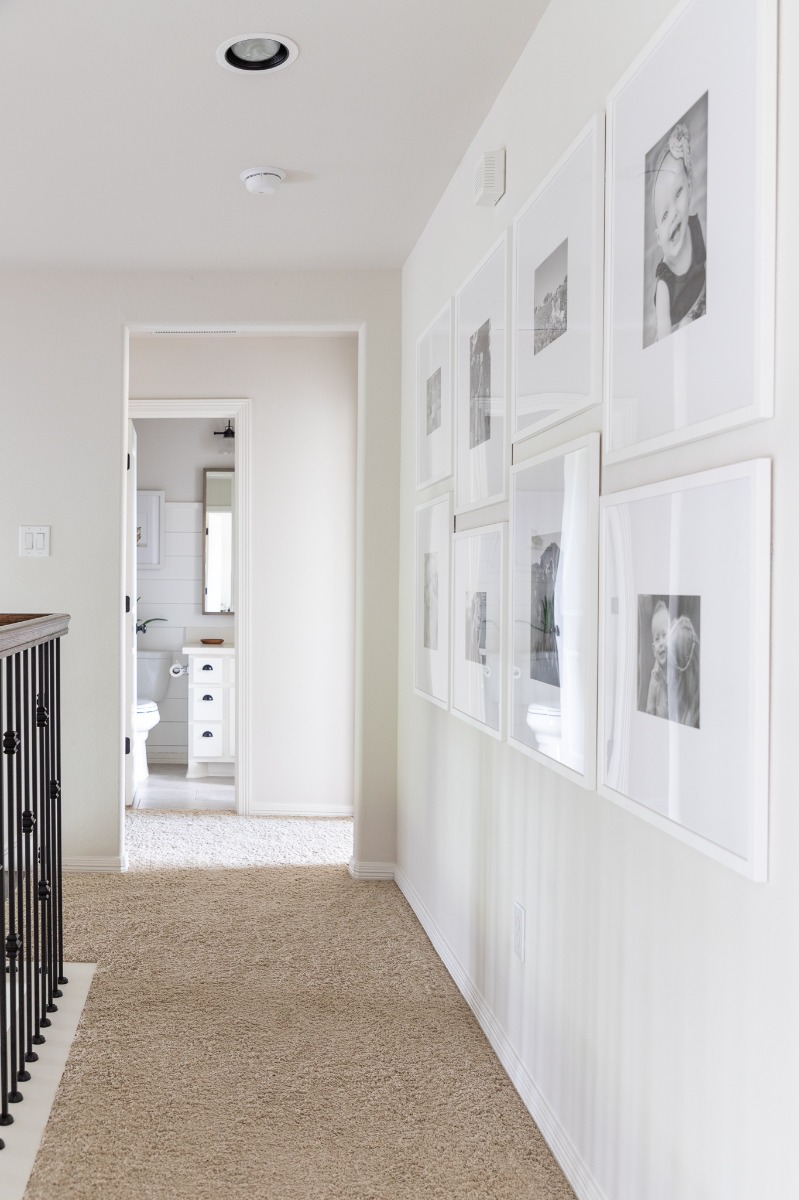
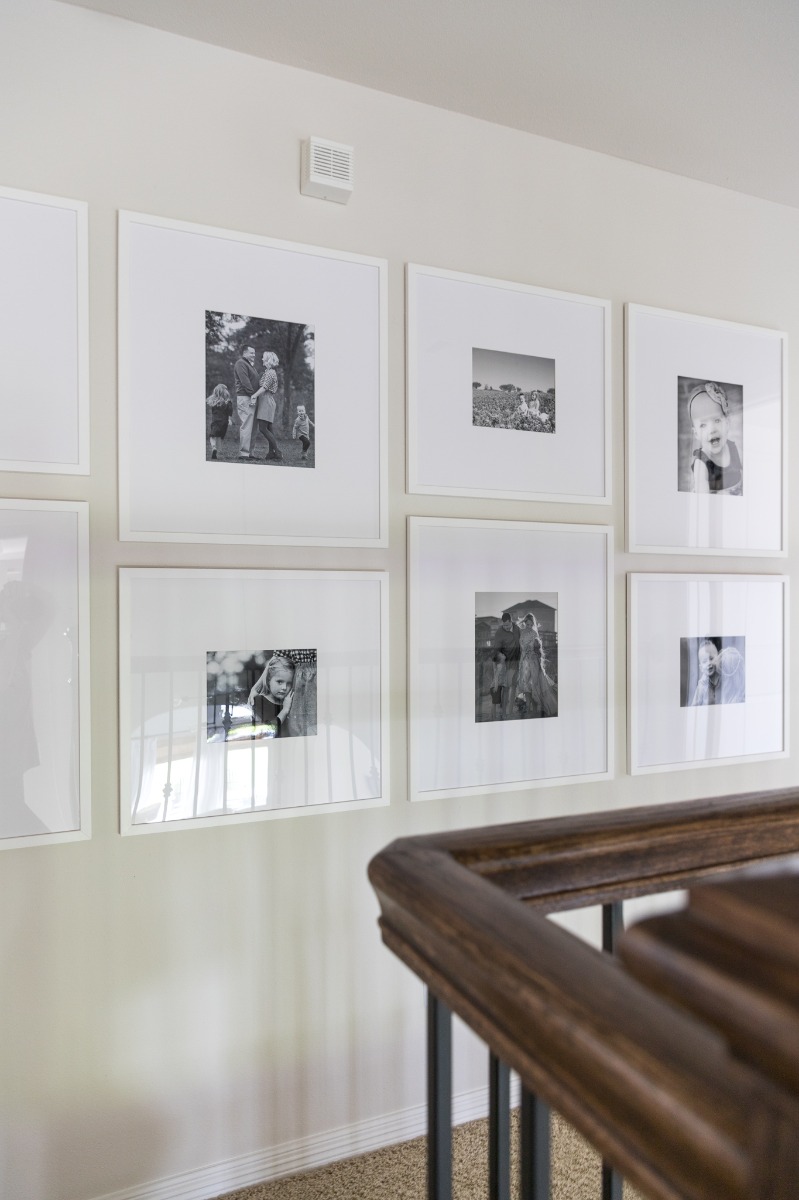
The most simple layout of the gallery wall, but certainly not lacking in style, is a grouping of frames in the same style and size hung in a grid pattern. For this layout you will want to pay close attention to placement, ensuring that each frame is level and evenly spaced. These work best when the photos or artwork are similar.
Staggered
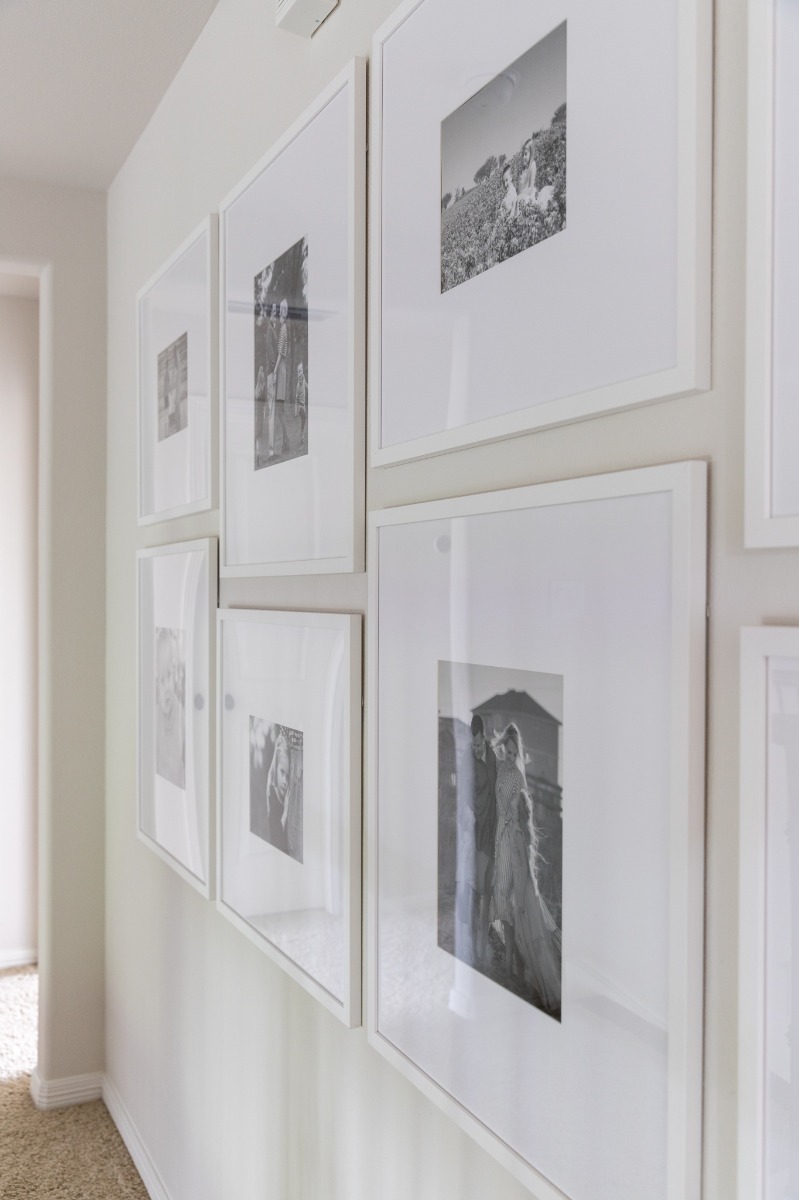
A play on the grid layout, this staggered look uses two sizes of frames, one oriented vertically and one horizontally. Stagger the vertical and horizontal frames for an eye-catching pattern along the center.
Collected
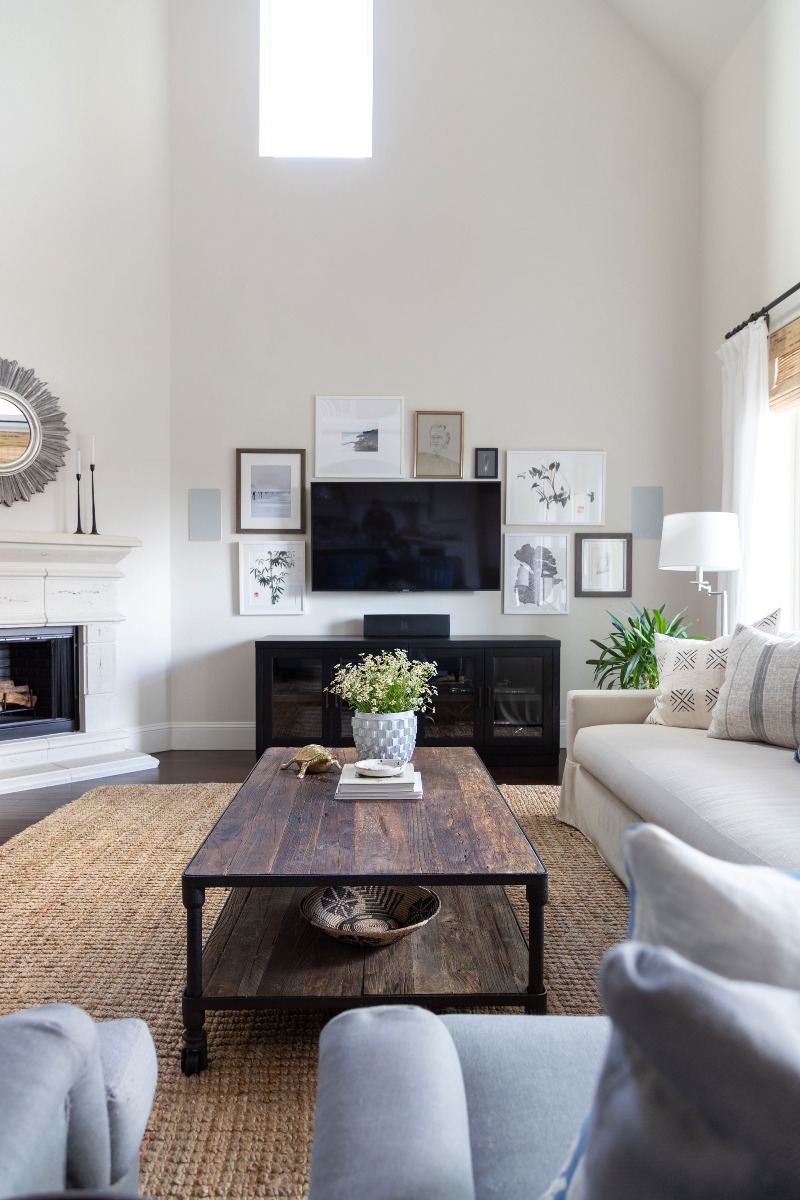
Collected gallery walls are just that, ones that have been or appear to have been collected and added to over time. Frames and sizes don’t have to match, and the beauty is in its randomness. These work well for bringing together art and/or photos that are different from each other.
How to Hang a Gallery Wall
Now that you know the style of a gallery wall you want, let’s get you ready to hang it. This part can be intimidating, but with some tips and tricks, you will be able to confidently hang a gallery wall.
Accept the Holes
You’re going to be hanging a lot of picture frames so you’re going to have a lot of holes in your walls. But, it’s ok. I promise. Holes can be filled and paint can be touched up. If you have some existing wall damage wait to touch up until you have your new gallery wall layout in place. That way you can fill any accidental holes you make on your way to your new gallery wall at the same time.
Renter Tip: If you’re living in a rental and your landlord says absolutely no to holes in the walls you can try Command picture hanging strips. I’ve done that in a rental before. Just make sure you are not using heavy frames and add extra Command strips just in case.
Lay it Out
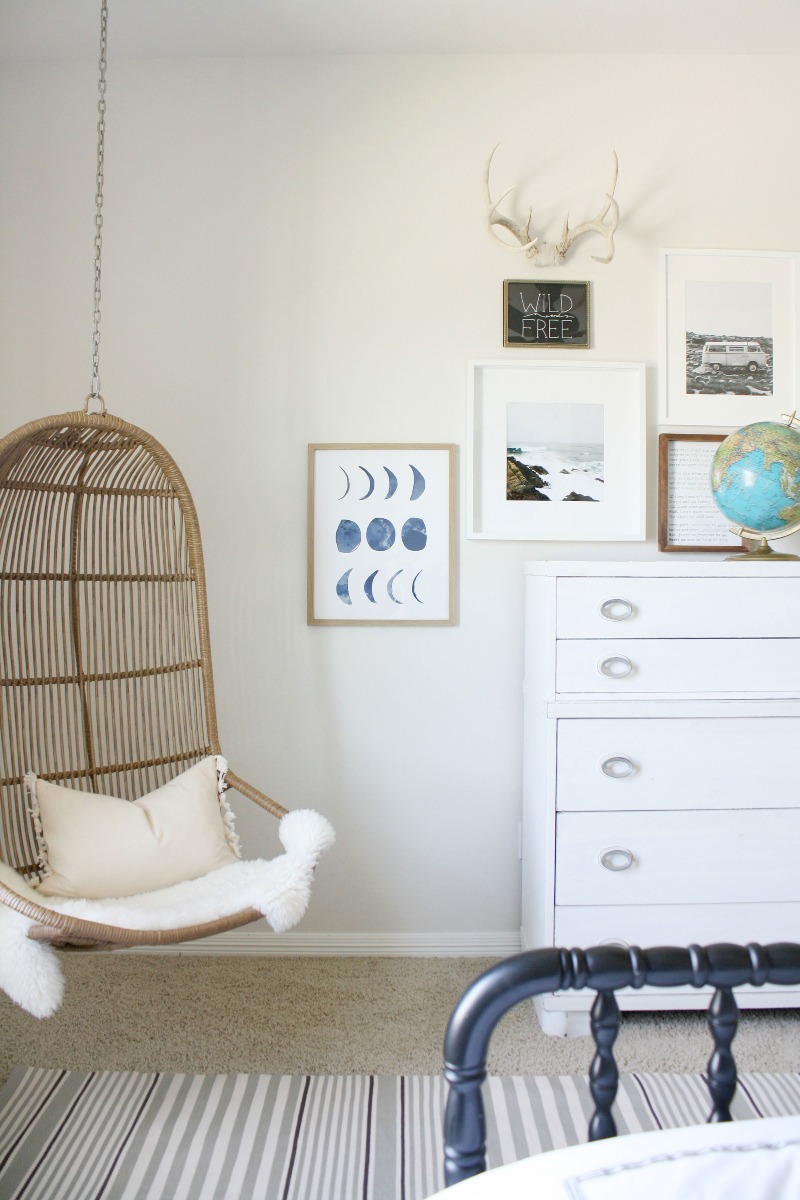
Your first step is to lay all of your frames out on the floor and figure out your layout as well as how much space you want between the frames. If you’re doing a collected gallery wall it’s a good idea to take a photo of the layout so you can refer back to it if you forget what piece of art goes where.

Find Center
Grab a tape measure and a pencil. Find the center of your wall and mark it. You want to build your gallery wall out from this center point.

How to Get Even, Straight Frames
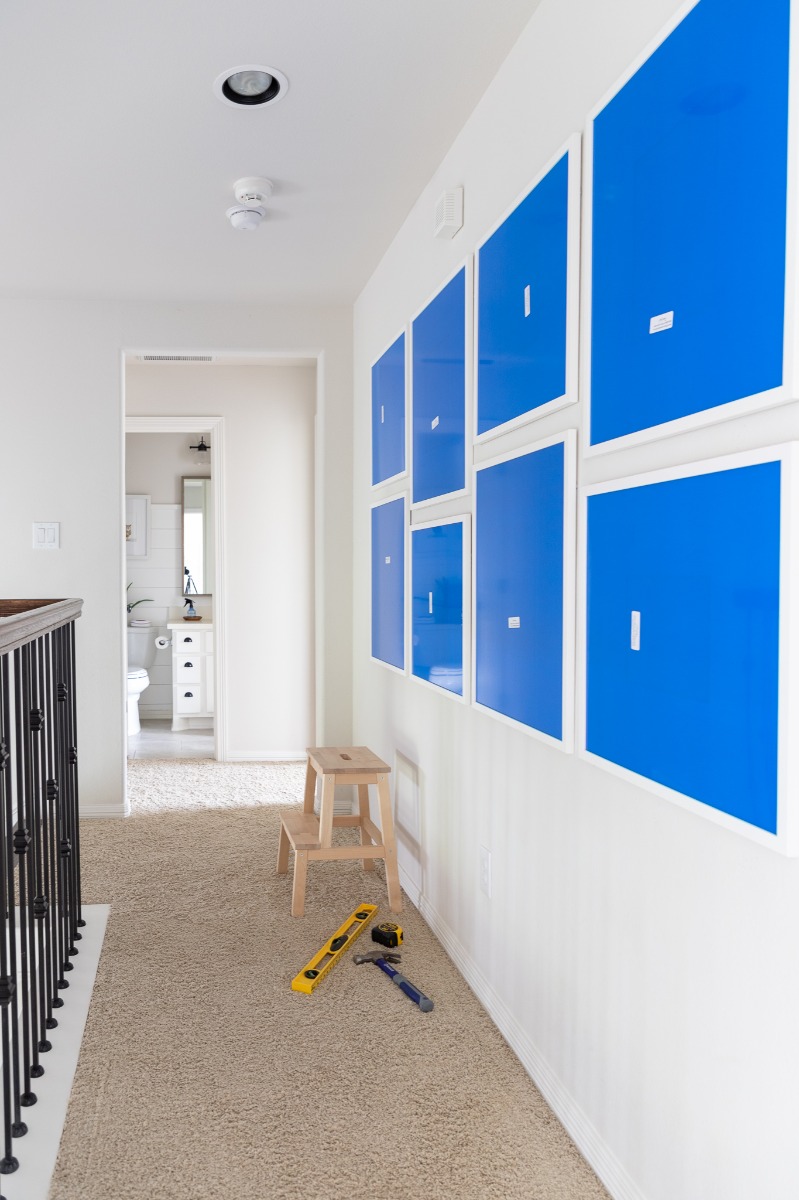
To get even, straight frames every time grab some painter’s tape, a marker or pen, and a level. And yes, nails and a hammer.
- Tear off a piece of painter’s tape a few inches wider than the frame. With the frame picture side down, lay the piece of painter’s tape across the back of the frame sticky side up. Mark the centers of the hanging hardware on the tape with a marker or pen (this is the sticky side). If you can’t see the mark through the front of the tape, mark the front side as well.
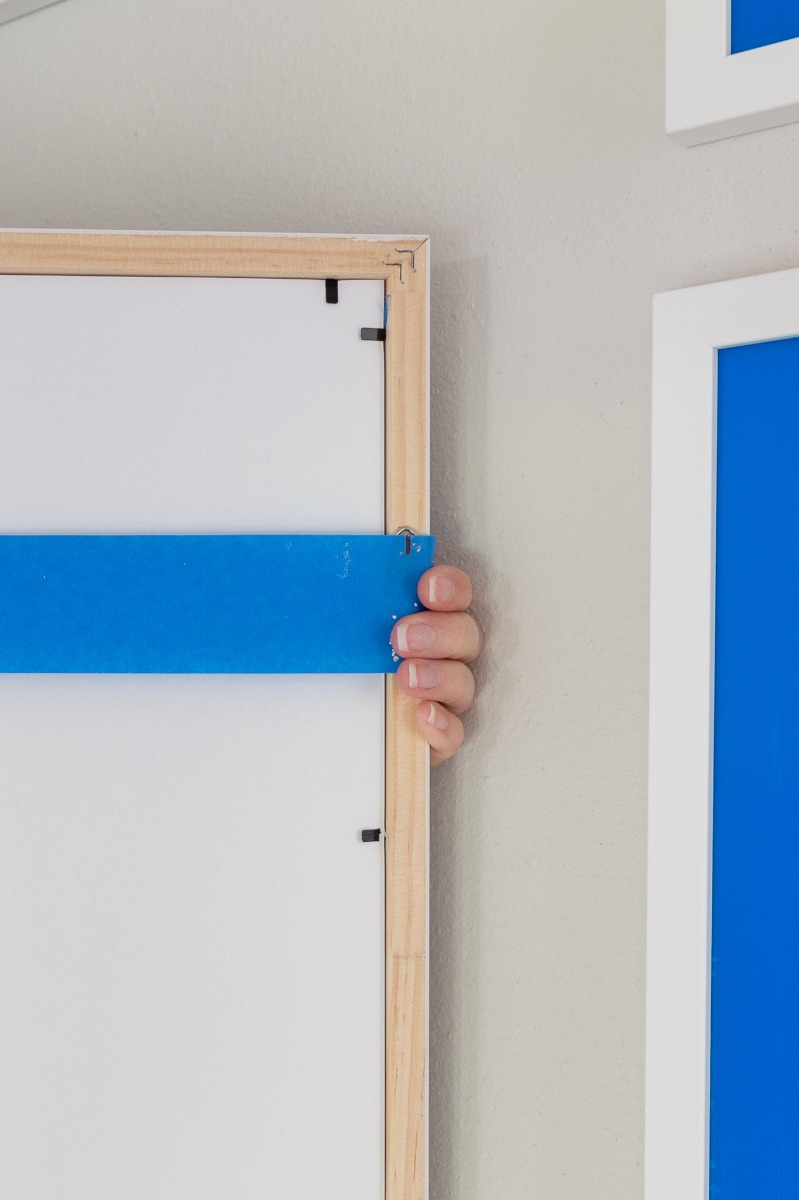
- Keep the tape pulled tight across the back of the frame and in place over the hanging hardware. If this is the first frame you are hanging up, sit a level on top while you find the correct position. After the first frame is hung, use a measuring tape and pencil to lightly mark the wall with the width you want between frames both above and to the sides. For my frames, I had a 2-inch space. You will use those markings as a guide for placing all remaining frames.
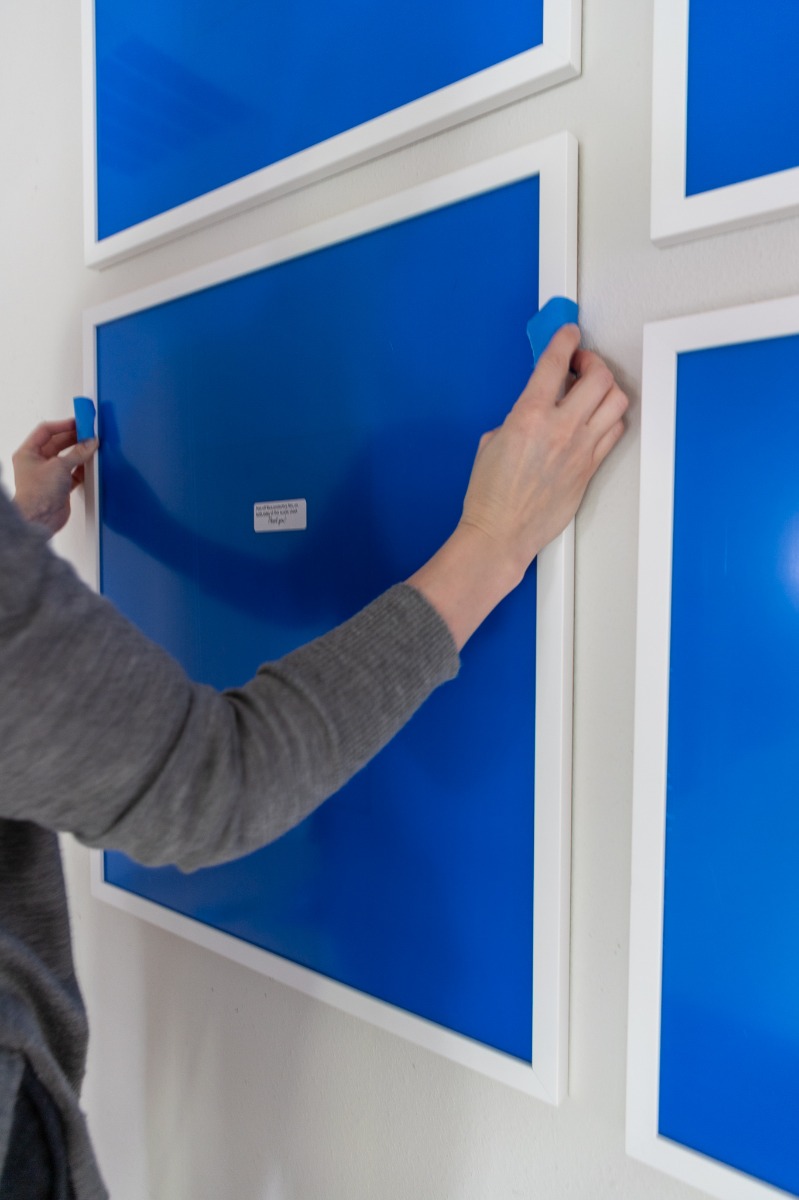
- Press the tape into the wall and remove the frame. You now have exact marks for where to add your nails.
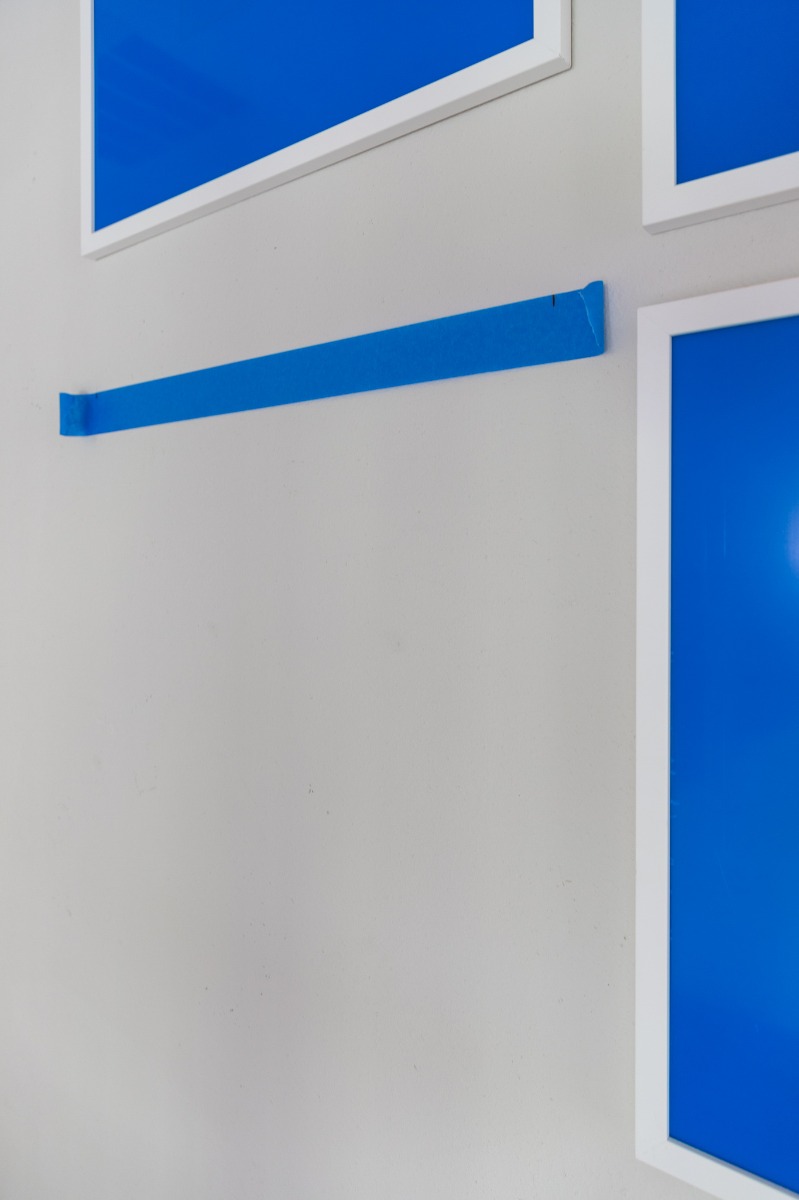
- Hammer in your nails and remove the tape.
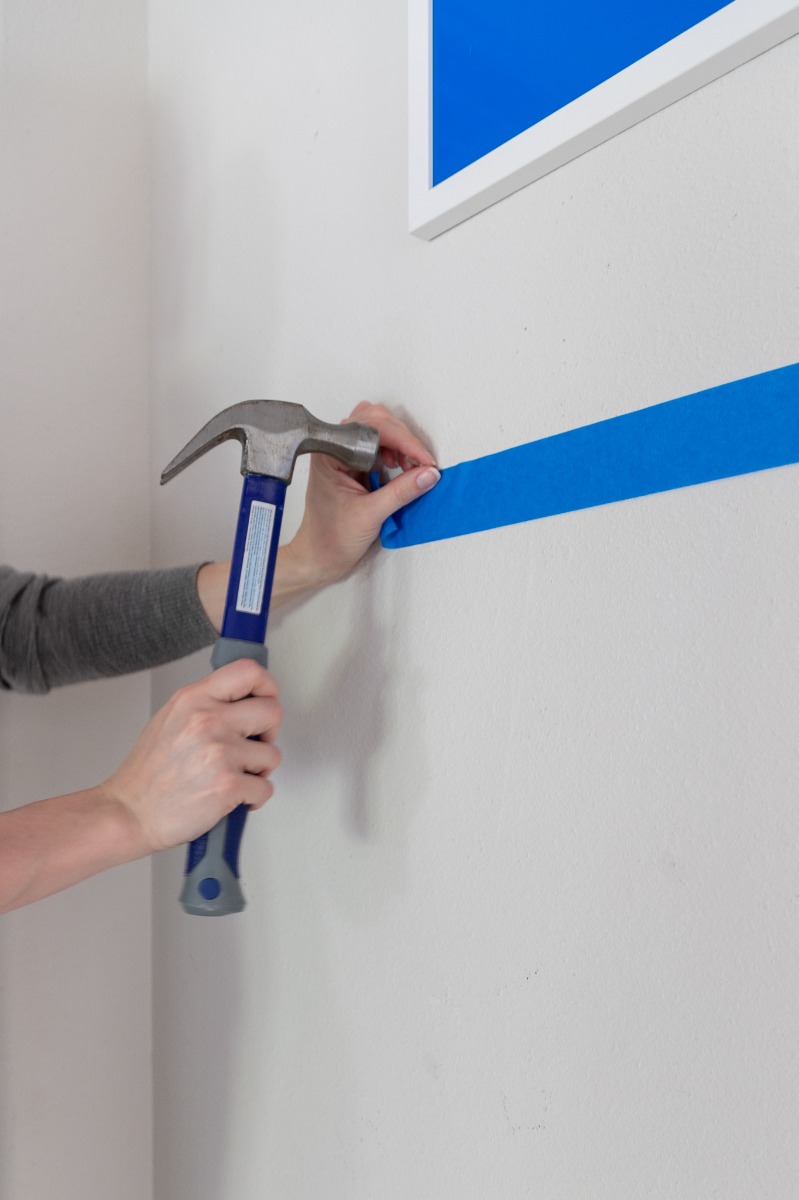
- Now you have perfectly level and evenly spaced frames!
Touch Up
Now is the time to touch up any holes that were existing or occurred while adjusting your frame placement. Take your new frames down but leave the new nails in place so you know which holes need to be filled and which are in use.
Once everything is touched up, hang your frames back up and enjoy your beautiful new gallery wall!
About The Author
 |
Shelley, the blogger behind Crazy Wonderful, lives outside of Houston, TX with her husband, two children, and a dog. She is currently working on making their builder-grade house feel like a home through DIY projects and thoughtful purchases. Inspiring others to create a home they love is why Shelley enjoys blogging so much. Her belief is that with a little creativity and elbow grease, you can make your home look like a million bucks without spending it. |

