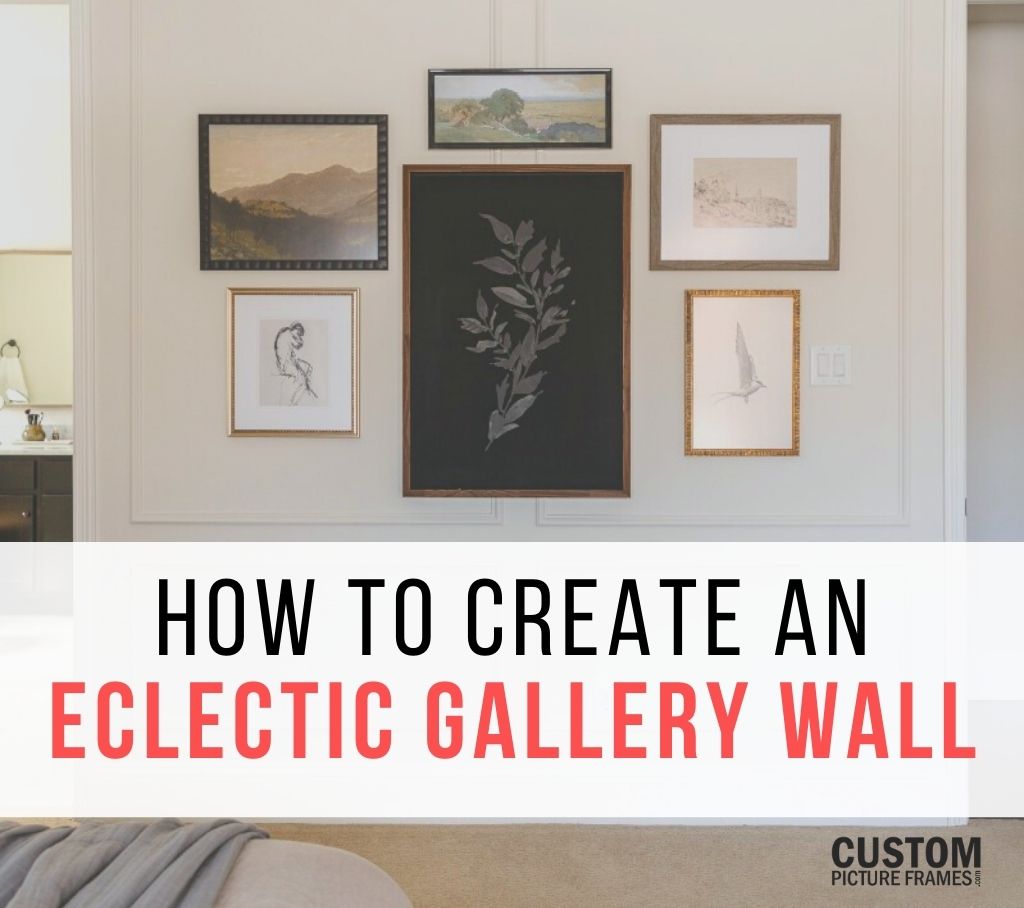
There is just something so charming about a gallery wall. They fill a wall unlike anything else and tell a story about the people that live there. Gallery walls come in many different styles. The ones that have captivated people’s attention the most are eclectic; using varying styles of art, frames, and sizes. A curated collection of art that appears to have been carefully added to over time. Today I’m going to share with you how to create an eclectic gallery wall of your own.


Gather Inspiration
Maybe you have some existing framed art that you want to include in your gallery wall, or maybe you’re starting completely from scratch. Either way, you’ll want to gather some inspiration for how you want your wall to come together. Pinterest is always a great place to start your search. Create a board with galleries that pique your interest and refer back to them when looking for art, frames, and layout ideas.

Try-on Session
One of my favorite ways to figure out a new look for my home is to “try it on”. Take a photo of the wall you want to add a gallery to and upload it to a photo editing website, app, or program that will allow you to layer additional photos on top. Personally, I like to use Picmonkey.com for this.
First, upload a photo of your wall to the photo editor. Next, take screenshots of art and picture frames that catch your eye. Refer back to your inspiration photos so you can play with different layouts. Now, layer art and frame screenshots onto the photo, adjusting size and position until you find a layout you love. This will help you visualize how the art will work together and what style of frames are best for your space.

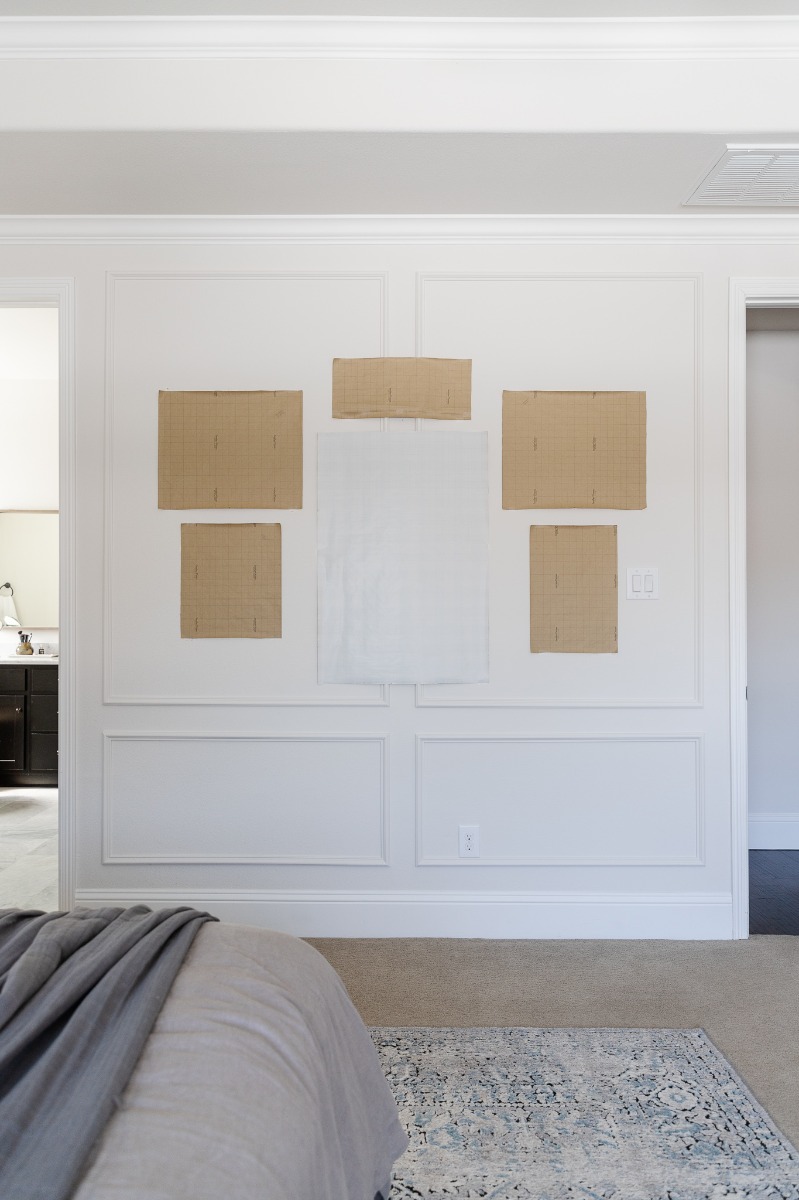
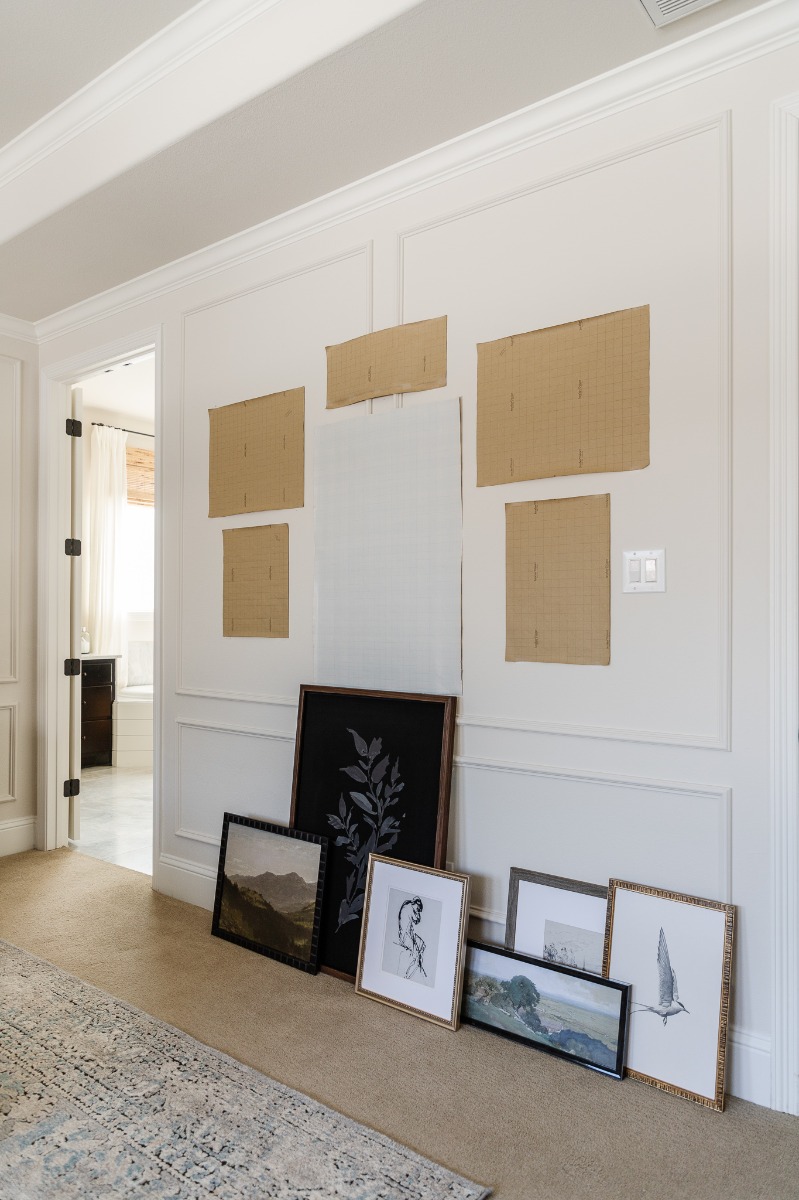
If you want to visualize it even more (I always do), you can make paper templates to help nail down your exact frame measurements. I used wrapping paper for my templates. The backside of the wrapping paper had grids which made this even easier. Kraft paper or strips of painter's tape works too. When you’re finished with those templates save them because they’ll come in handy later!
Choosing Frames
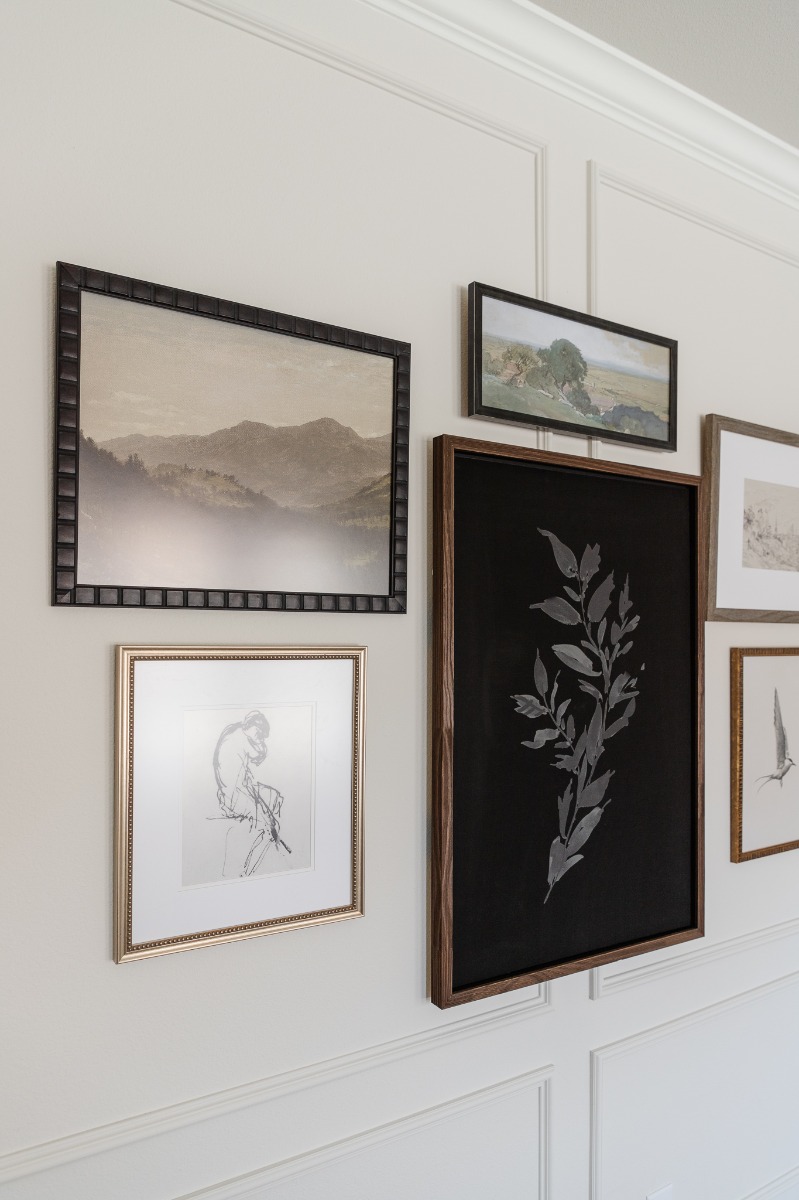
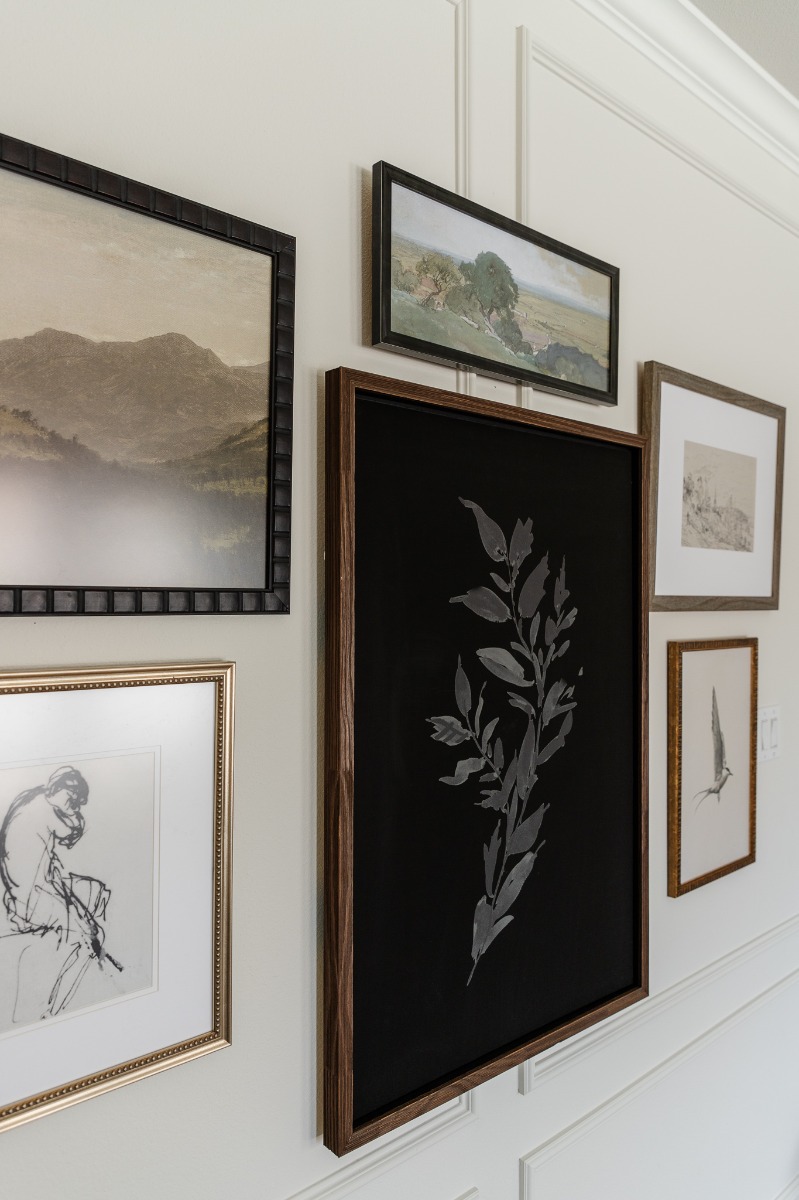
Eclectic gallery walls are fun to put together because no two frames have to be identical. For the grouping in my bedroom, each of the six frames was different. To help reign in the options I repeated frame tones. Two black frames, two wood toned frames, and two metallic frames.
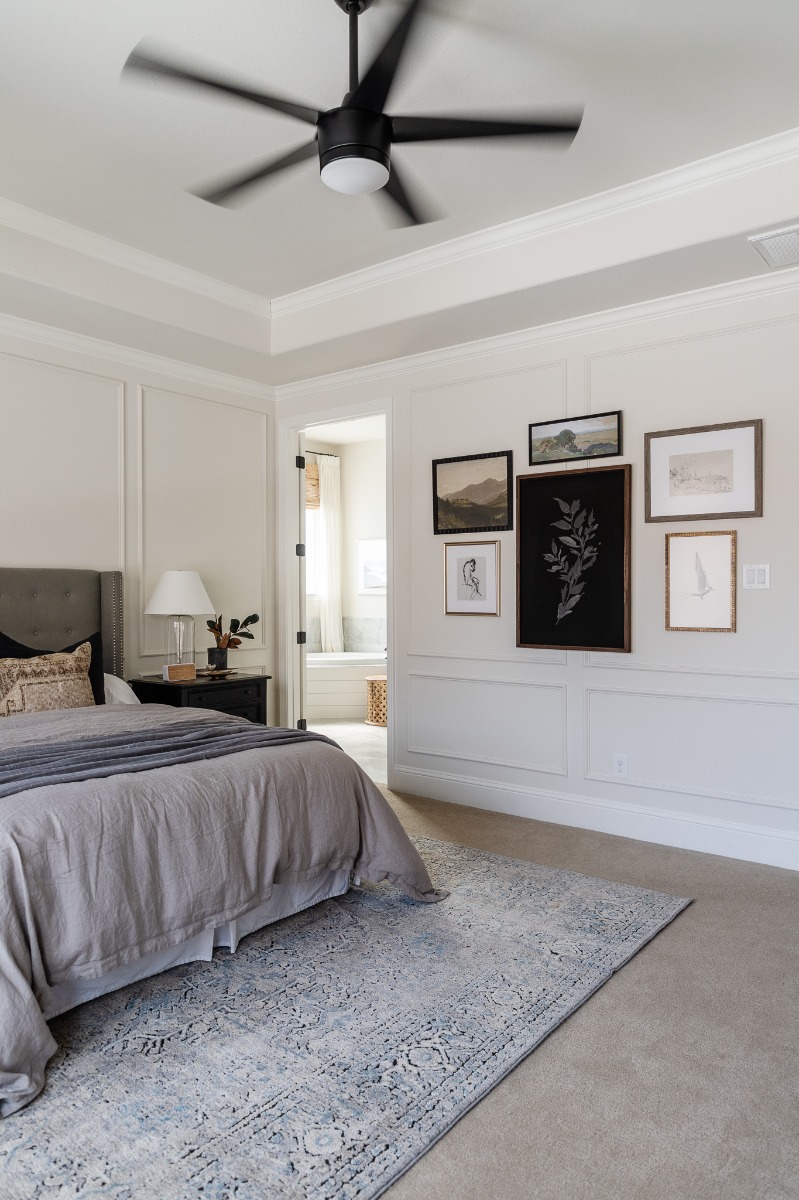
Picture frame moulding width is something else you will want to pay attention to. While there are no rules with this style of a gallery wall, I wanted my frames to have a similar moulding width. All of the frames I choose were a little under or over one inch wide.
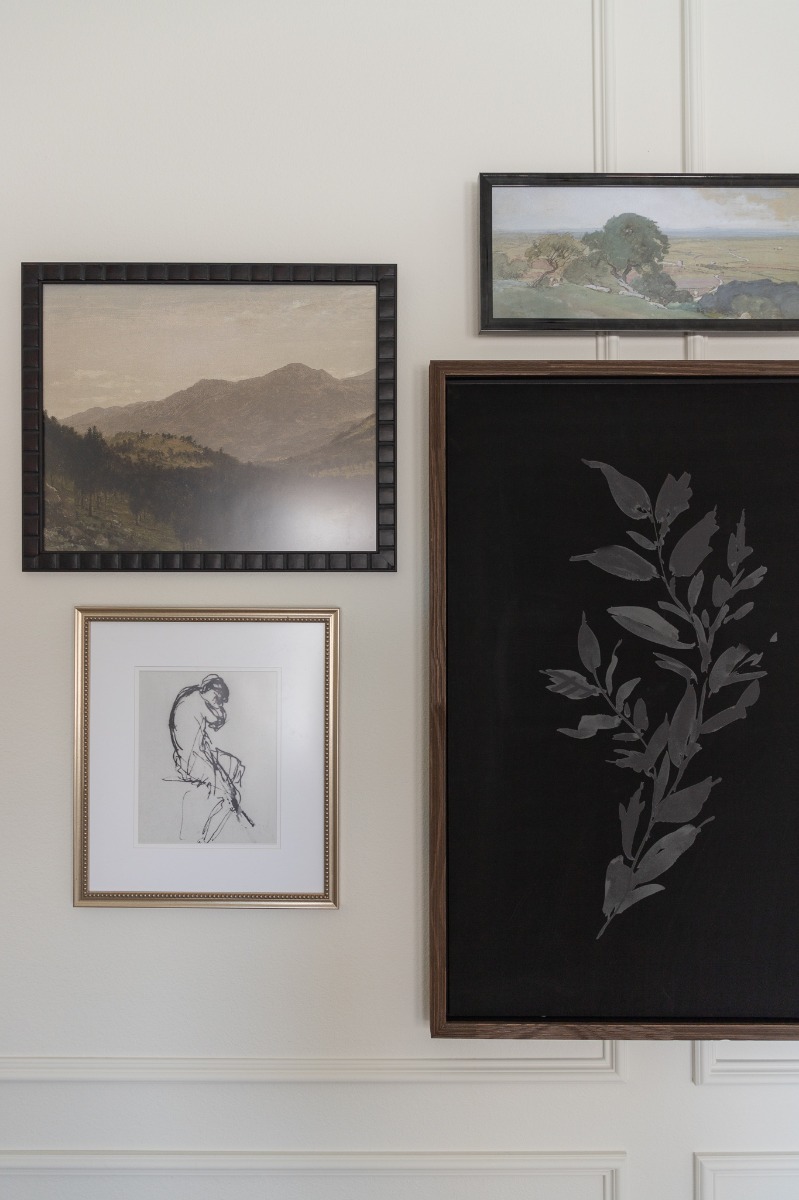
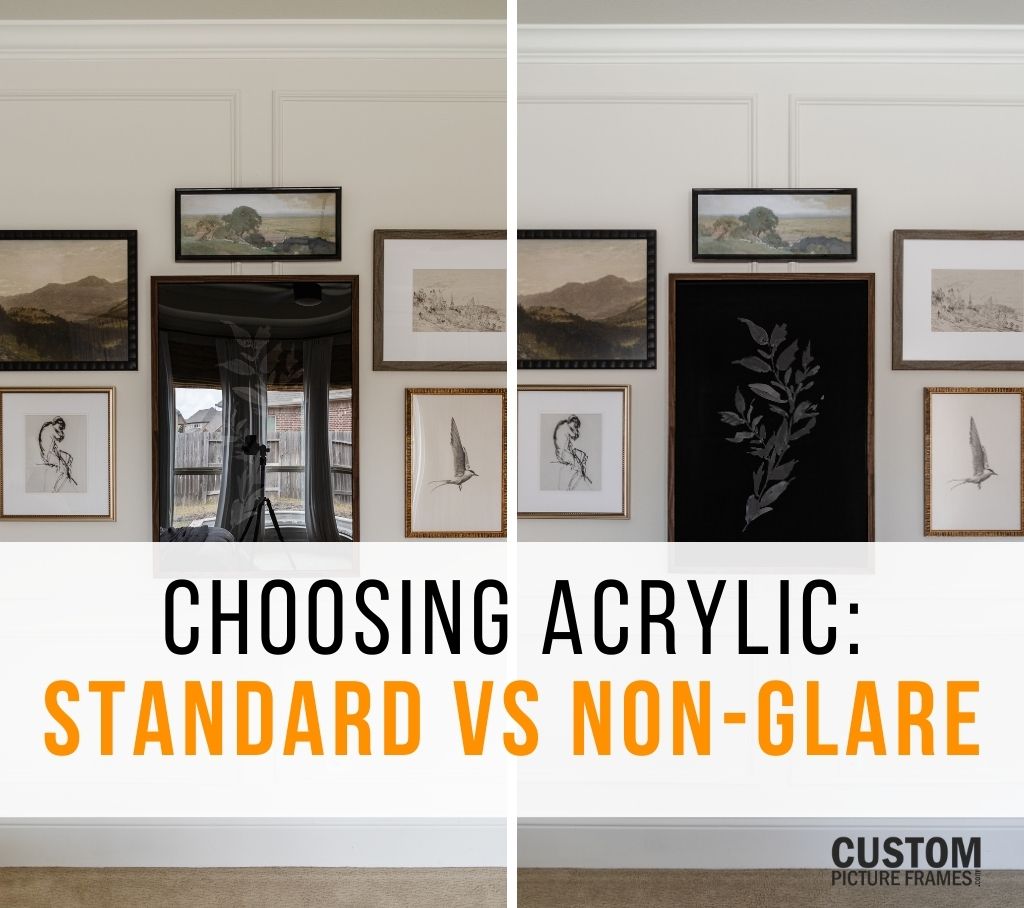
And don’t be afraid to think out of the box with your framing! Instead of using a traditional frame for my large centerpiece artwork, I used a shadow box frame. These frames are deeper with the artwork set at the back of the frame with separation from it and the acrylic at the front. I opted to forgo the acrylic and mounted my art print (which was 1/2 inch smaller than the frame) on a piece of foam board. It proved difficult to capture on camera, but the extra dimension it added is a cool effect.
Choosing Mats
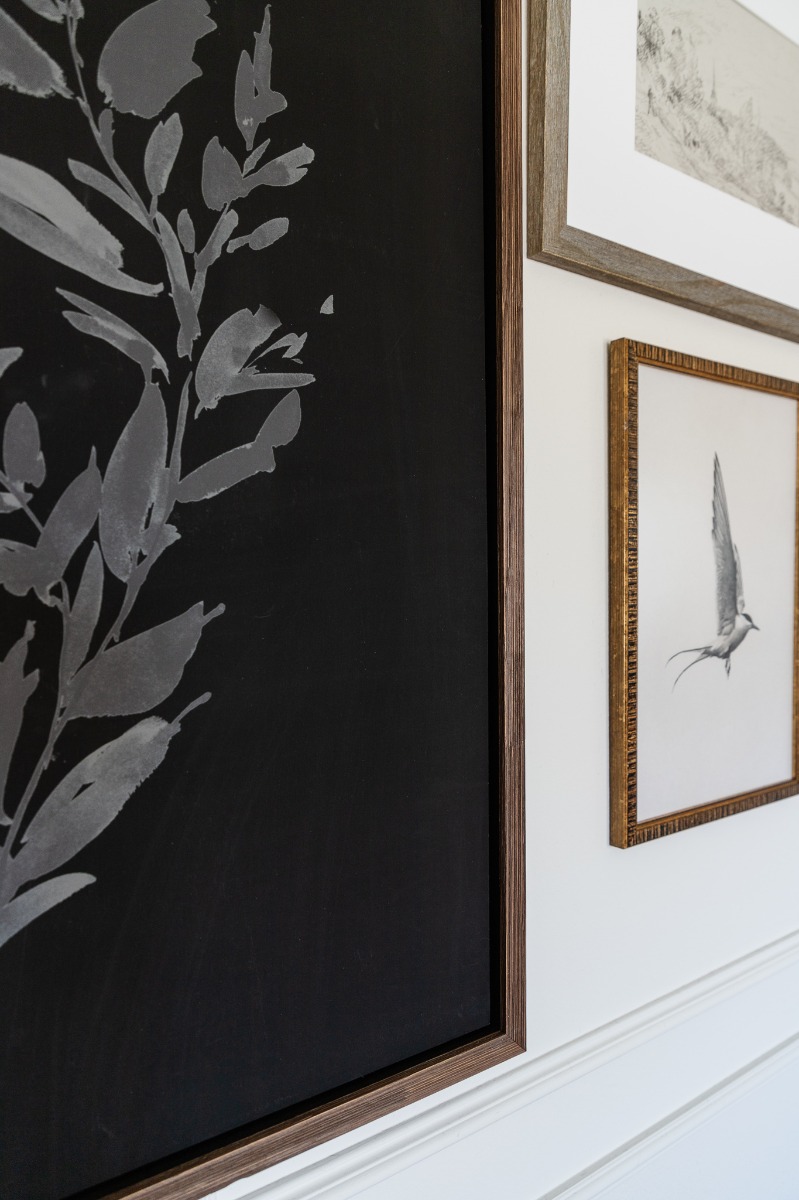
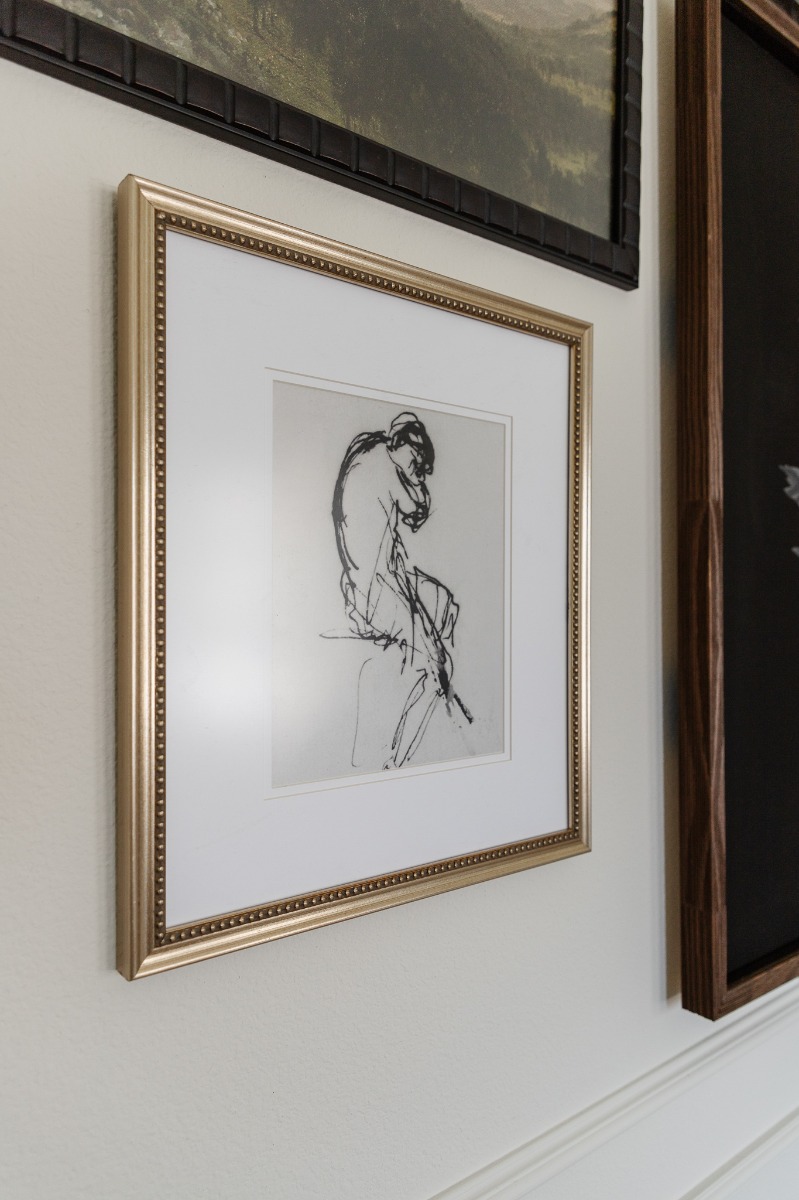
My favorite gallery walls have a mixture of frames with and without mats. For this grouping, the mats I used were the same color. Feel free to play around with size and style as well. For instance, this sketch below has a double mat setting it apart from the other single mat piece.
Choosing Art
Obtaining artwork has become a lot easier over the past few years. There are a ton of websites where you can download and print your own art which is a huge money saver. My favorite place to look is Etsy. For extra ease, you can even find curated groupings of artwork just for gallery walls.
As I did in repeating frame tones, I repeated the type of art I used. Neutral sketches, and painted landscapes in coordinating tones. This will still give you that eclectic feel but in a more cohesive manner.
How to Hang a Gallery Wall
This is usually where people chicken out. Hanging a gallery wall sounds intimidating, and no one wants to make unwanted nail holes in their walls. There are many tips out there that can make this daunting task much simpler.
For the wall in my bedroom, I reused the paper templates I made earlier in the process. If you skipped that step just trace each frame onto gift wrapping paper or Kraft paper and cut it out. Tape your paper template into place and adjust as needed. I find it handy to have a tape measure and level on hand to ensure correct spacing at this point. Hanging your frames is going to be a breeze now!
DIY Hanging Tool
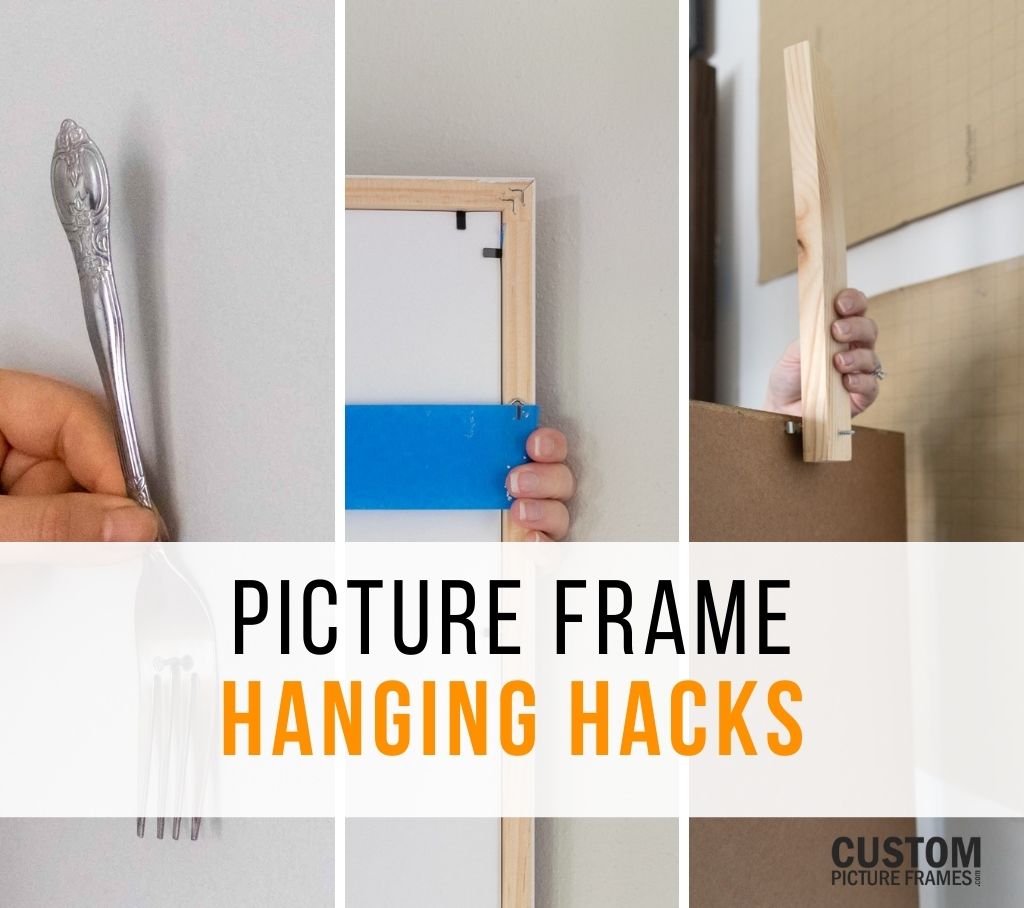
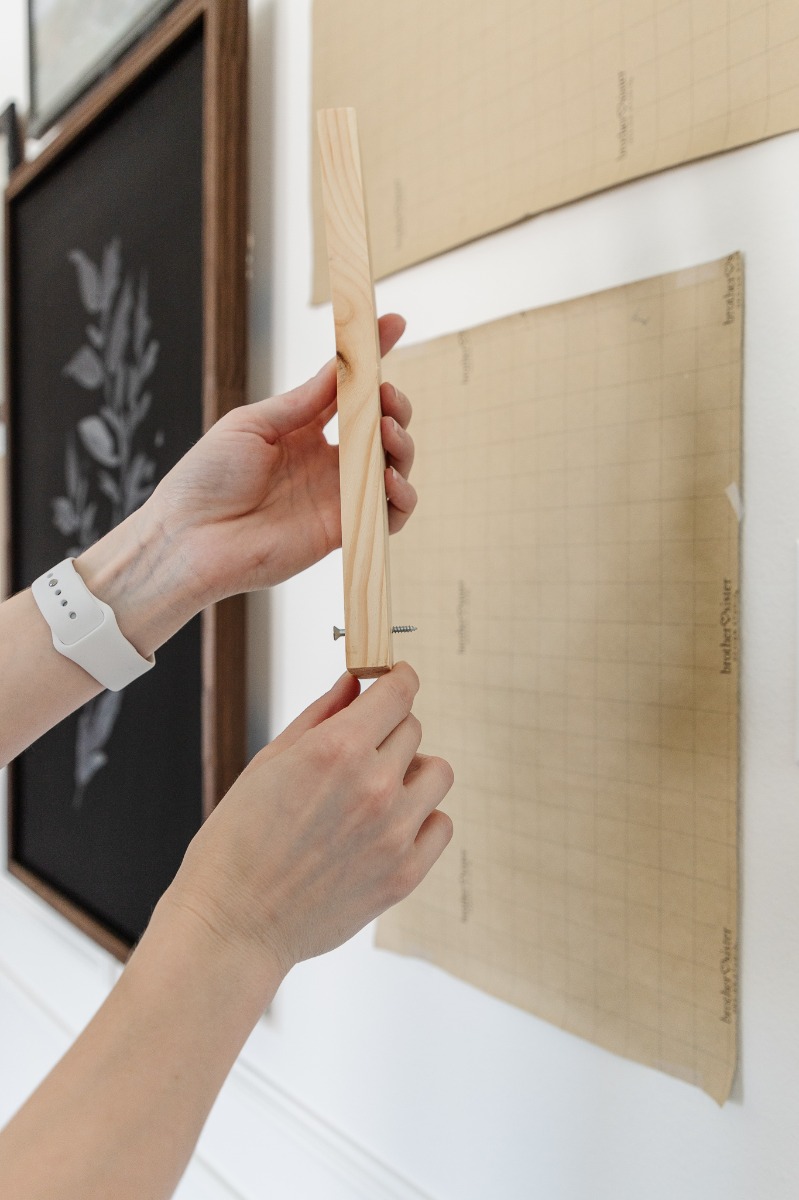
There are picture hanging tools you can purchase to help get your nail holes spot on, or you can make one with scrap wood for FREE. That’s what I did. Just put a screw through the end of a scrap piece of wood and you’re good to go!
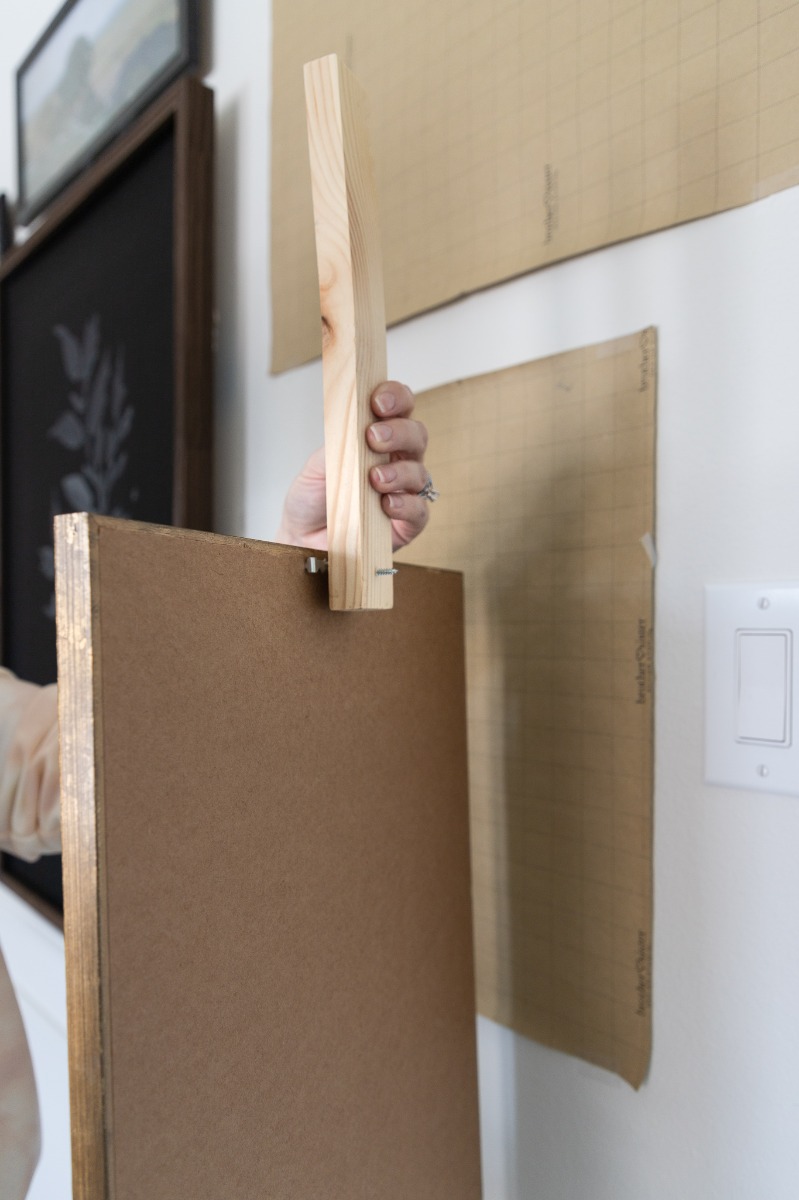
Hang the art from the screw, and when the art is in the correct position over the paper template just press the screw into the wall. You’ll have an indentation in the wall in the exact position for your nail. This even works for frames hung from wire.
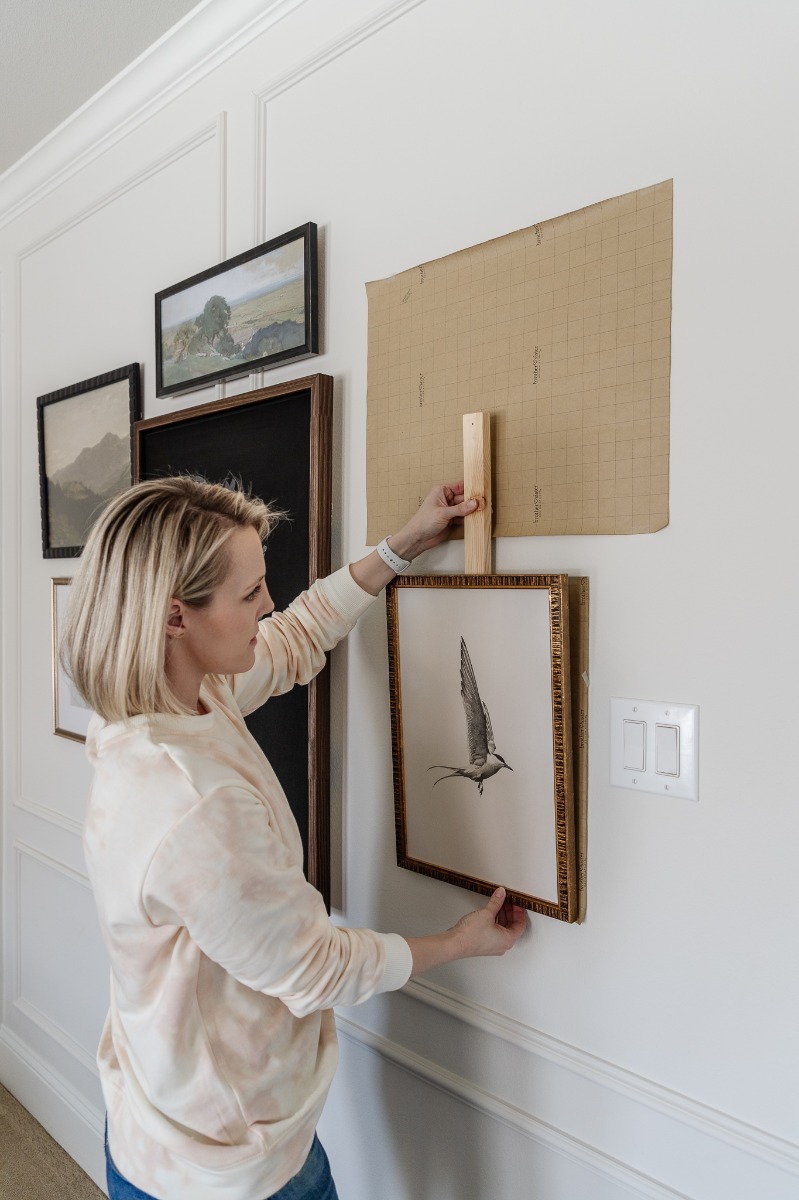
All that’s left to do is level everything out and enjoy your work.
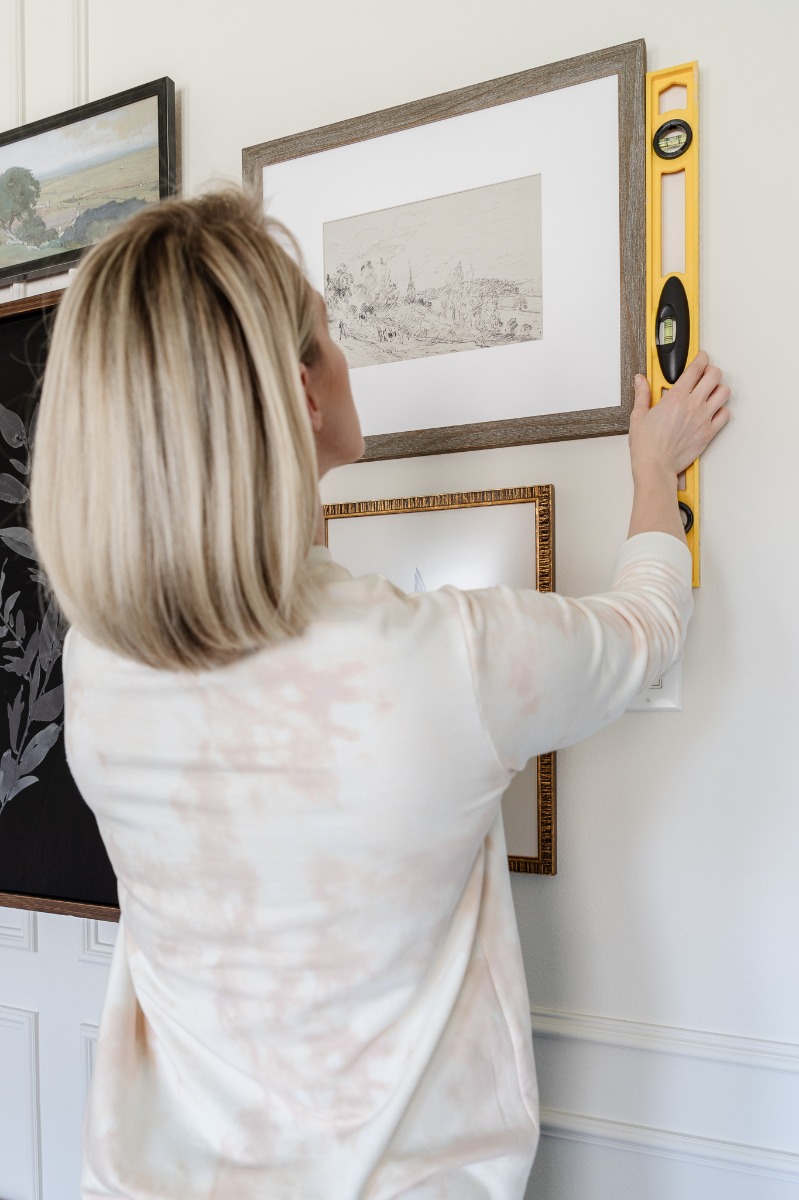
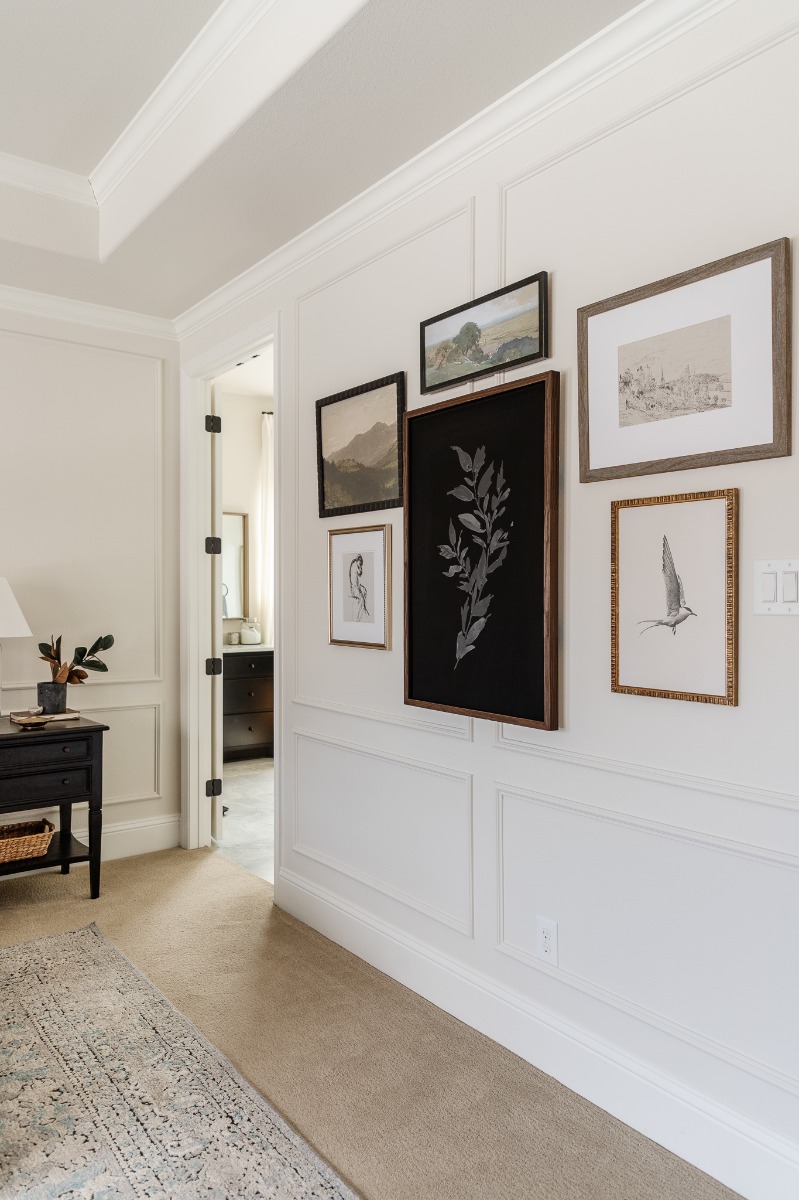
Now that you know all the tips and tricks on how to create an eclectic gallery wall I hope you’ll give it a try!
Frame and Art Sources
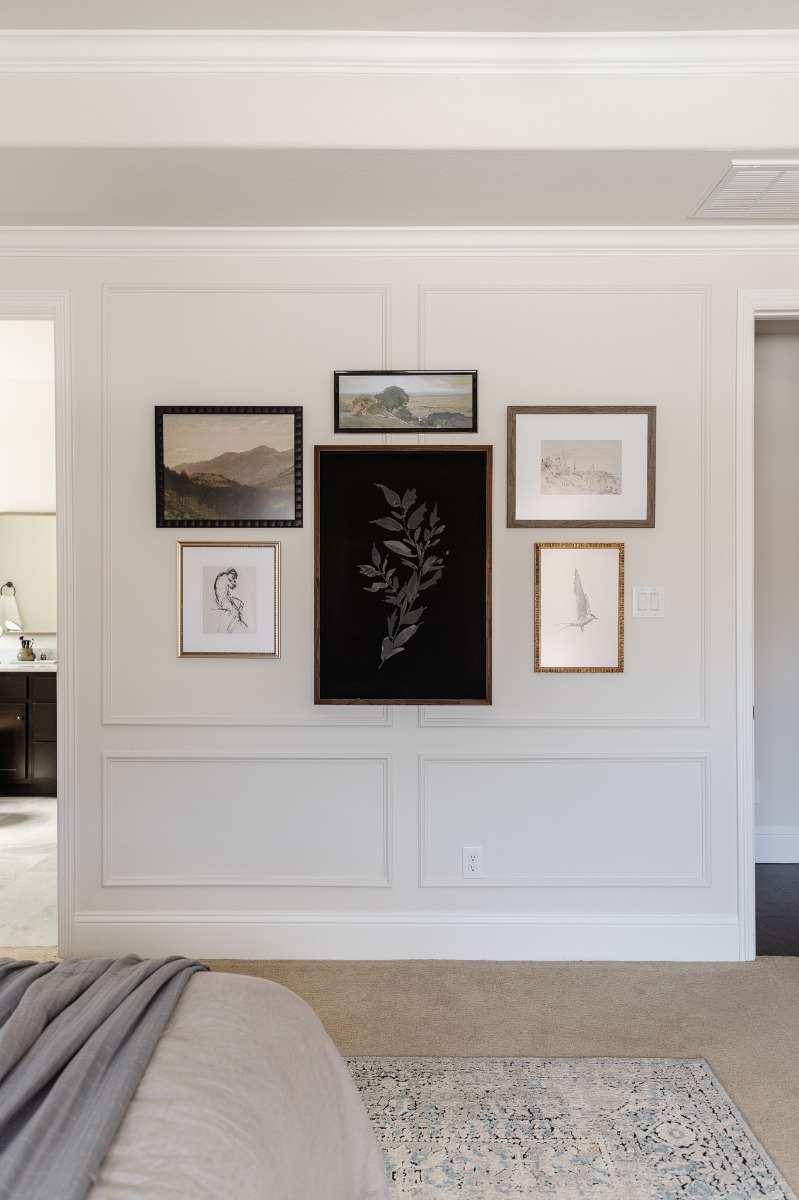
Frame and art sources in clockwise order:
- Pierson Frame – Watercolor Landscape
- Holden Frame – Countryside Sketch
- Kingsley Gold Frame – Bird Sketch
- Bruno Shadowbox – Black Sage
- Liscio Argeto Frame – Figure Sketch
- Walker Frame – Mountain Forest
About The Author
 |
Shelley, the blogger behind Crazy Wonderful, lives outside of Houston, TX with her husband, two children, and a dog. She is currently working on making their builder-grade house feel like a home through DIY projects and thoughtful purchases. Inspiring others to create a home they love is why Shelley enjoys blogging so much. Her belief is that with a little creativity and elbow grease, you can make your home look like a million bucks without spending it. |


