Elevate Your Canvas Art: A Step-by-Step Guide to Installing it in a Floater Frame
September 06, 2023
Canvas art has a unique ability to transform any space. Its texture and depth bring life to your favorite memories and artistic expressions. One way to enhance the presentation of canvas art is by framing it in a floater frame. This not only adds a professional touch but also protects the canvas. In this guide, we'll walk you through installing your canvas art into a floater frame using countersink pilot holes, spacers, and screws for a flawless finish.
Watch our video tutorial or follow the step-by-step instructions below to frame your canvas art in a floater frame like a pro!
Supplies
Before you begin, make sure you have the following materials ready:
- Canvas Art
- Floater Frame
- Drill
- Countersink Drill Bit
- Screwdriver Drill Bit
- Spacers (plastic or cardboard)
- Screws
Step 1: Measure and Mark
Start by measuring your canvas art and the floater frame to ensure a perfect fit. Use a measuring tape and a pencil to mark where the screws will go along the back of your floater frame. Maintaining uniform spacing around the frame is essential for a balanced look. The larger your canvas art and frame is, the more screws you'll want to use to secure your art into the frame.
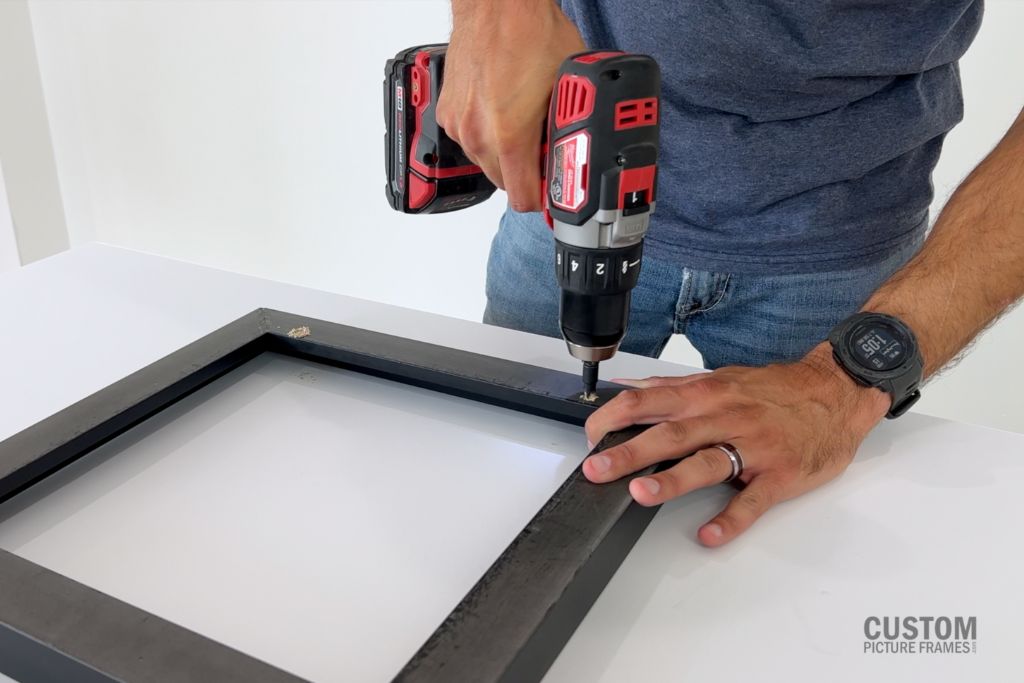
Step 2: Create Countersink Pilot Holes
To make sure the screws sit flush with the frame, you'll need to create countersink pilot holes. Attach a countersink drill bit to your drill. Position it over each marked spot and drill gently. Be cautious not to drill too deep; the goal is to create a slight indentation for the screw heads. While this isn't necessary, it does create a more professional finish and keeps the screws from damaging the wall behind your frame.
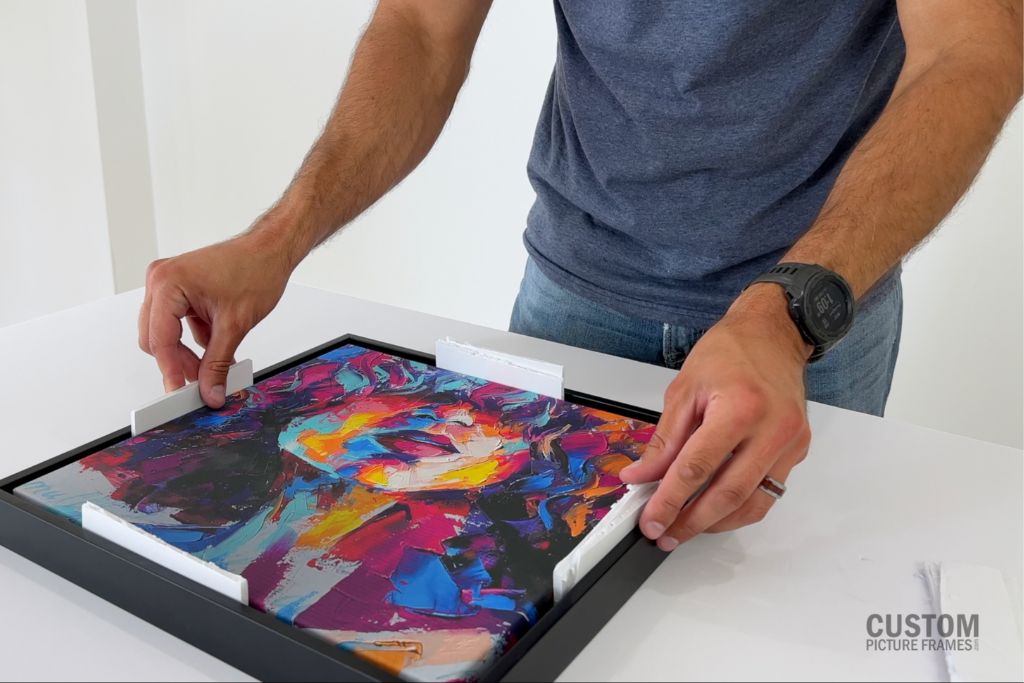
Step 3: Insert Spacers
Turn your frame over and insert your canvas into the frame. Place spacers along the inner edge of the floater frame, ensuring they're evenly distributed. These spacers create a gap between the canvas and the frame, giving it that 'floating' effect. You can use plastic or cardboard spacers; the choice is yours.
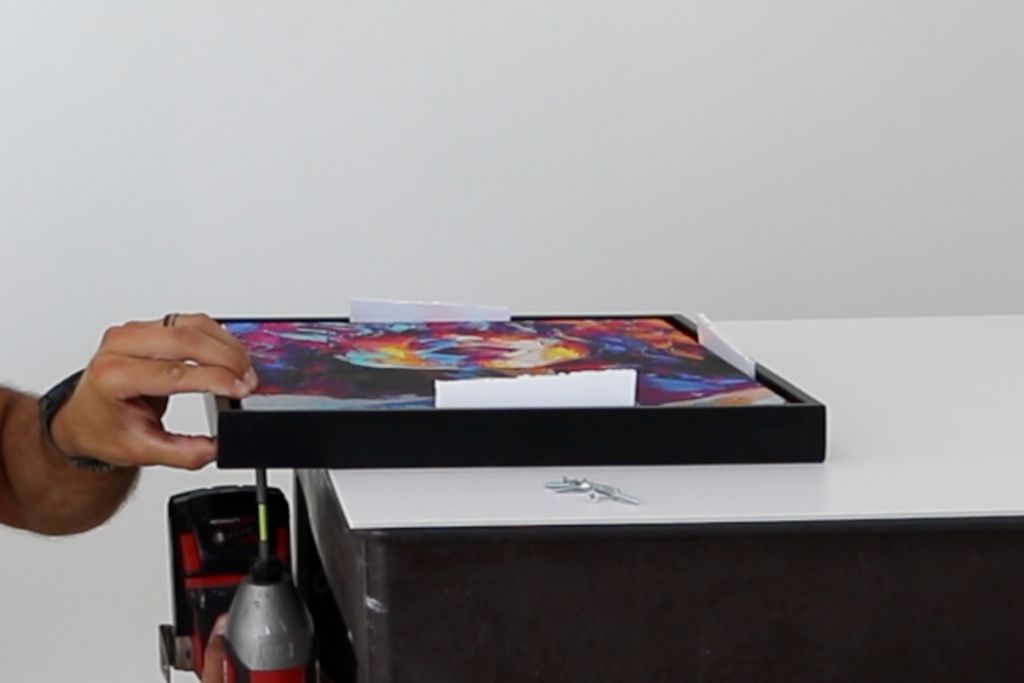
Step 4: Screw It In
Now, it's time to secure your canvas in the floater frame. Slide your frame to the edge of your workspace to make the pilot holes accessible. From one corner, insert screws into the countersink pilot holes in the frame from underneath. Be gentle and use enough pressure to tighten the screws without damaging the canvas. Continue this process for all marked spots around the frame.
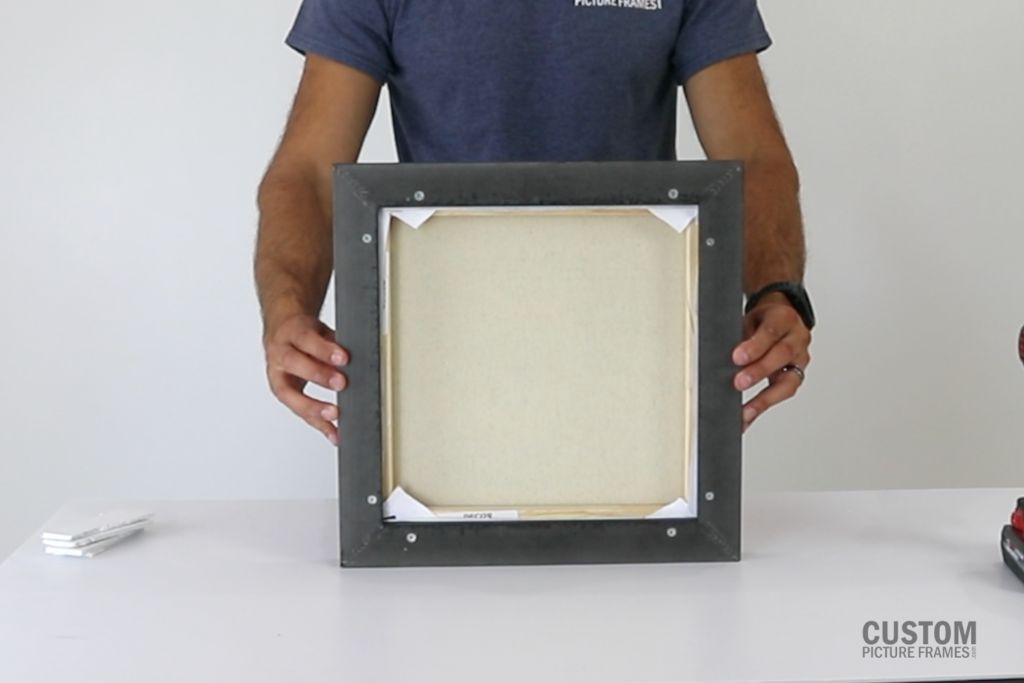
Step 5: Hang Your Masterpiece
With your canvas securely installed in the floater frame, it's now ready to be hung on your wall. Remove the spacers and use appropriate hardware to ensure it's level to showcase your artwork beautifully.
Framing your canvas art in a floater frame is a fantastic way to elevate its presentation and protect it for years. By following this step-by-step guide, including creating countersink pilot holes, using spacers, and carefully screwing the canvas into the frame from underneath, you'll have a professionally framed masterpiece that will impress anyone who sees it. Enjoy your art in all its glory, proudly displayed for all to admire!
About The Author
 |
Brittany DeMauro is the Creative Director here at CustomPictureFrames.com. With a background in creative writing and a passion for all things DIY, you'll find her in the shop crafting content. She can always find space for a fun gallery wall and loves discovering new artists to display around her home (in custom frames, of course!) When she's not creating content for our brand, she can most likely be found binging shows on Netflix with her two cats. |
