A gallery wall can be a stunning focal point or a conversation starter in any space. But creating a gallery wall of your own can quickly turn into an overwhelming task. Here at Custom Picture Frames, our goal is to make custom framing more affordable and accessible and that extends to gallery walls as well. While you’ll always get the best frames thanks to our high-quality materials, it could be hard to get started planning your gallery wall.
To help make the gallery wall planning and hanging process easier, we asked interior designers for some of their favorite tips.
Getting Started
Planning is key when it comes to the perfect gallery wall. It also helps to avoid stress down the line during the hanging process. Planning includes everything from where you’re going to place the gallery wall to the images you’re going to display.
Look for Inspiration
Jess Welling, a residential interior designer and blogger in Seattle, recommends starting with a Pinterest search and finding a few looks you like. “Take note of the colors,” Jess advises. “whether they've used all black and white photos, graphic art pieces, canvases, or a mix of everything.”
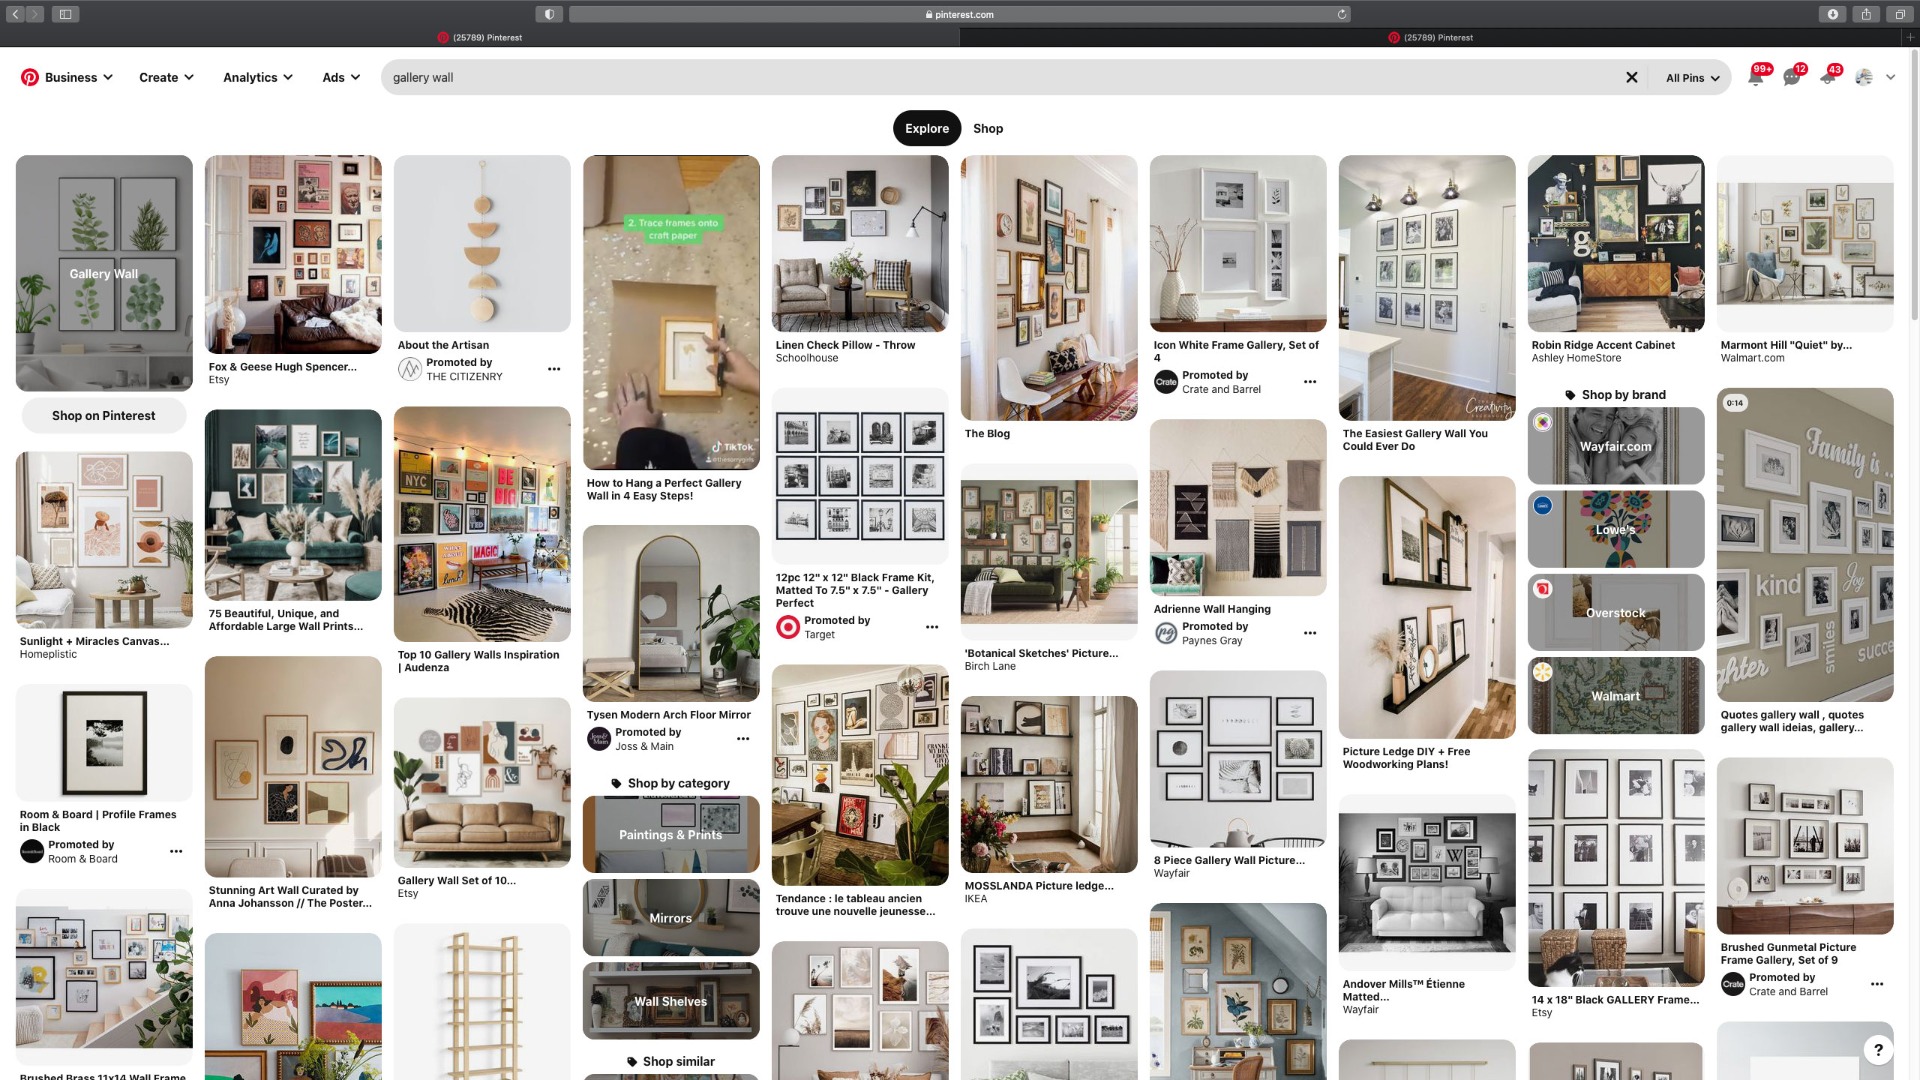
Image courtesy of Crazy Wonderful
Once you determine what you like, and what you don’t like, it’ll be easier to start piecing together your custom gallery wall.
Choose Your Layout
The layout of your gallery wall will make a huge impact overall. With so many configurations to choose from, it’s important to choose the perfect layout for your space.
“Figure out what you want your wall to look like,” recommends Jennifer Guerin, owner of JG Color Studios. Do you want a gallery wall with straight, clean lines? Do you want a little organized chaos? Jennifer also suggests utilizing Photoshop or an app like ArtPlacer to see what your idea may look like to make the best decision.
Pick a Theme
Now that you’ve identified the style and layout for your gallery wall, it’s time to curate the images. From family photos to art prints, the possibilities are endless.
Interior designer Joe Cangelosi recommends focusing on one big idea instead of a bunch of small ideas. This makes for a larger impact overall and will help make curating your images easier.
All of the interior designers we spoke with recommended focusing on decisions like color photos versus black and white imagery. Are you looking to display some of your favorite shots from vacation or decorate with pictures of your friends and family? Although they might be hard to make, these decisions are crucial to nail down before moving onto the next step.
Determine the Frames & Sizing
When we talk about sizing we’re looking at two different components. Determine how big your gallery wall will be. Then, it’s time to start planning the sizes of the frames that will fill that space.
“Don’t be afraid to include large pieces,” Jess says. “I see people make is using too many small framed photos or art pieces in a grouping. This can end up looking cluttered and giving off a dorm room vibe.” She recommends starting with your bigger pieces (think 16x20 inches or larger) and then fill in around those pieces with smaller ones.
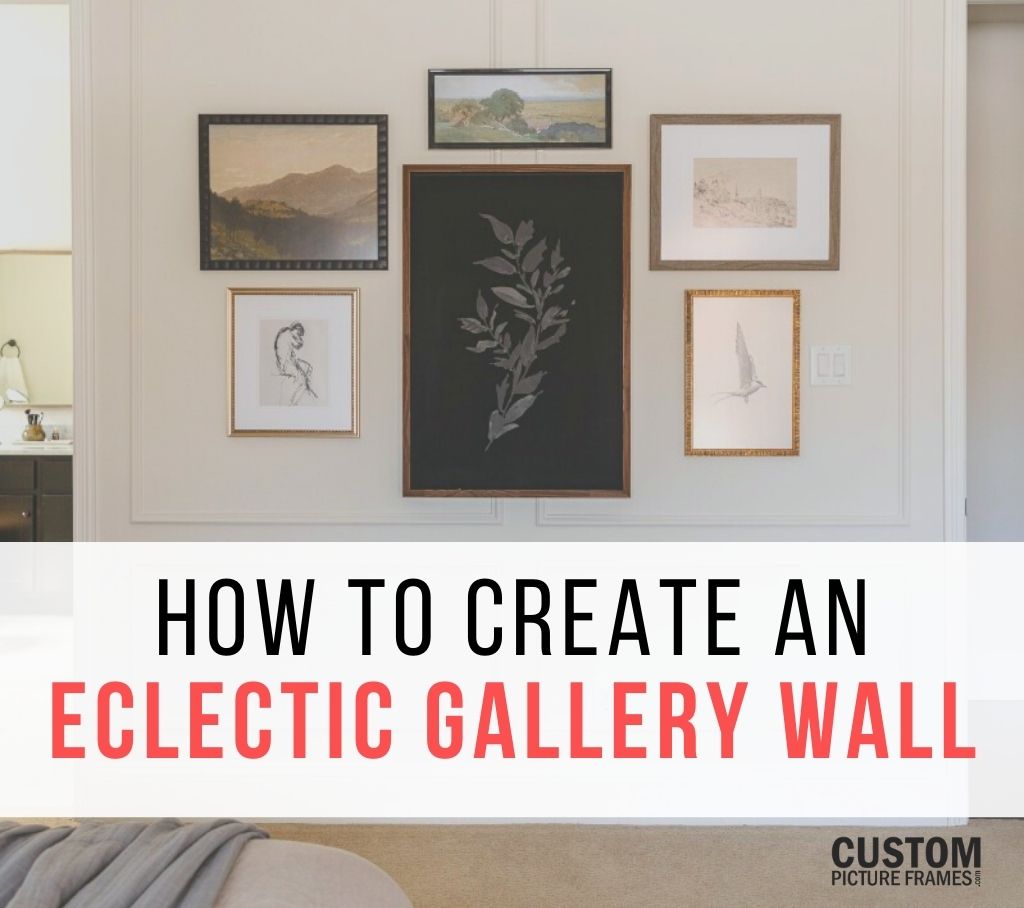
Along with the size of the frames, it’s time to start thinking about the style. Jennifer says “You can mix them up, or go for all vintage or all modern - whatever gives it your own personal style!” Even if you’re looking to replicate a style or layout you found on Pinterest or Instagram, no two gallery walls will be the same when you incorporate your own photos and images into the mix.
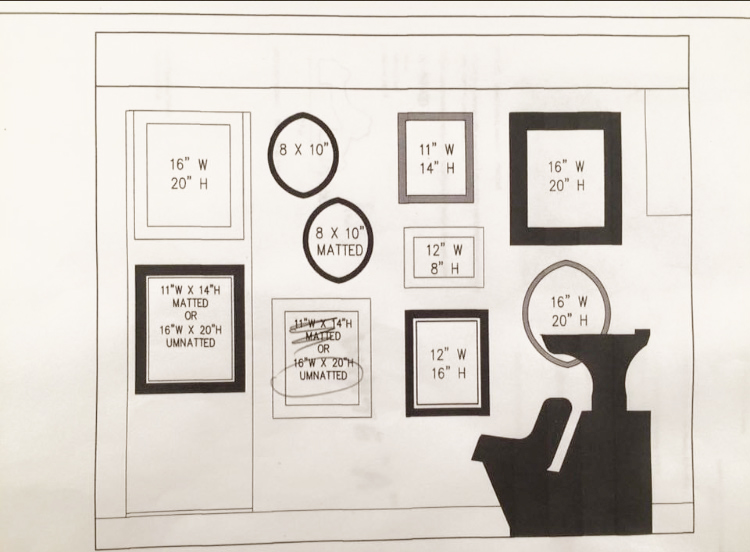
Image Courtesy of Joe Cangelosi Design
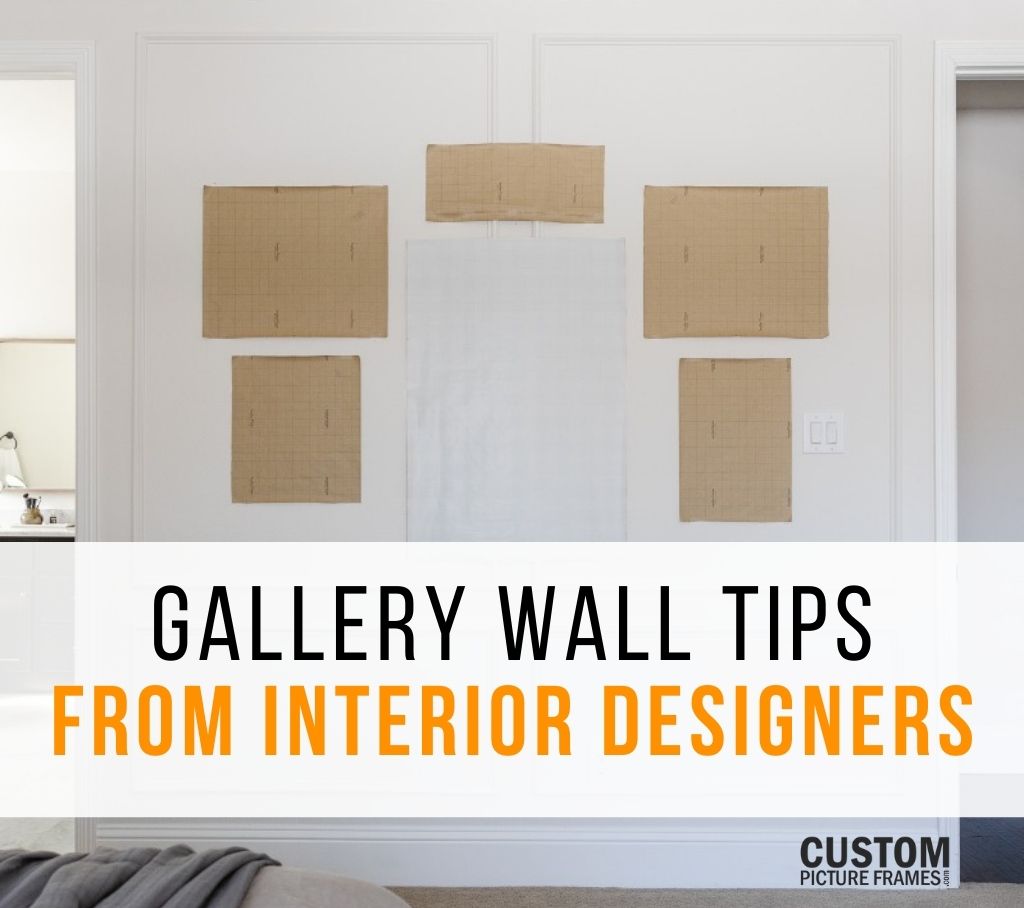
We hope we’re really driving home that a little planning goes a long way. Joe likes to take his ideas to the computer. “I use a computer program to approximate the size of each frame on the wall,” he says. “and can move them around the screen as needed to get the best composition.” But don’t worry if you don’t have the programs to do this online. You can also trace all your frames onto brown paper, and tape all the cutouts onto the wall using painter's tape. This brings us to the next step…
Gallery Wall Hanging Tips
If you haven’t traced your frames and cut out these handmade templates, now’s the time to do it. You can use craft paper, wrapping paper or even newspaper depending on the size of your frames. Don’t forget to mark where the hanging hardware is as well!
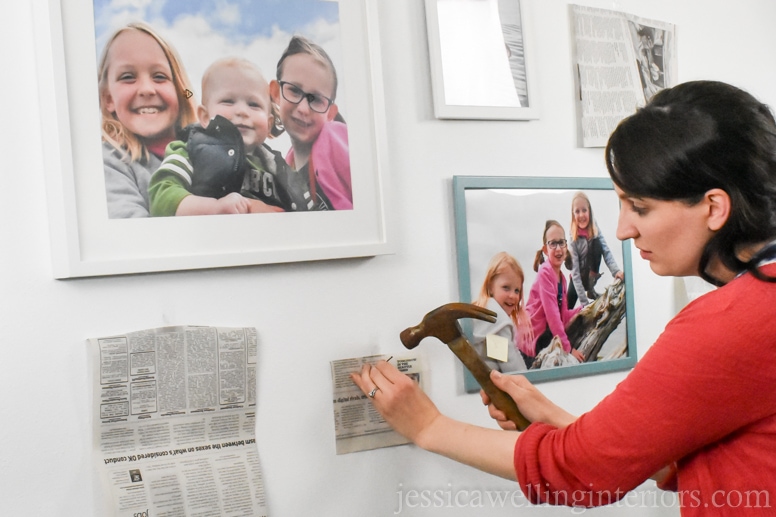
Image Courtesy of Jessica Welling Interiors
“Start by taping the largest piece of paper to the wall,” Jess advises. It's important to create a balanced arrangement, whether you’re creating a symmetrical grid or an eclectic spread. Now that your layout is on the wall, you can make adjustments to ensure you don't end up with all vertical frames on one side and horizontal on the other.
“Once you like how it looks, then add nails and hang each frame!” Joe recommends.
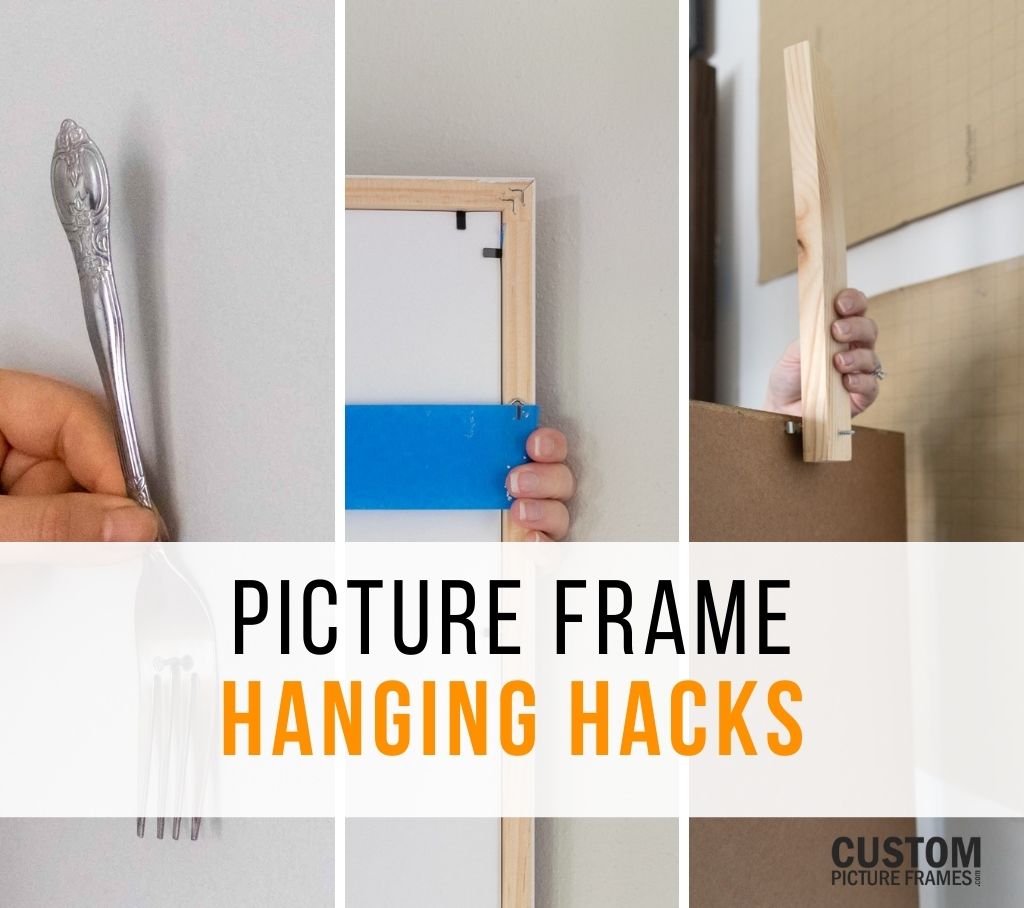
Make sure your frames are level and spaced evenly so that nothing distracts from your stunning display. If you need more help hanging your frames, check out our hanging hacks!
We hope these interior designer-approved gallery wall tips help you to create the gallery wall of your dreams. We also lent some of our expert advice to design the perfect gallery. If you have any other questions on getting started or the gallery wall process in general, don’t hesitate to reach out to us! We’re looking forward to seeing all the gallery walls you create with our custom frames!
About The Author
 |
Brittany DeMauro is the Creative Director here at CustomPictureFrames.com. With a background in creative writing and a passion for all things DIY, you'll find her in the shop crafting content. She can always find space for a fun gallery wall and loves discovering new artists to display around her home (in custom frames, of course!) When she's not creating content for our brand, she can most likely be found binging shows on Netflix with her two cats. |


