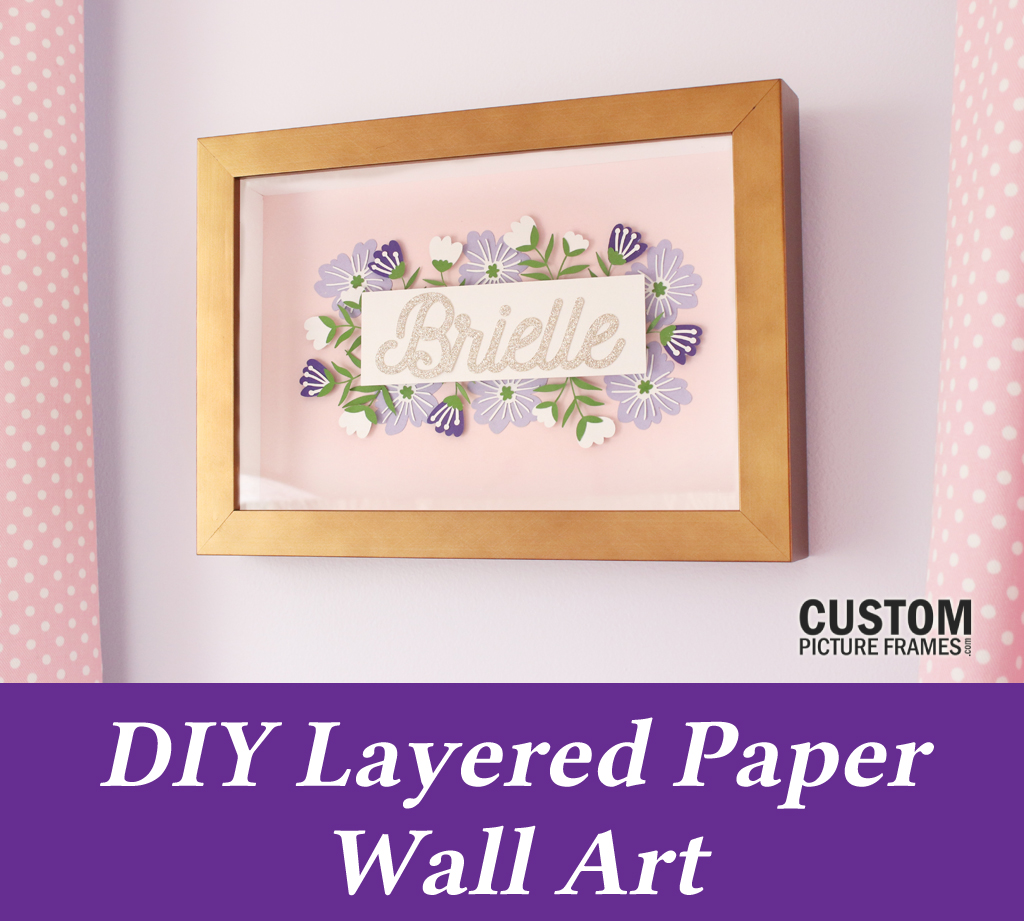
DIY Layered Paper Wall Art
June 16, 2021A shadow box frame doesn’t always have to hold personal treasured and 3-dimensional keepsakes. It can also hold art created with a 3D look. See how to personalize your space with a sleek frame that features a name, shape or beloved icon. Use three-dimensional foam adhesive squares to add height to your layered paper pieces for a complete piece of art. The bronze finish of our Humbert frame compliments many paint colors and themes, making it the perfect accessory to style your home.
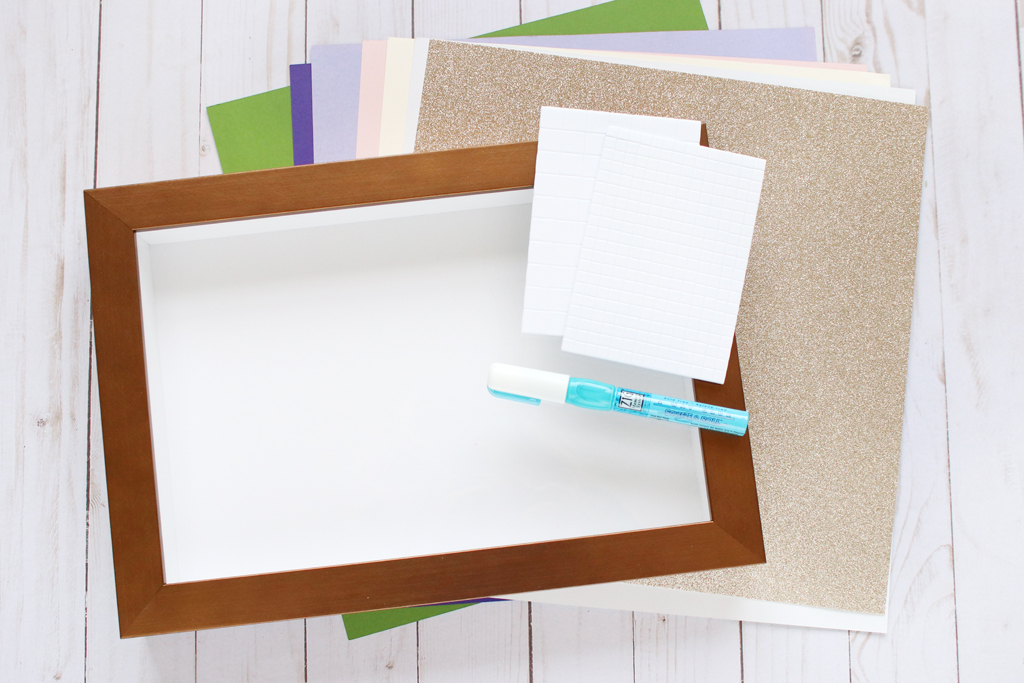
Supplies:
- 12” x 8” Humbert Shadow Box Frame
- Cardstock in multiple colors. Tip: We used gold glitter cardstock for the name in the middle!
- Floral SVG cut file
- Adhesive
- Foam Adhesive squares
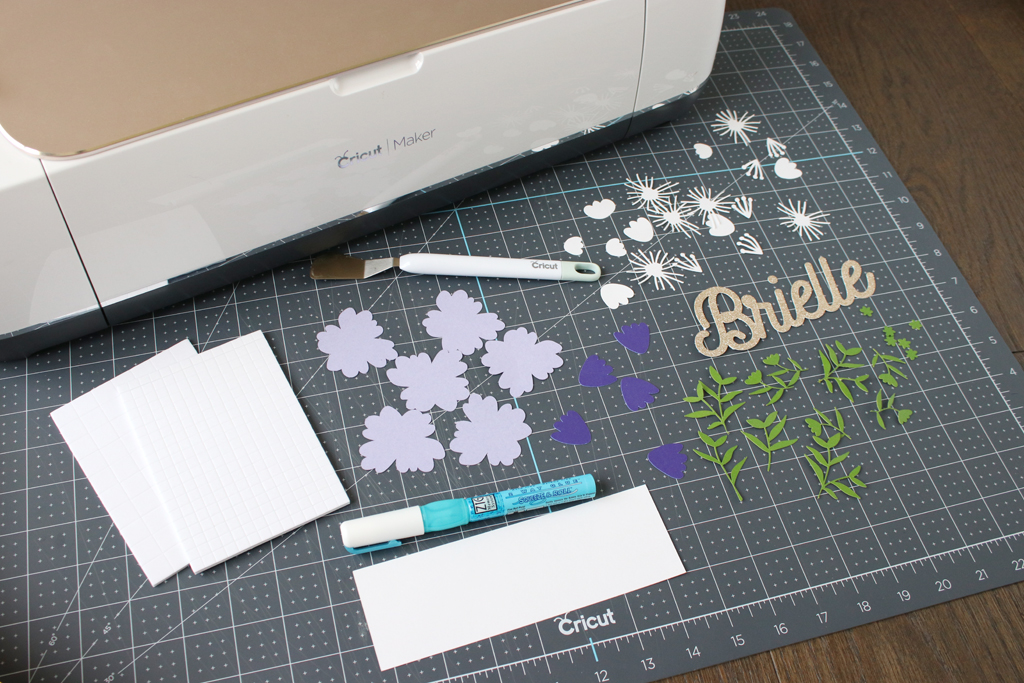
You can create a layered paper design using cardstock pieces cut with a die-cut machine or cut by hand using a stencil. If you want to recreate our design, upload the SVG cut file to your die-cut machine program and get cutting.
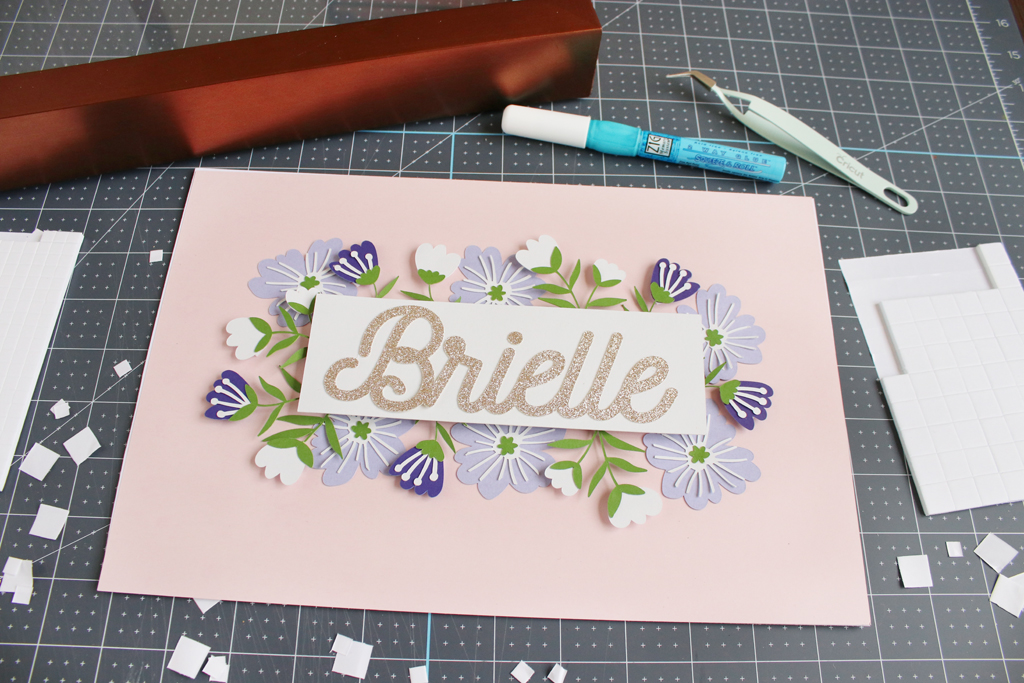
Once cut, arrange your pieces on your background to figure out your desired layout. Use a mix of liquid adhesive and foam adhesive squares to adhere them down in place. Tip: you can stack foam adhesive squares on top of one another to create more than one height.
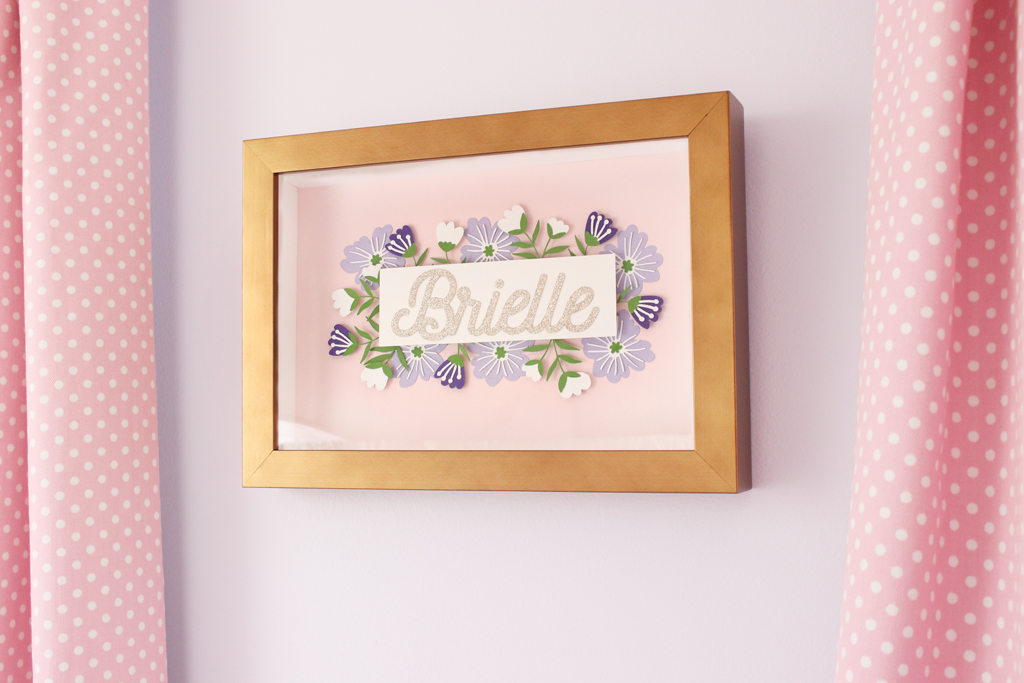
Replace the backing on the Humbert shadow box and add the D ring hangers on the back to hang.
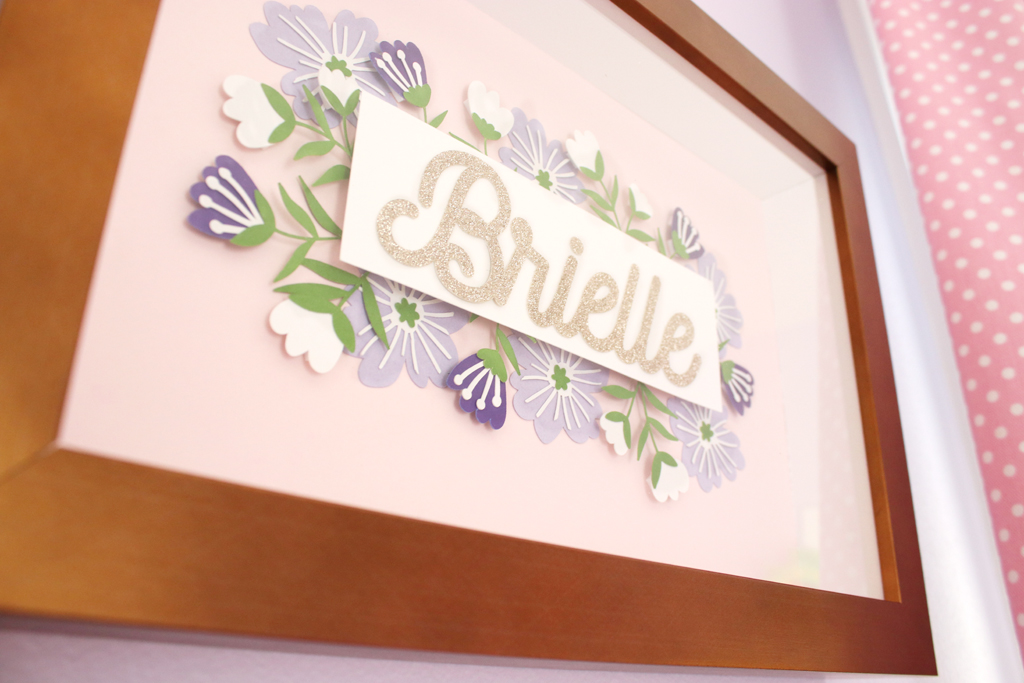
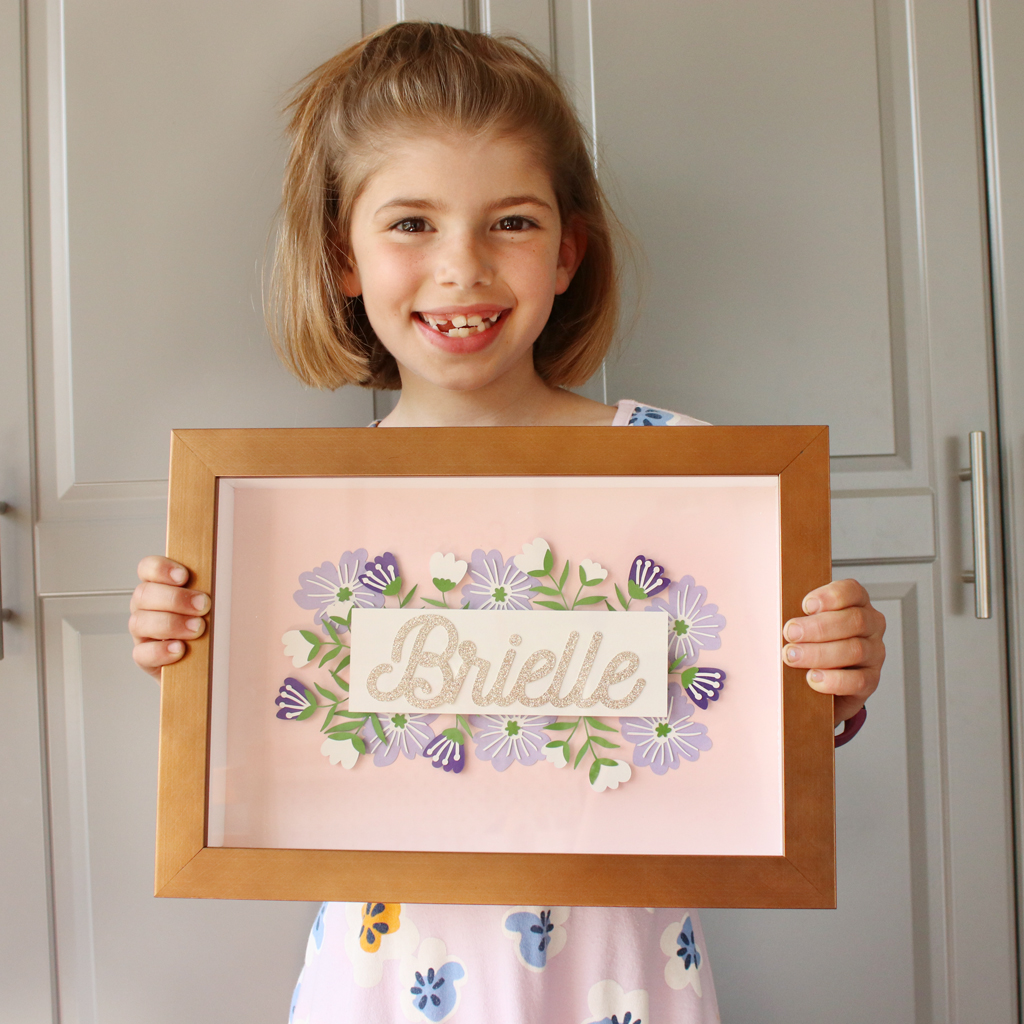
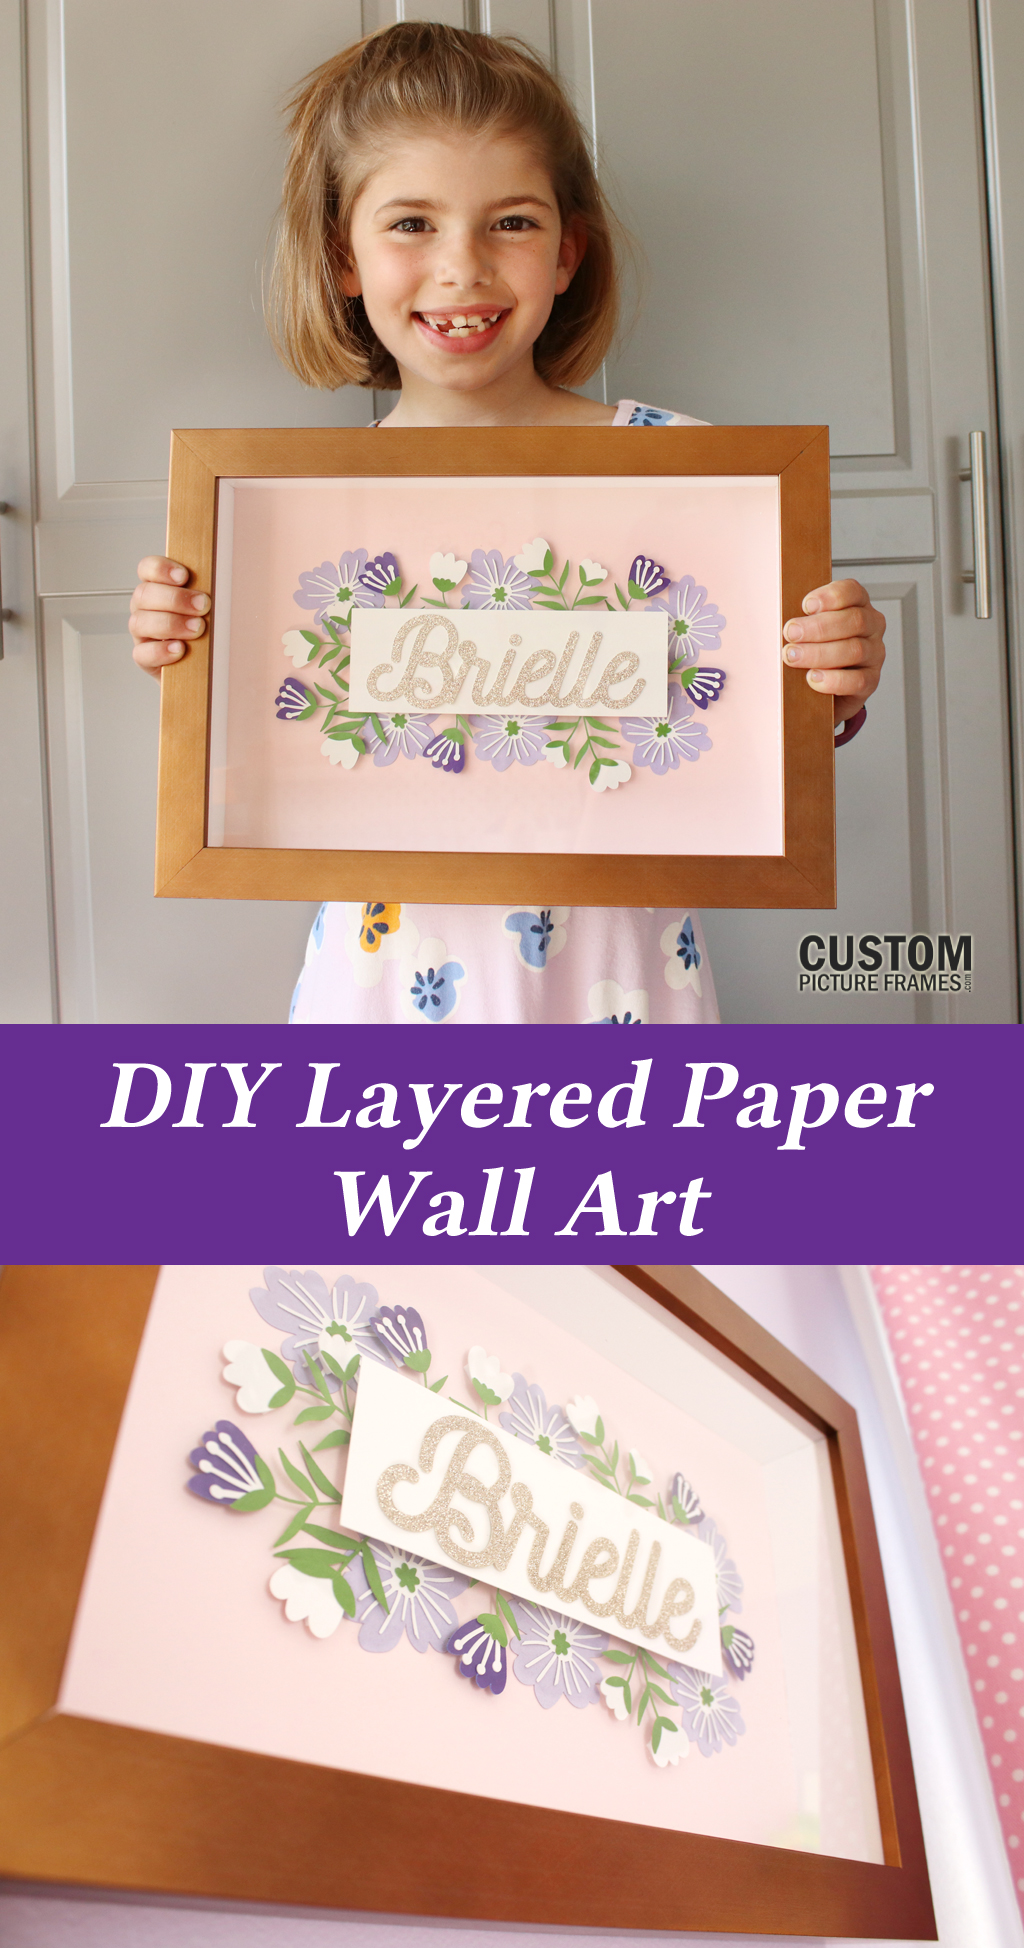
Display this special frame in a bedroom to make the space more personalized. This layered wall art piece is a great baby shower or welcome gift.
About The Author
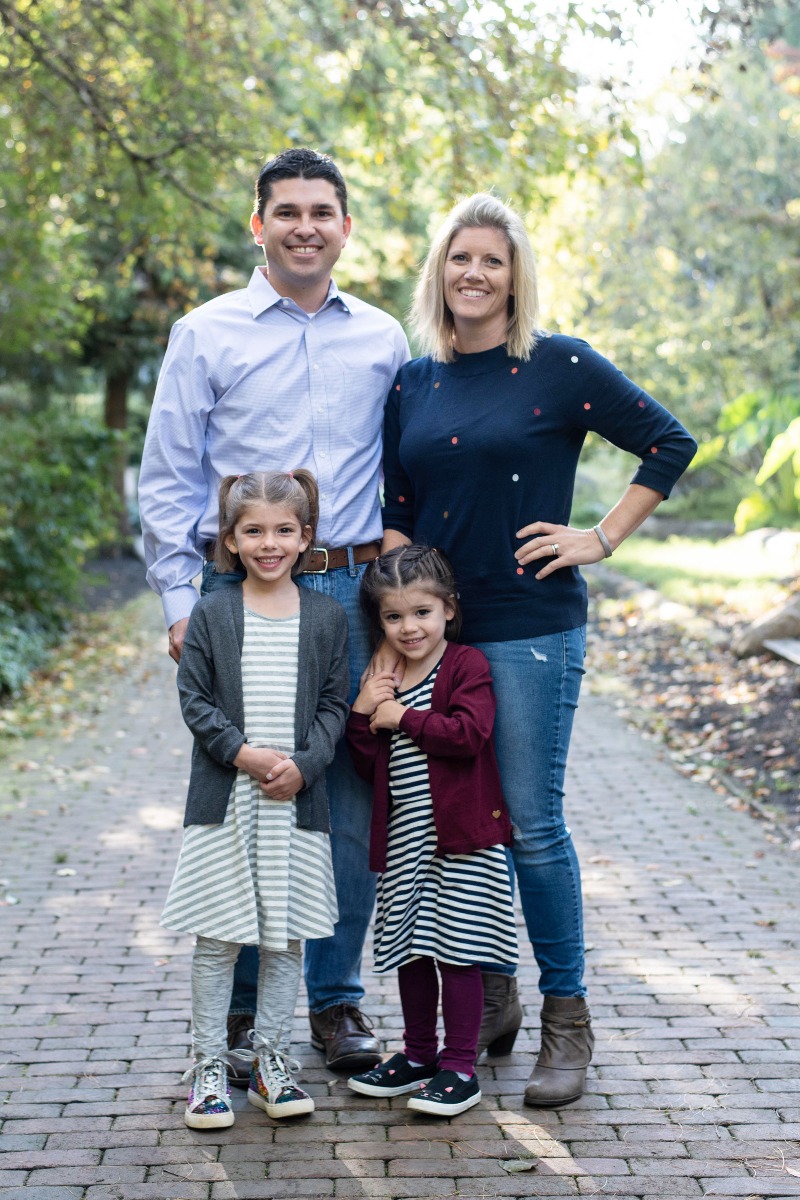 |
Tara Nehil is author of SpotOfTeaDesigns.com, a lifestyle blog sharing home décor, crafts, party inspiration and parenting lessons learned the hard way. Her graphic design background is evident in the home she lives in and styles with her husband of 8 years and 2 young daughters. Follow her creative journey for photo tutorials, printables, budget-friendly decorating tips and ways to celebrate occasions big and small. |

