DIY Custom Matboards
May 22, 2024
While there are thousands of custom framing options you can choose to complement your captured memory or memorabilia, sometimes the options are still not enough! Consider creating a custom matboard to match the vibe of your cherished moment in time with personalized accessories outside the framing aisle. Follow along for more tips on upgrading your frame with a custom matboard for birthdays, holidays and special occasion photos.
MATS
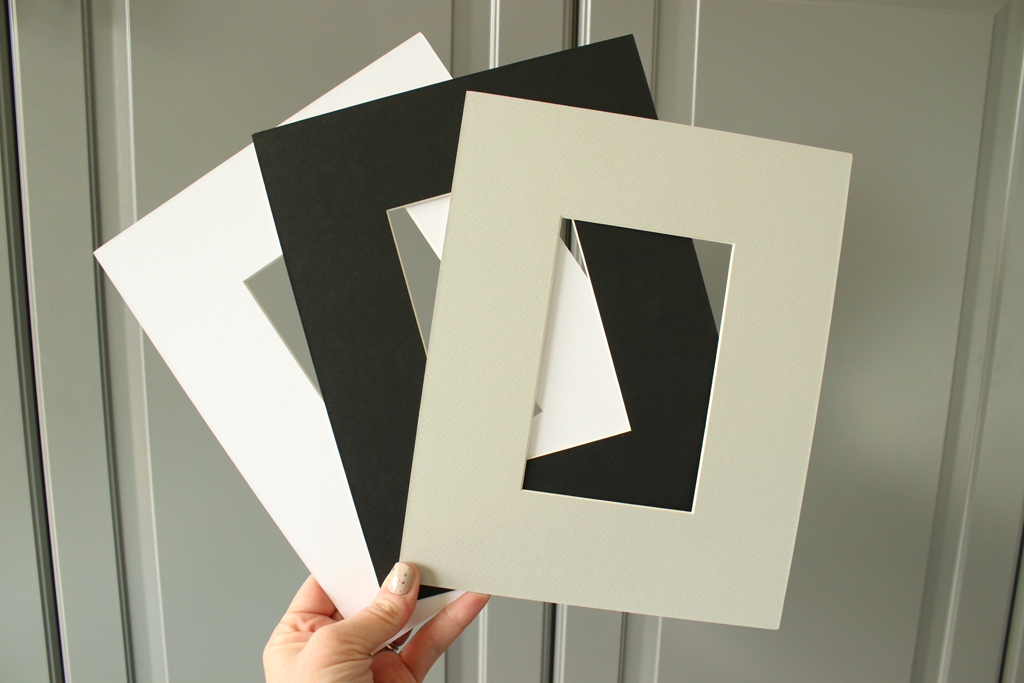
At CustomPictureFrames.com, our matboards are 4-ply and 8-ply thick and come in 85 different colors to fit your needs. Use one of these matboard options as a base for your custom-framed piece. When creating a custom mat board, consider starting with a basic white or black or choosing a color that may help your materials camouflage into the frame.
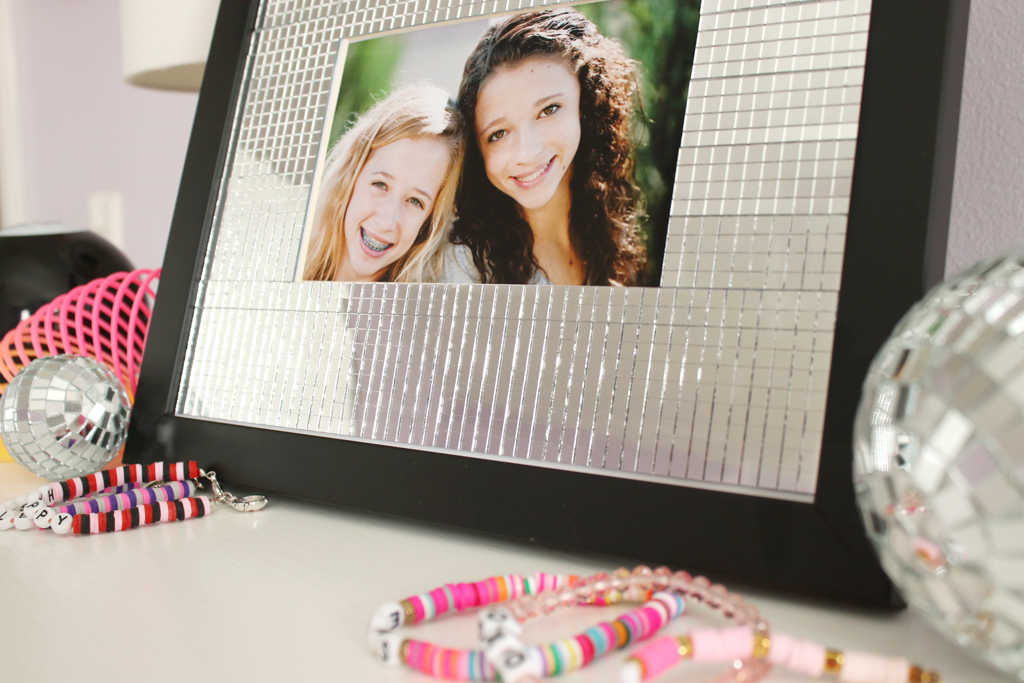
In the case of this Swiftie-inspired custom matboard on our Smooth White mat, the matboard color is irrelevant to the finished design as it was covered with these adhesive mirror strips.
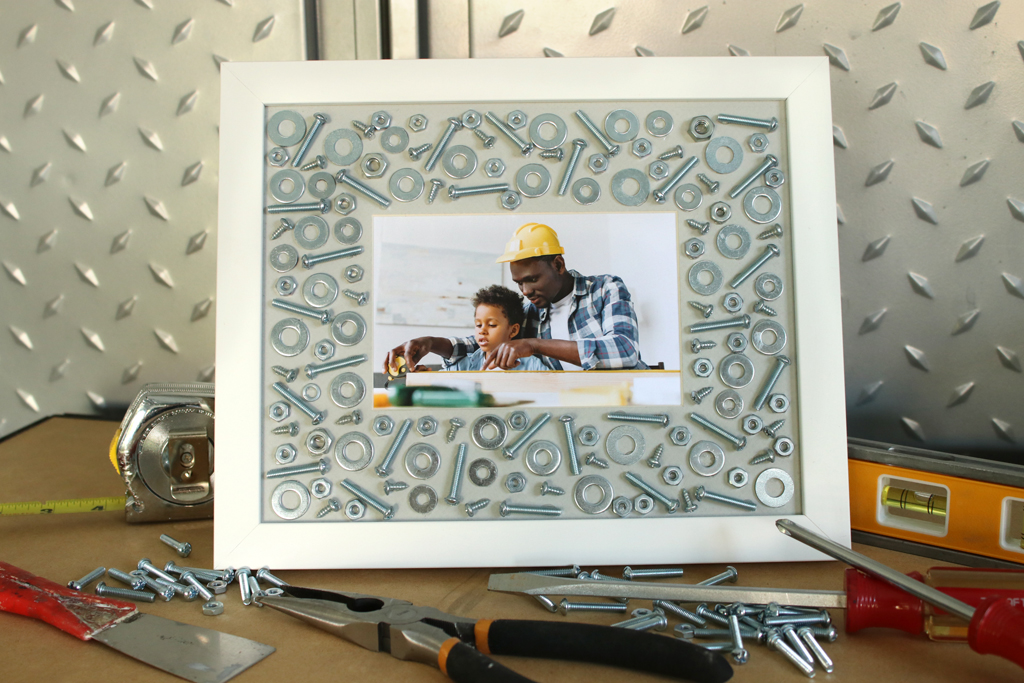
The Grey matboard was a great compliment to the silver hardware used in this Nuts and Bolts Frame.
ADHESIVES
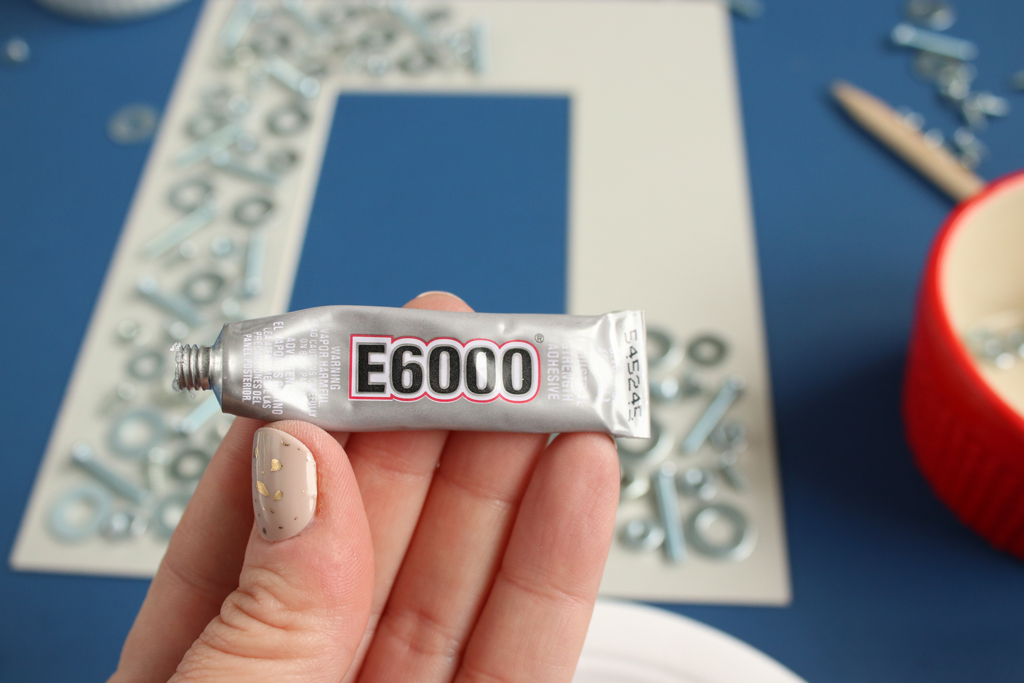
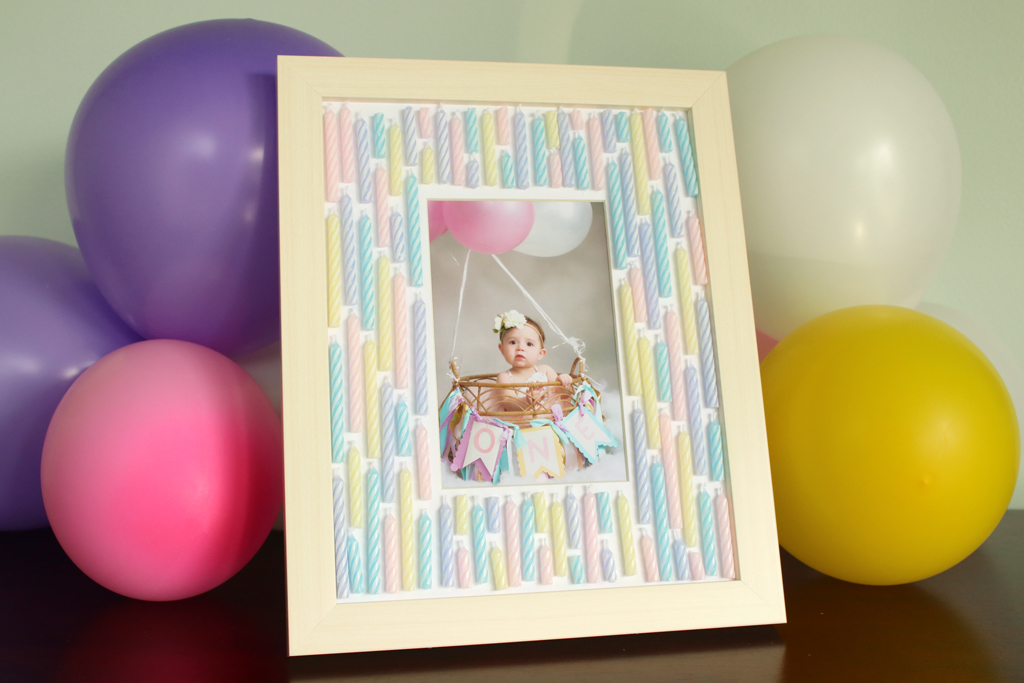
Consider various adhesive options when crafting your custom mat boards, depending on what you attach. Flatter, thinner materials, like tissue paper, patterned paper or decorative napkins, will easily adhere with decoupage glue. Slightly dimensional items, like the birthday candles, will likely adhere well using basic white tacky glue. Uniquely shaped items, like twigs, may adhere easily with hot glue. Thicker and slightly heavier items, like nuts and bolts, might adhere best using a sturdier, more permanent glue, like E6000. Tip: They sell mini tubes of this glue that lessen the chances of gluing the tube shut after each use!
TIPS
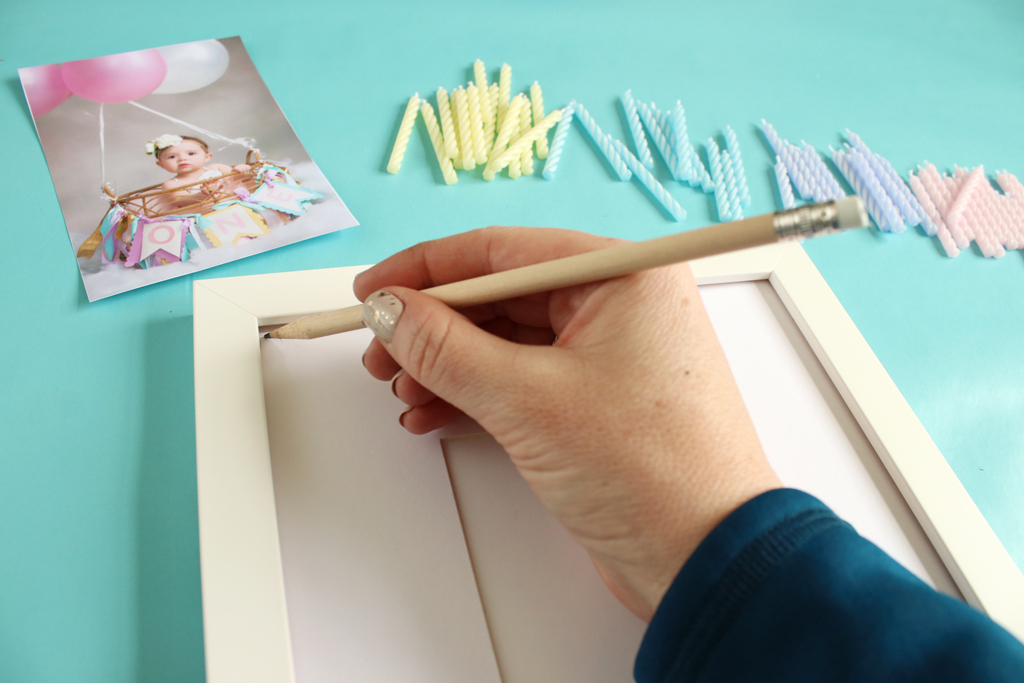
- Measure First. There must be a little overlap for the frame to hold in a mat. This may limit the amount of surface area you have to create your custom design, especially when it involves thicker decorating materials. Before working on your custom matboard, insert it and assemble your frame. Use a pencil to lightly mark a line on the matboard so you don’t have a challenge adding the mat back in.
- Check your weight. Putting too heavy of material on your custom mat board will certainly change the weight and possibly the weight distribution of your frame. Consider this when hanging your frame, as you might need to add extra hardware to secure it to the wall or add weight on the easel back so it doesn’t fall over.
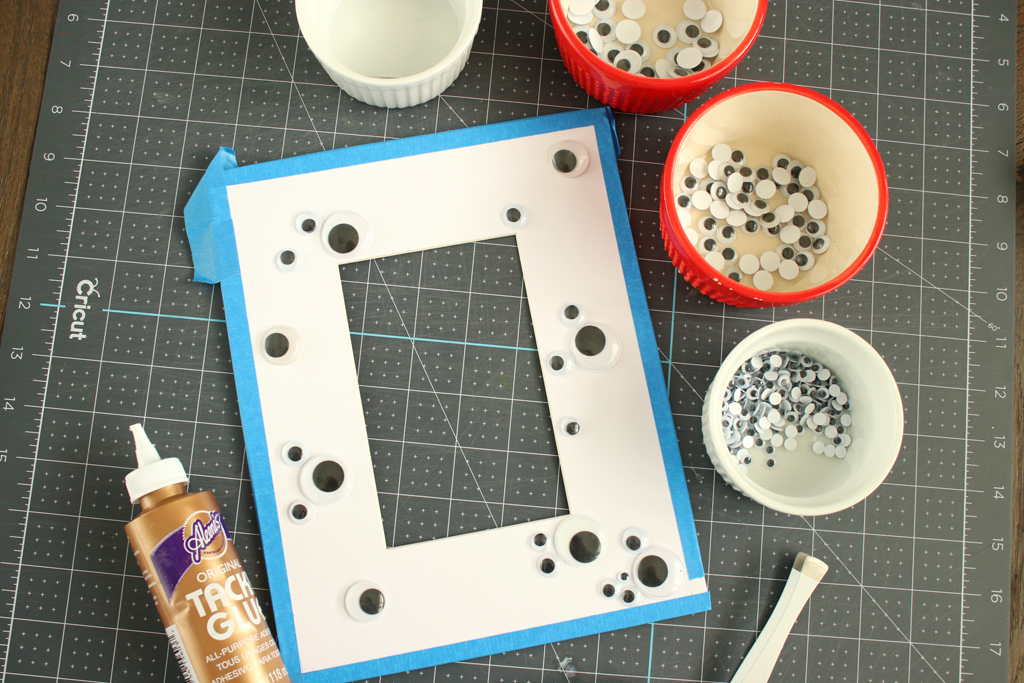
- Make a plan. Your material choice to build your custom mat board may require more planning on the arrangement before gluing, while others are fine to be applied without any planning. In the case of this googly eye frame, the tacky glue we used allowed for slight readjustment as we added the eyes to the frame. Tip: don’t use hot glue with googly eyes; it may melt the eye and limit the googly action!
To add acrylic or not to add acrylic? This may be one of your questions. Custom matboards with dimensional items may limit your ability to add a protective acrylic piece to the front of the frame. If you still want this dimensional look but with a protected front, consider choosing a shadowbox instead of a picture frame as a house for your custom matboard piece.
About The Author
 |
Tara Nehil is author of SpotOfTeaDesigns.com, a lifestyle blog sharing home décor, crafts, party inspiration and parenting lessons learned the hard way. Her graphic design background is evident in the home she lives in and styles with her husband and 2 young daughters. Follow her creative journey for photo tutorials, printables, budget-friendly decorating tips and ways to celebrate occasions big and small. |