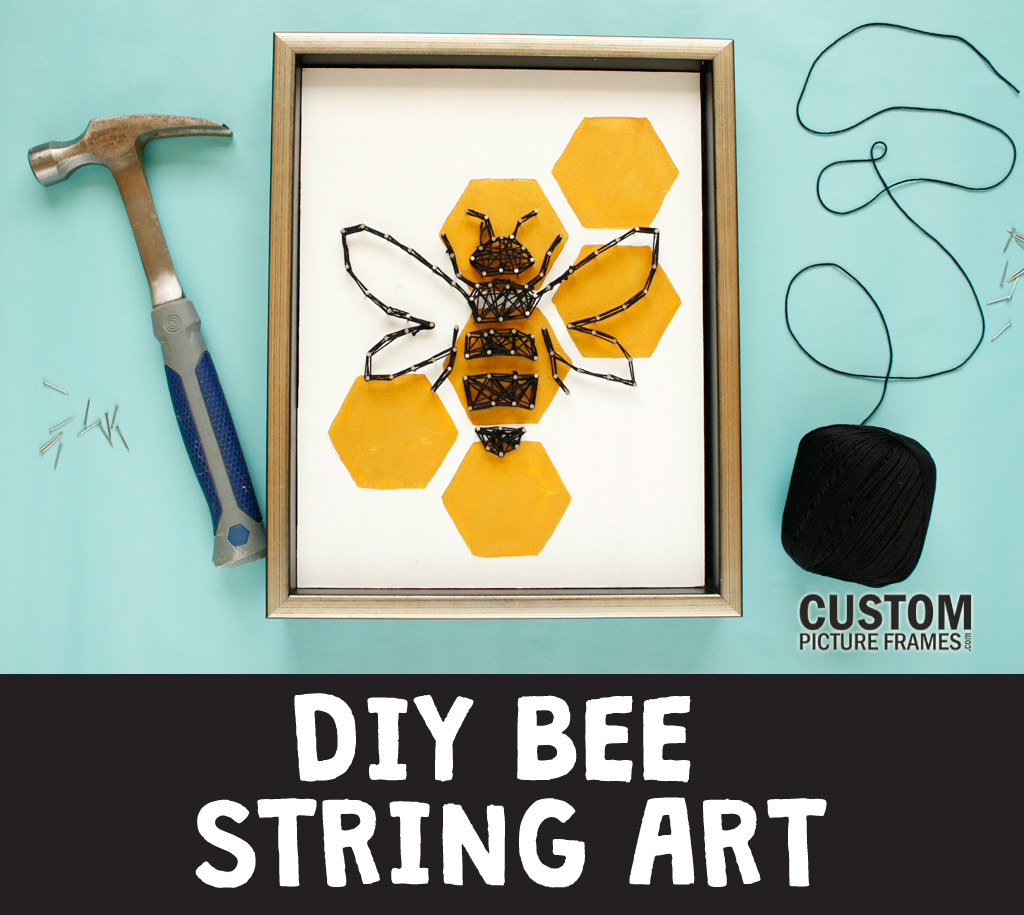
Bee String Art
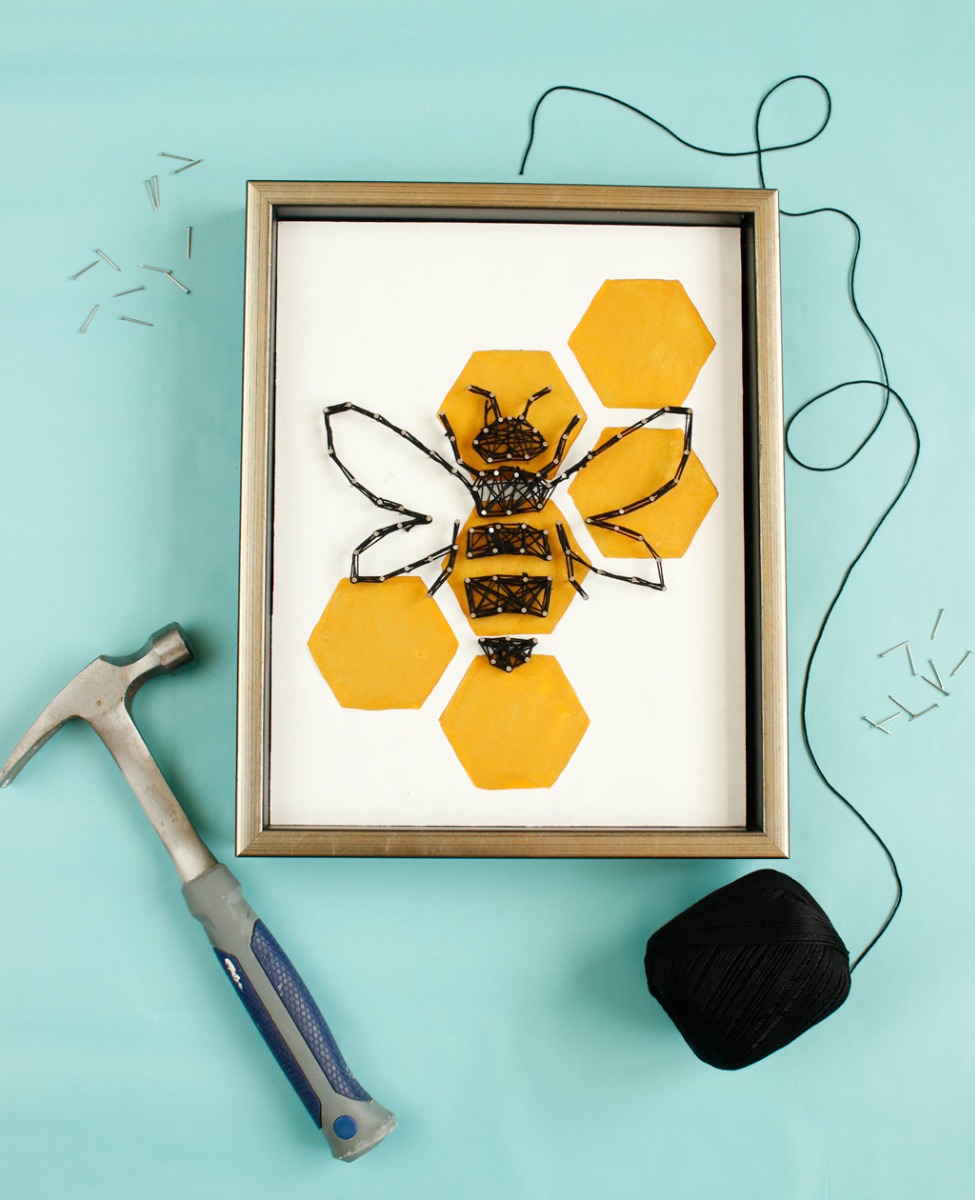
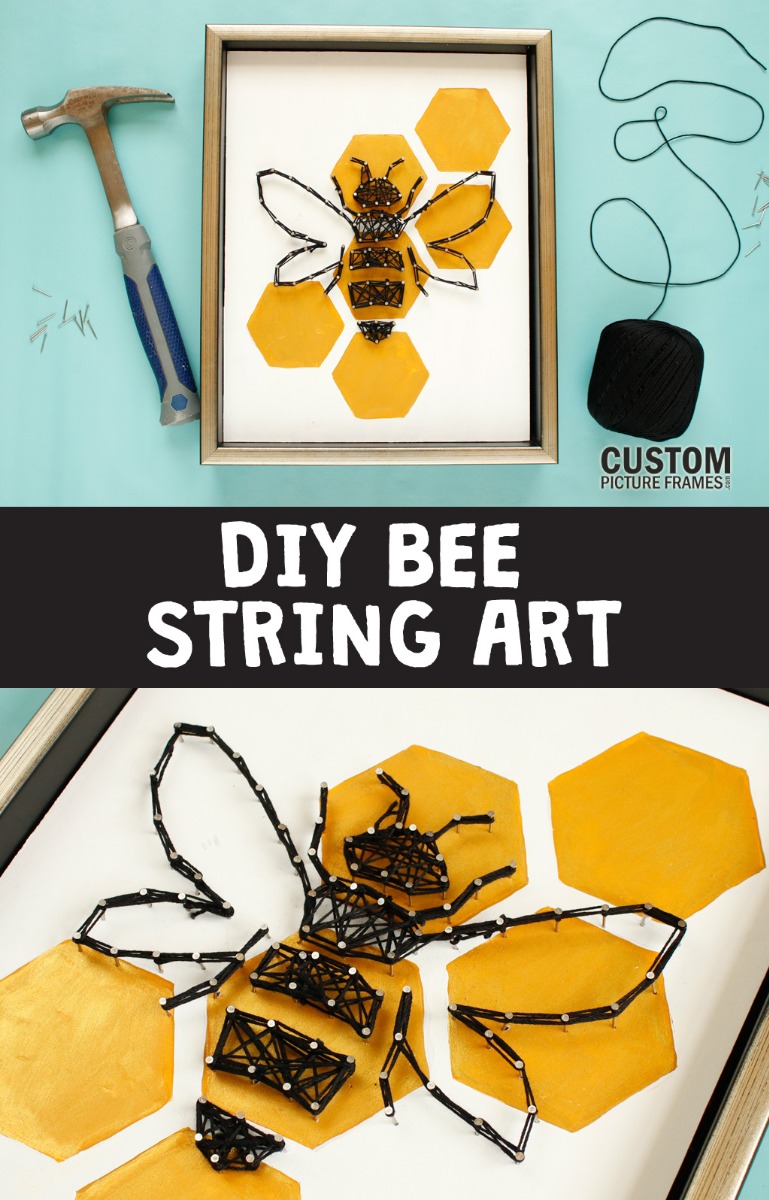
June 15, 2022We’ve got a new craft that we know you’ll be buzzing about – string art! String art is a 3-dimensional craft with endless design possibilities! This mindless and relaxing craft can be completed alone or works great as a girls’ night craft activity. Follow our tips on creating a handmade bee string art creation using our free template. Finish it with a Ryder canvas frame that adds the perfect hint of sweetness with its metallic finish and strong construction.
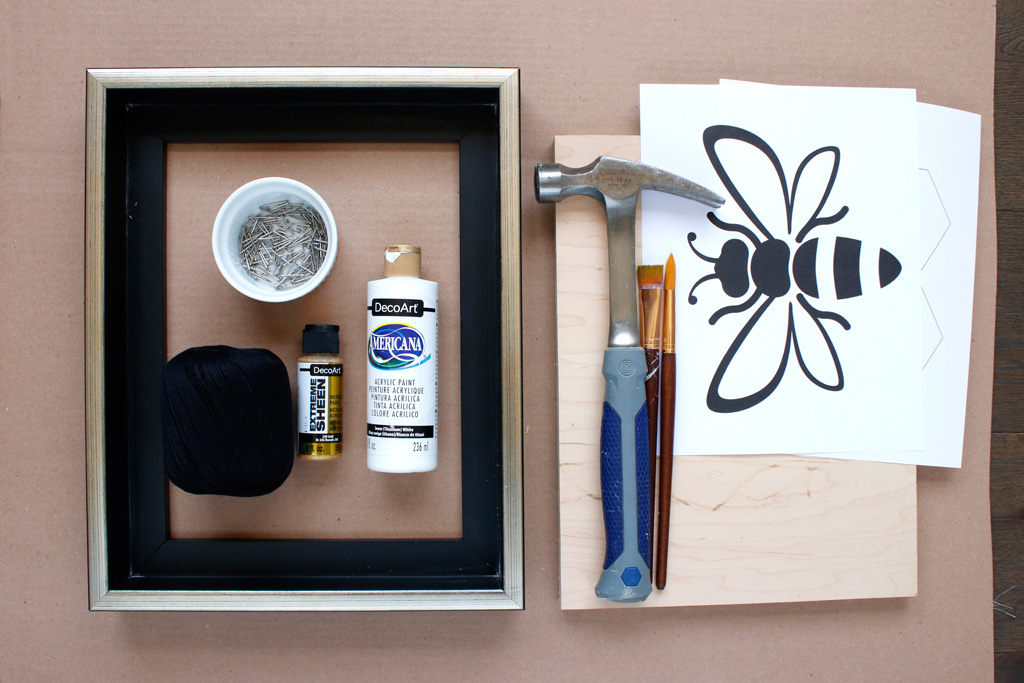
Supplies:
- Ryder Canvas Floater Frame
- Bee string art template (get it free here)
- Acrylic paint (white, yellow, gold)
- ¾ x 16 Wire nails
- Hammer
- Crochet string (black)
- Wood base cut to fit inside the frame
- Pencil
- Painter’s Tape
- Craft Knife
- Paintbrushes
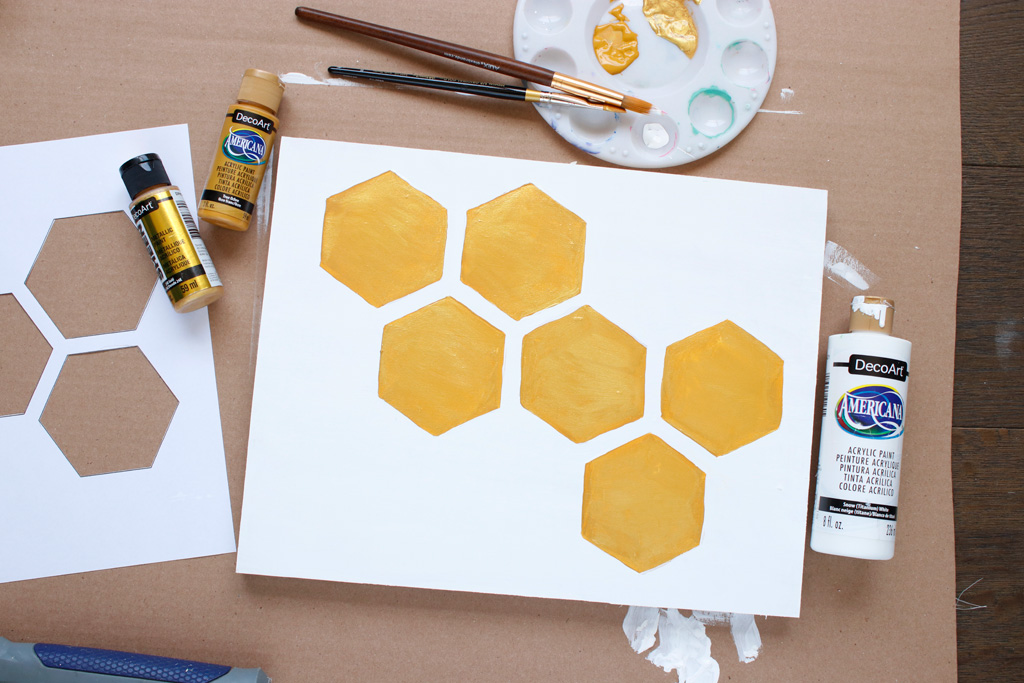
First, paint the background of your wood base with white acrylic paint. Add honeycomb accents using the stencil from page 2 of our template. We first painted these shapes with a mustard yellow cover to obtain a shiny metallic look before overlaying them with metallic gold.
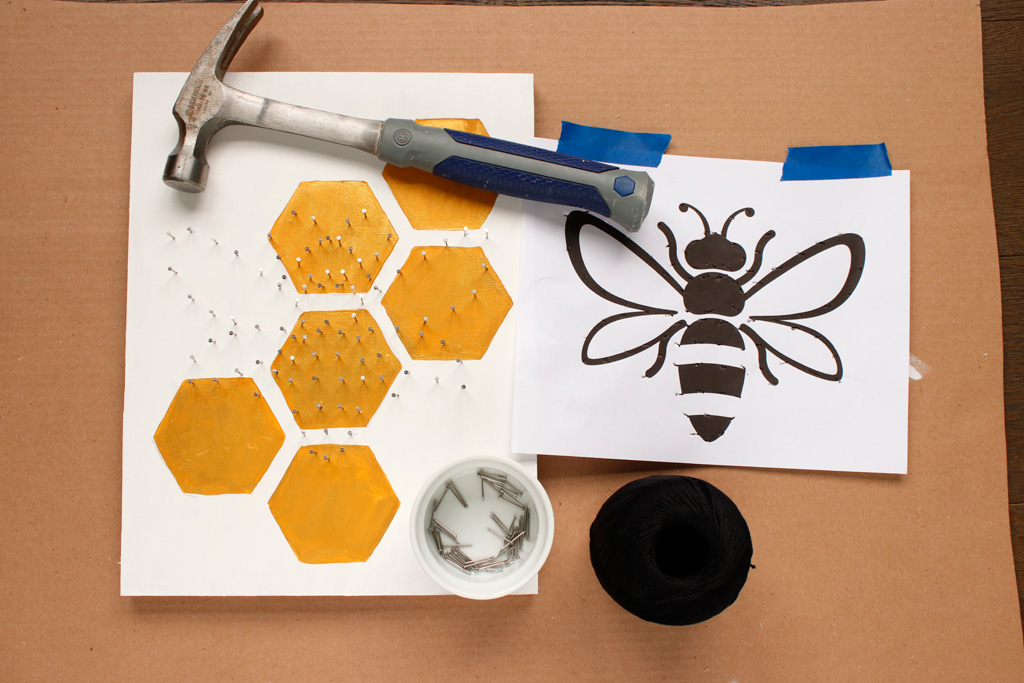
Once dry, tape down the bee stencil shape.
Use a hammer to nail in wire nails following the pattern. Start with nails at the key points (like corners and the tops of curves) and continue adding them around the shape at set intervals. We did ours about every ½ inch.
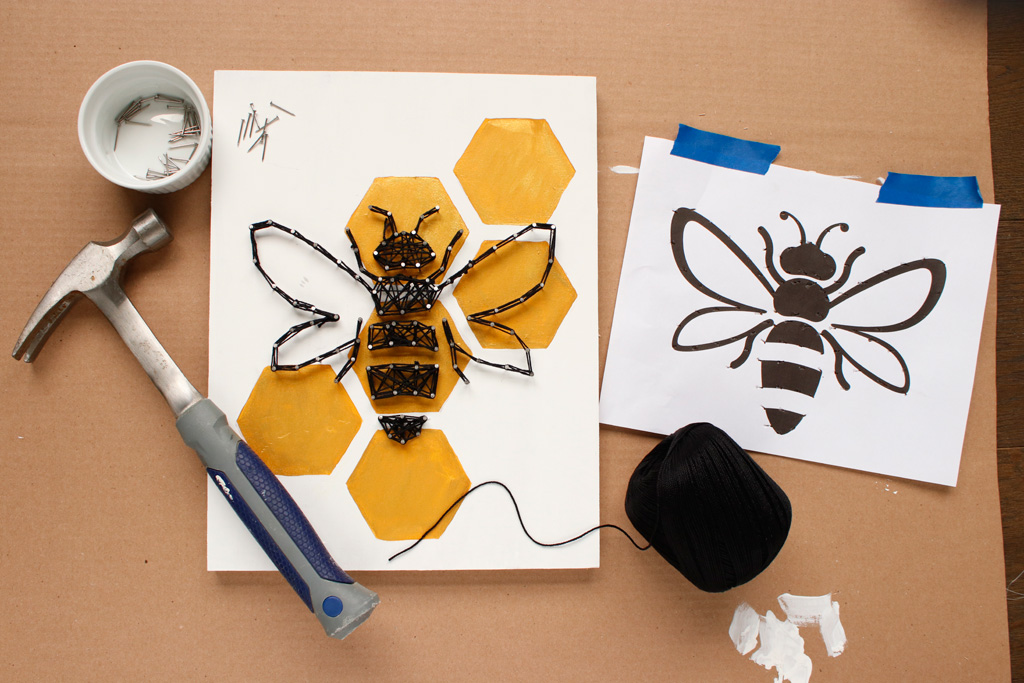
First, start by drawing around the outline of a shape with your string. Cut a piece of black string to about 4 feet and tie it onto one nail. Wrap the string around each nail on the outside of the design element. Repeat a few times to make any outlines darker and thicker.
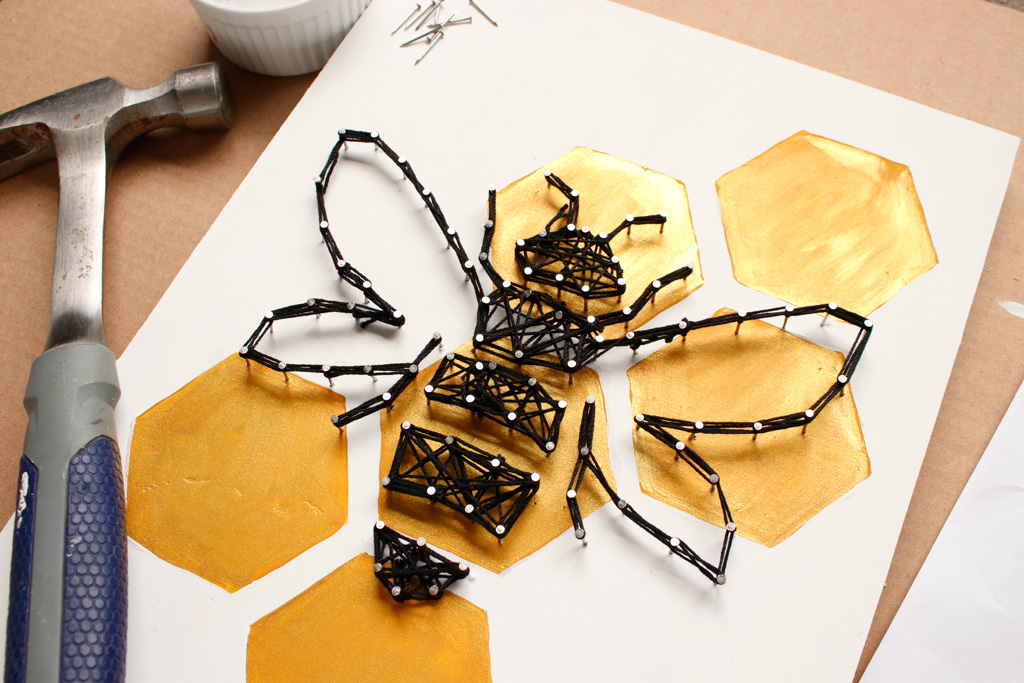
For any areas you wish to fill in, like the head and body parts of the bee, crisscross the string around the inside areas, wrapping around nails occasionally to secure. Tie the end of the string on a nail and trim any excess string. Tuck it in to hide the loose end.
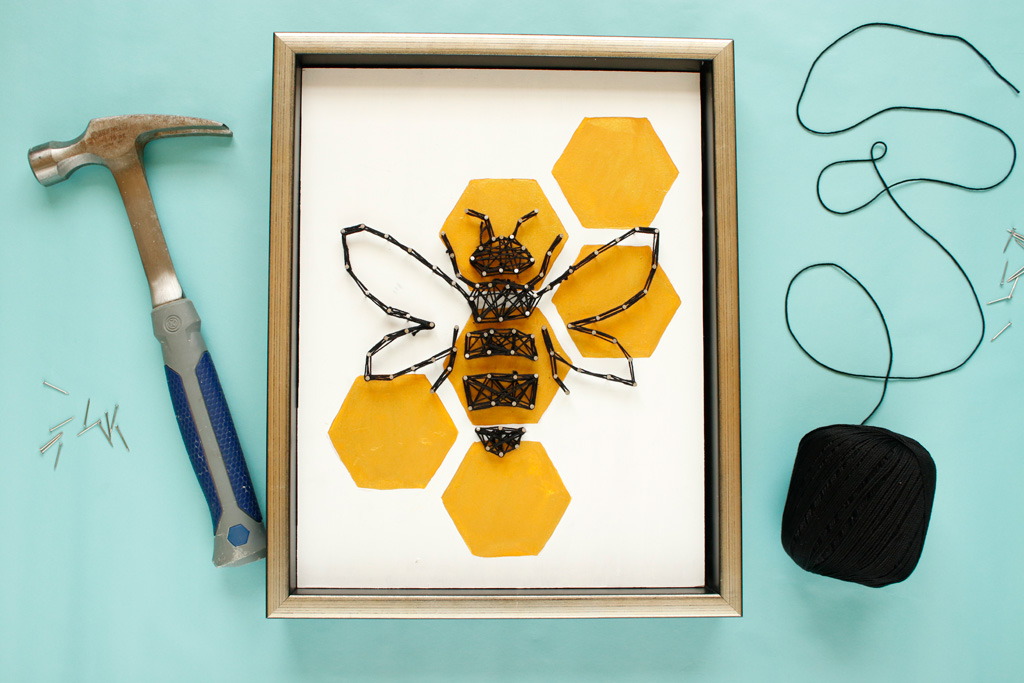
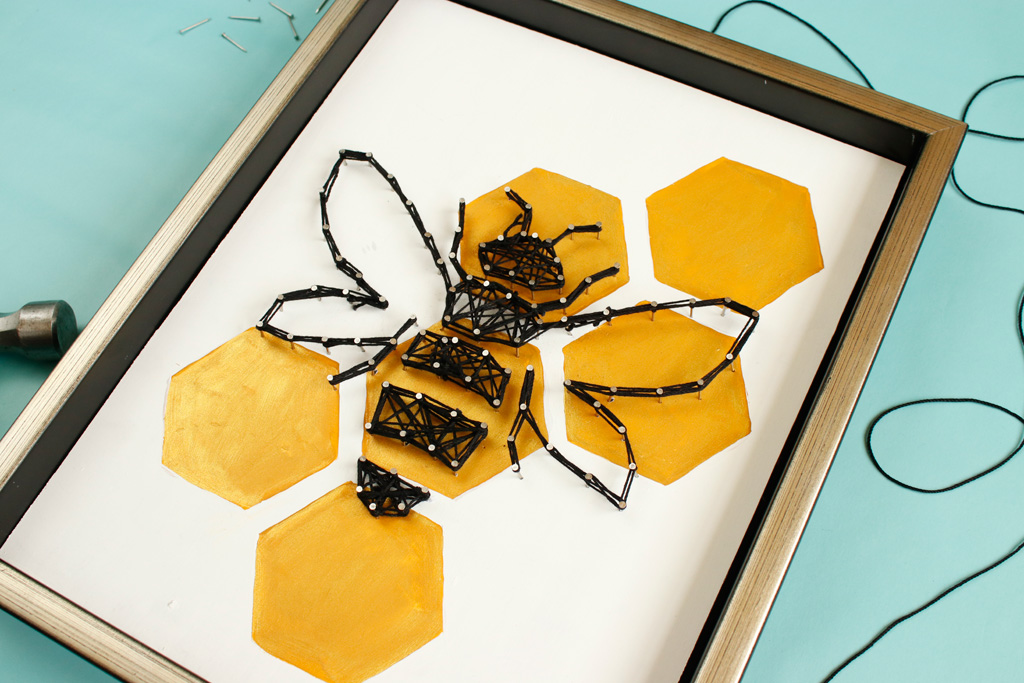
To display, secure into Ryder frame using canvas clips and add hanging hardware on the back. Proudly display your bee string art in the kitchen, living room or any place you need a little sweetness.
About The Author
 |
Tara Nehil is author of SpotOfTeaDesigns.com, a lifestyle blog sharing home décor, crafts, party inspiration and parenting lessons learned the hard way. Her graphic design background is evident in the home she lives in and styles with her husband of 8 years and 2 young daughters. Follow her creative journey for photo tutorials, printables, budget-friendly decorating tips and ways to celebrate occasions big and small. |

